实现思路比较简单,这里仅做记录:
直接上代码:
1,实现didSelectRowAtIndexPath方法
-(void)tableView:(UITableView *)tableView didSelectRowAtIndexPath:(NSIndexPath *)indexPath
{
    [[NSUserDefaults standardUserDefaults]setValue:[array objectAtIndex:indexPath.row] forKey:APP_CHANGEVOICE];

    [_sextTableView reloadData];
    [tableView deselectRowAtIndexPath:indexPath animated:YES];

}
在cellForRowAtIndexPath里面实现方法
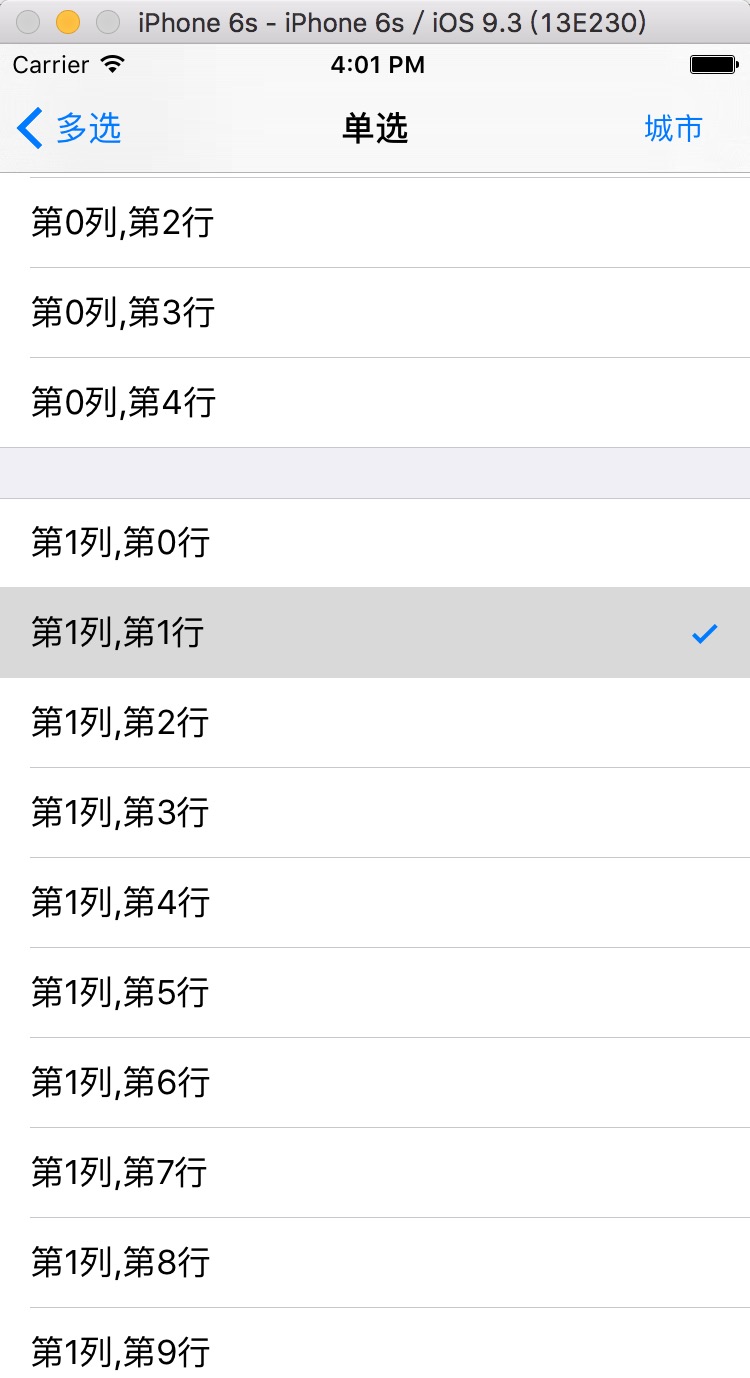
-(UITableViewCell *)tableView:(UITableView *)tableView cellForRowAtIndexPath:(NSIndexPath *)indexPath
{
    static NSString *CellTableIdentifier = @"CellTableIdentifier";
    hPublickCell *cell = [tableView cellForRowAtIndexPath:indexPath];
    if (cell == nil)
    {
        cell = [[hPublickCell alloc] initWithStyle:UITableViewCellStyleValue1 reuseIdentifier:CellTableIdentifier];
        cell.selectionStyle = UITableViewCellSelectionStyleNone;
    }

    cell.textsLabel.text = array[indexPath.row];
    cell.selectionStyle=UITableViewCellSelectionStyleGray;
    //选择状态的存储
    if ([[[NSUserDefaults standardUserDefaults]valueForKey:APP_CHANGEVOICE] isEqualToString:[array objectAtIndex:indexPath.row]])
    {
        cell.accessoryType = UITableViewCellAccessoryCheckmark;
    }
    else
    {
        cell.accessoryType = UITableViewCellAccessoryNone;
    }

    return cell;

}
这里面的array是数据源数组。效果图如下:
2,上面这种是系统的选中样式,下面是自定义的:
代码如下:
-(UITableViewCell *)tableView:(UITableView *)tableView cellForRowAtIndexPath:(NSIndexPath *)indexPath
{
    ShippingAddressCell *cell = [tableView dequeueReusableCellWithIdentifier:@"ShippingAddressCell"];
    if (!cell) {
        cell = [[ShippingAddressCell alloc]initWithStyle:UITableViewCellStyleDefault reuseIdentifier:@"ShippingAddressCell"];
    }

    if (self.lastIndexPath == indexPath)
    {
        cell.selectedImg.image = [UIImage imageNamed:@"clicked"];
    }else
    {
        cell.selectedImg.image = [UIImage imageNamed:@"unClick"];
    }

    return cell;
}

-(void)tableView:(UITableView *)tableView didSelectRowAtIndexPath:(NSIndexPath *)indexPath
{
    //之前选中的,取消选择
    ShippingAddressCell *celled = [tableView cellForRowAtIndexPath:_lastIndexPath];
    celled.selectedImg.image = [UIImage imageNamed:@"unClick"];
    //记录当前选中的位置索引
    _lastIndexPath = indexPath;
    //当前选择的打勾
    ShippingAddressCell *cell = [tableView cellForRowAtIndexPath:indexPath];
    cell.selectedImg.image = [UIImage imageNamed:@"clicked"];
}
这样就可以实现了,截图如下:

多选的有空再完善!代码可以直接粘贴使用!
多选,这里我这个单选,没有使用编辑模式,很简单,在这里记录下,demo就不附了,我把代码都粘出来,
我的tableview是拖的xib,不想写,代码如下:
1,自定义cell,我是在最左边有一个imageView,如下图:

2,相关代码:
a 声明
@property (weak, nonatomic) IBOutlet UITableView *startTableView;
@property (strong, nonatomic) NSMutableArray  *selectIndexs; //多选选中的行
b viewDidLoad里面
_selectIndexs = [[NSMutableArray alloc]initWithCapacity:0];
    for (int i = 0; i < dataAry.count; i ++) {
        [_selectIndexs addObject:@"0"];
    }
c tableview的相关代理方法:
-(NSInteger)tableView:(UITableView *)tableView numberOfRowsInSection:(NSInteger)section
{
    return dataAry.count;
}

-(UITableViewCell *)tableView:(UITableView *)tableView cellForRowAtIndexPath:(NSIndexPath *)indexPath
{
    StartReachedCell *cell = [tableView dequeueReusableCellWithIdentifier:@"StartReachedCell"];
    if (!cell) {
        cell = [[StartReachedCell alloc]initWithStyle:UITableViewCellStyleDefault reuseIdentifier:@"StartReachedCell"];
    }

    cell.descLab.text = dataAry[indexPath.row];

    if ([_selectIndexs[indexPath.row] isEqualToString:@"0"]) {
        cell.selImg.image = [UIImage imageNamed:@"unsel"];
    }else
    {
        cell.selImg.image = [UIImage imageNamed:@"sel"];
        cell.tintColor = BLUECOLOR;
    }


    return cell;
}

-(void)tableView:(UITableView *)tableView didSelectRowAtIndexPath:(NSIndexPath *)indexPath
{
    StartReachedCell *cell = [tableView cellForRowAtIndexPath:indexPath];
    NSString *stateStr = _selectIndexs[indexPath.row];

    //连续点击的时候,两种状态进行切换
    NSString *picName = [stateStr isEqualToString:@"0"]? @"sel":@"unsel";
    NSString *changeStateStr = [stateStr isEqualToString:@"0"]?@"1":@"0";
    cell.selImg.image = [UIImage imageNamed:picName];
    [_selectIndexs replaceObjectAtIndex:indexPath.row withObject:changeStateStr];
}
效果如下图:
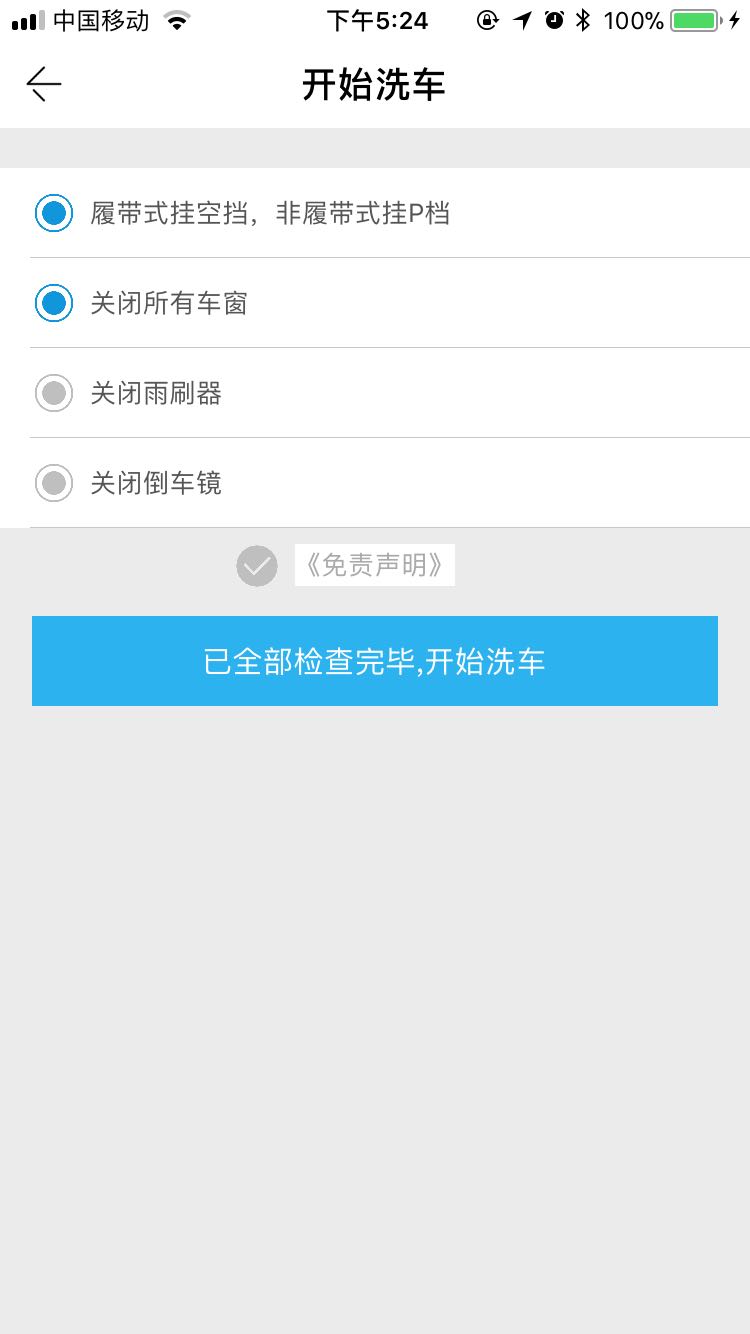
基本的逻辑是,声明一个空的数组,里面存放我自定义的状态:"0"和"1",第一次进去的时候,是没有状态1的,只有0,在cell的初始化方法里面直接判断展示即可,在进行过点击操作后,在didSelectRowAtIndexPath方法里面把选中所产生的新状态替换掉原来数组里面的老状态,一次循环展示即可。如果想要下次进去是上一次默认的选中,直接把数组存起来即可。
网上有很多的编辑状态,确实很好用,也很简单,有空我会更新下,把单选、复选、多选,全部都更新出来,我这种短小精悍。大家有什么好的写法,可以留言!
默认选中:
- (void)viewWillAppear:(BOOL)animated
{
    [super viewWillAppear:animated];
    [self.tableView selectRowAtIndexPath:self.lastIndexPath animated:YES scrollPosition:UITableViewScrollPositionTop];
    NSIndexPath *path = [NSIndexPath indexPathForItem:0 inSection:0];
    [self tableView:self.tableView didSelectRowAtIndexPath:path];
}