(一) 8x8点阵
代码
 1 int LedPins[8] = {2, 7, 19, 5, 13, 18, 12, 16};
 2 int GndPins[8] = {6, 11, 10, 3, 17, 4, 8, 9};
 3
 4 void setup() {
 5   // put your setup code here, to run once:
 6   for(int i = 0; i < 8; i++){
 7     pinMode(LedPins[i], OUTPUT);
 8     pinMode(GndPins[i], OUTPUT);
 9     digitalWrite(GndPins[i], HIGH);
10   }
11 }
12 void LedOpen(){
13   for(int i = 0; i < 8; i++){
14     digitalWrite(LedPins[i], HIGH);
15     digitalWrite(GndPins[i], LOW);
16   }
17   LedClose();
18 }
19 void LedClose(){
20   for(int i = 0; i < 8; i++){
21     digitalWrite(LedPins[i], LOW);
22     digitalWrite(GndPins[i], HIGH);
23   }
24 }
25 void LedCol(){
26   for(int i = 0; i < 8; i++){
27     digitalWrite(GndPins[i], LOW);
28     for(int j = 0; j < 8; j++){
29       digitalWrite(LedPins[j], HIGH);
30       delay(40);
31     }
32     digitalWrite(GndPins[i], HIGH);
33     LedClose();
34   }
35 }
36 void LedRow(){
37   for(int i = 0; i < 8; i++){
38     digitalWrite(LedPins[i], HIGH);
39     for(int j = 0; j < 8; j++){
40       digitalWrite(GndPins[j], LOW);
41       delay(40);
42     }
43     digitalWrite(LedPins[i], LOW);
44     LedClose();
45   }
46 }
47 void loop() {
48   // put your main code here, to run repeatedly:
49   LedOpen();
50   delay(500);
51   LedClose();
52   delay(500);
53   LedCol();
54   delay(500);
55   LedRow();
56 }

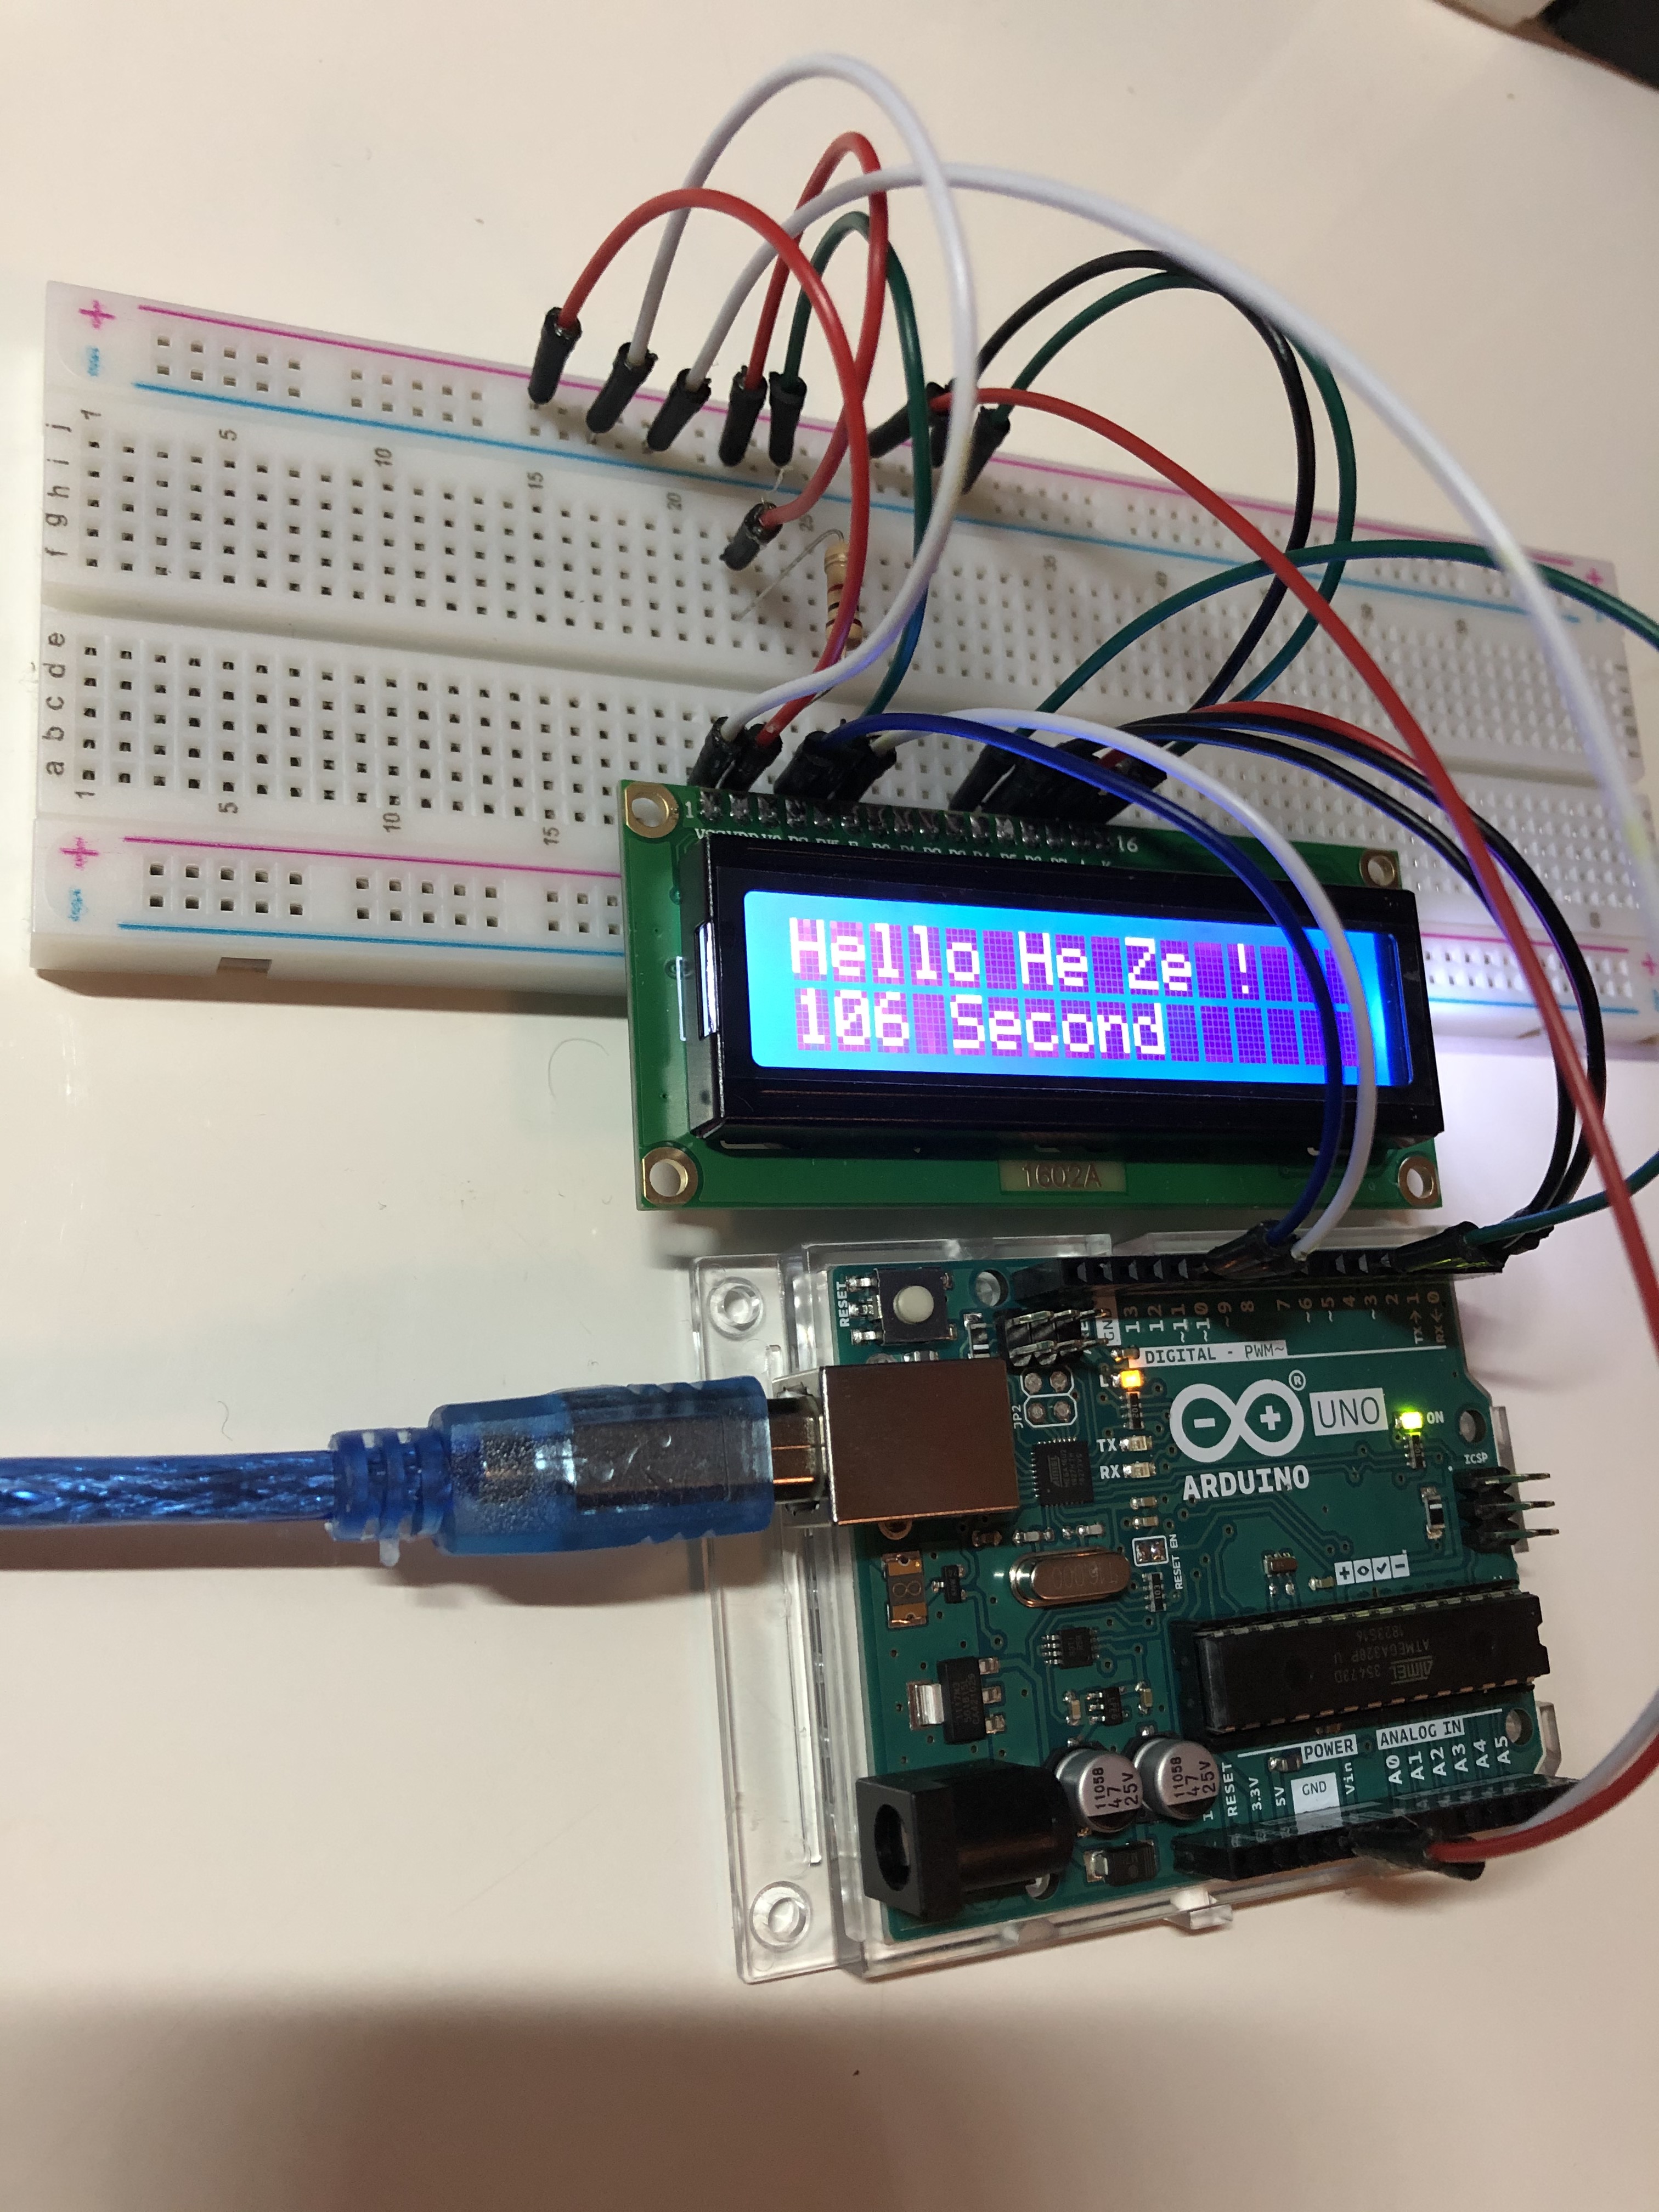
(二) LCD1602液晶
代码
#include <LiquidCrystal.h>

LiquidCrystal lcd(12, 11, 5, 4, 3, 2);
void setup() {
  // put your setup code here, to run once:
  lcd.begin(16, 2);
  lcd.print("Hello He Ze !");
}

void loop() {
  // put your main code here, to run repeatedly:
  lcd.setCursor(0, 1);
  lcd.print(millis()/1000);
  lcd.print(" Second");
}
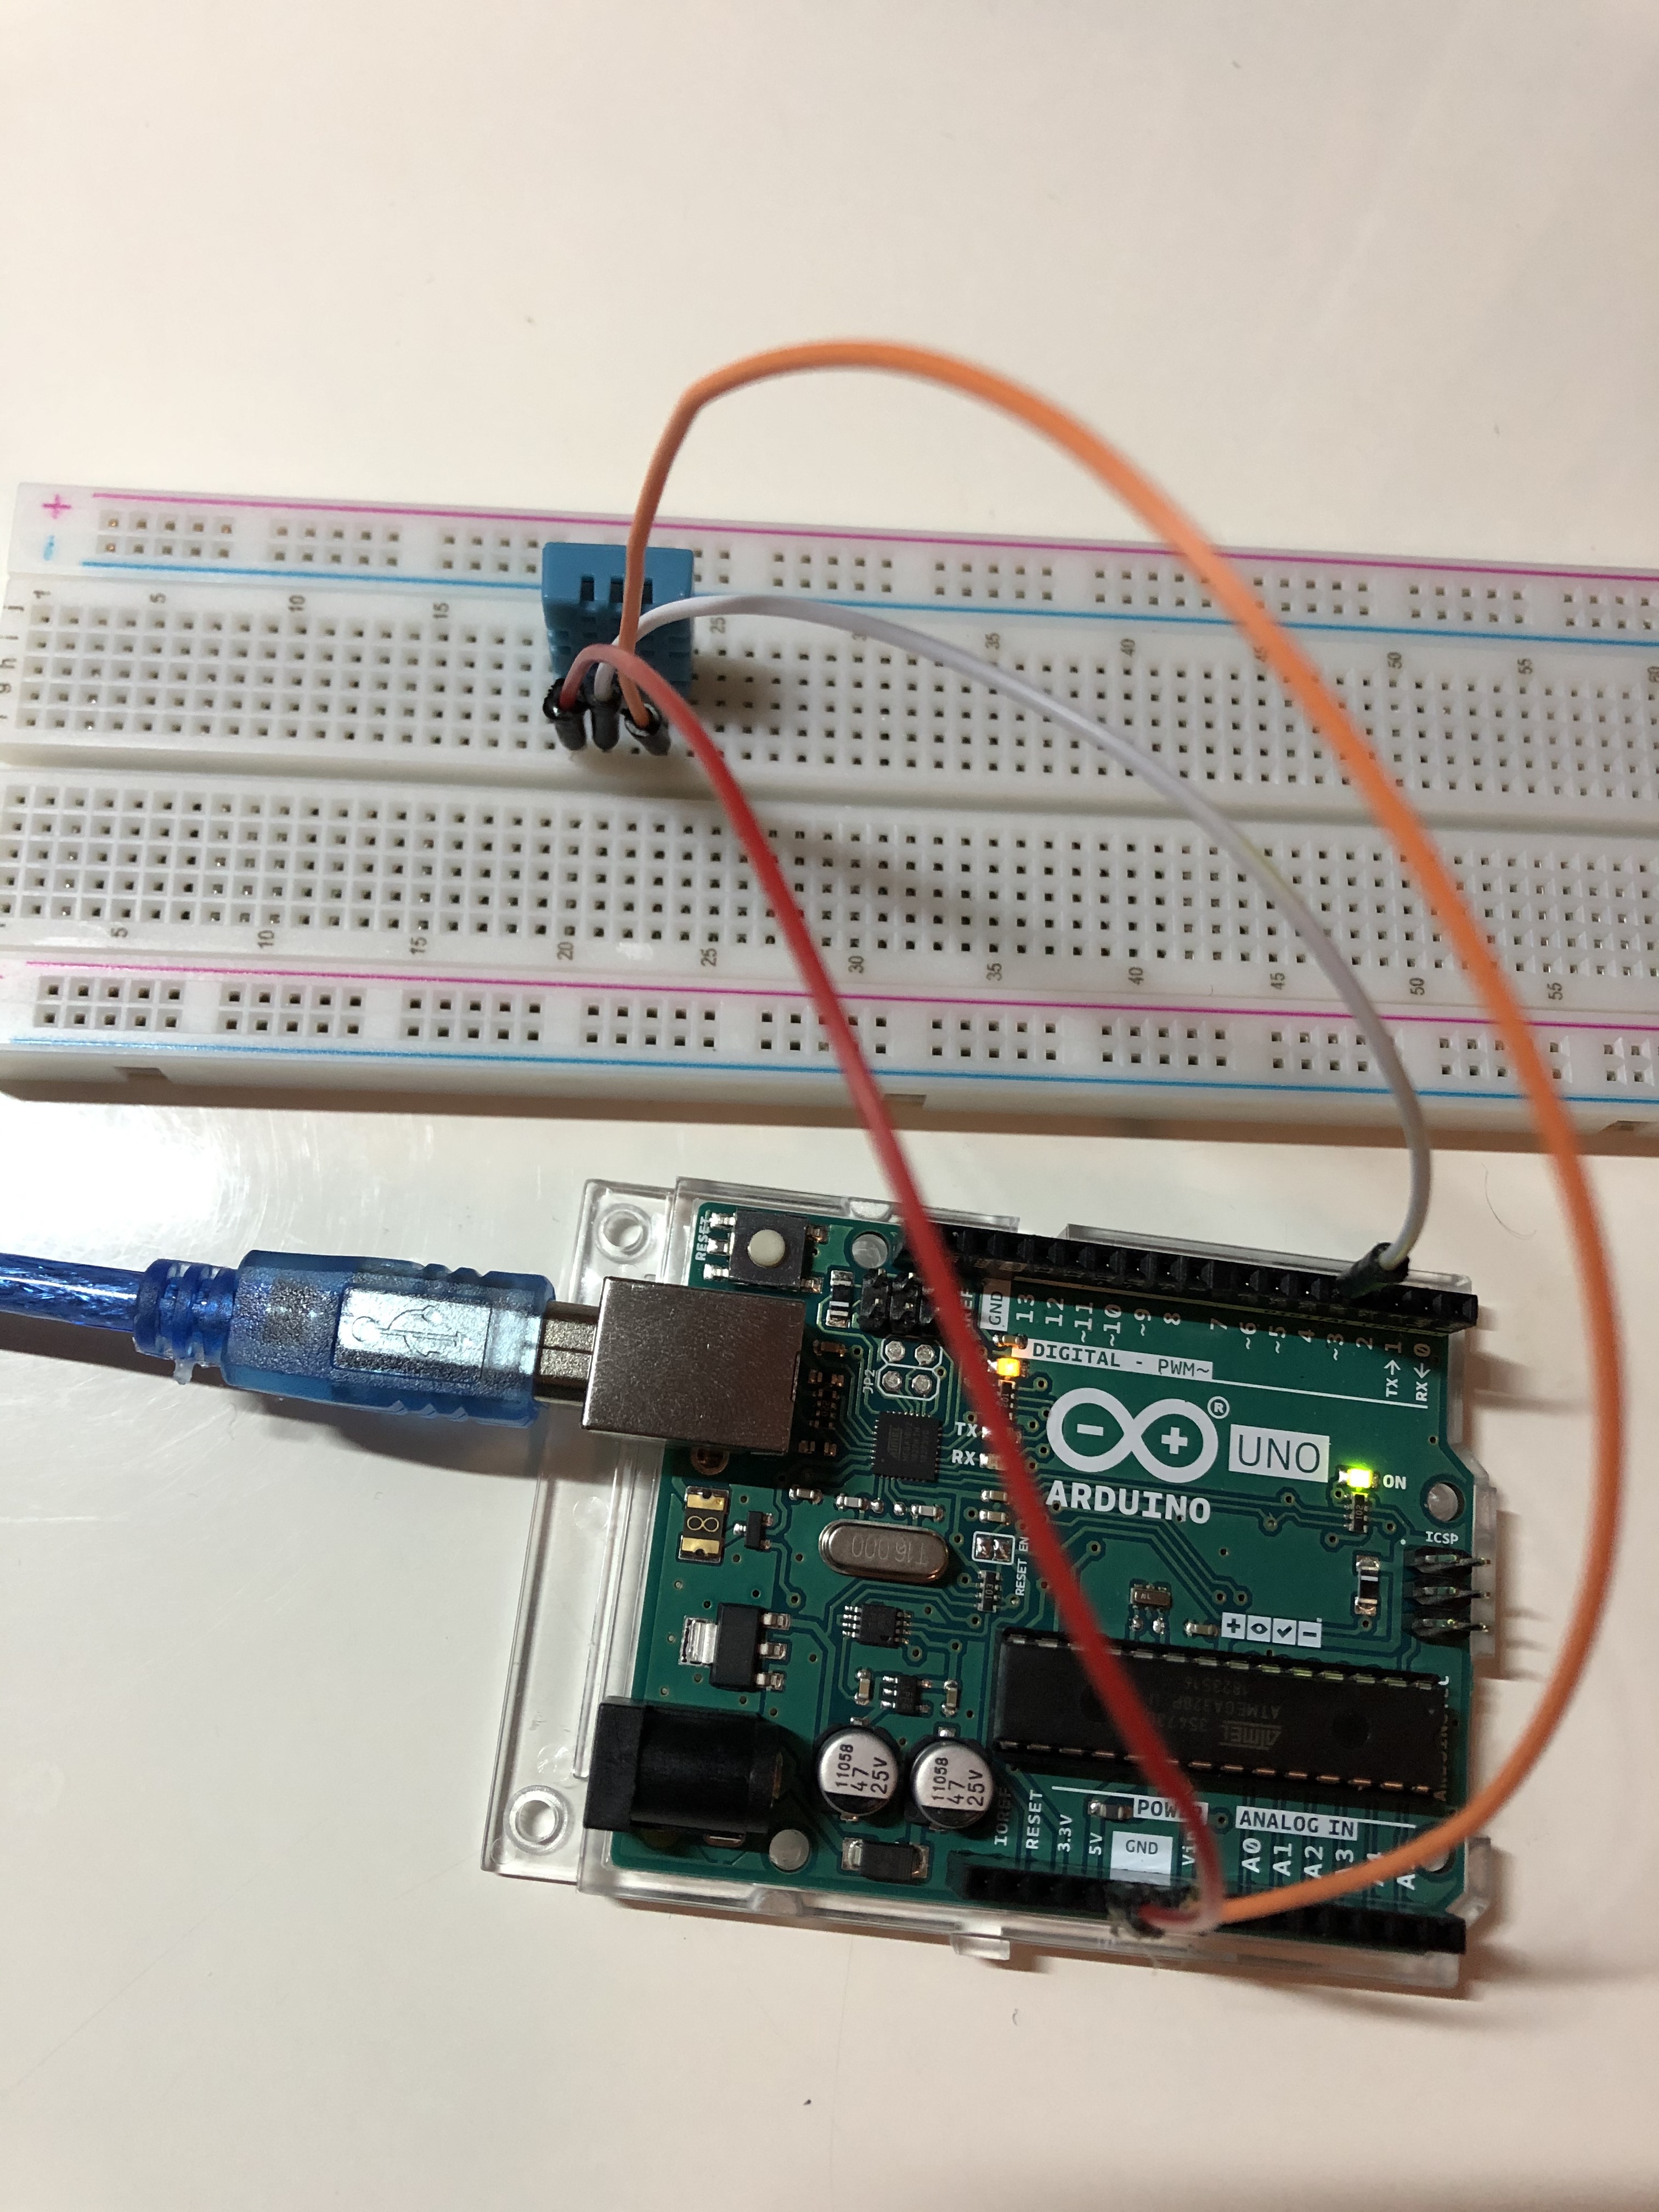
(三) DHT11温湿度传感器
#include <dht11.h>

dht11 DHT;
#define DHT11_PIN 4

void setup() {
  // put your setup code here, to run once:
  Serial.begin(9600);
  Serial.println("DHT test program");
  Serial.print("Library vesion: ");
  Serial.println(DHT11LIB_VERSION);
  Serial.println();
  Serial.println("Type, 	status, 	Humidity (%), 	Temperature (C)");
}

void loop() {
  // put your main code here, to run repeatedly:
  Serial.print("DHT11, 	");
  int chk = DHT.read(DHT11_PIN);
  Serial.println(chk);
  switch (chk){
    case DHTLIB_OK: Serial.print("OK, 	"); break;
    case DHTLIB_ERROR_CHECKSUM: Serial.print("Checksum error, 	"); break;
    case DHTLIB_ERROR_TIMEOUT: Serial.print("Time out error, 	"); break;
    default: Serial.print("Unknow error, 	"); break;
  }
  Serial.print(DHT.humidity, 1);
  Serial.print(", 	");
  Serial.println(DHT.temperature, 1);
  delay(1000);
}
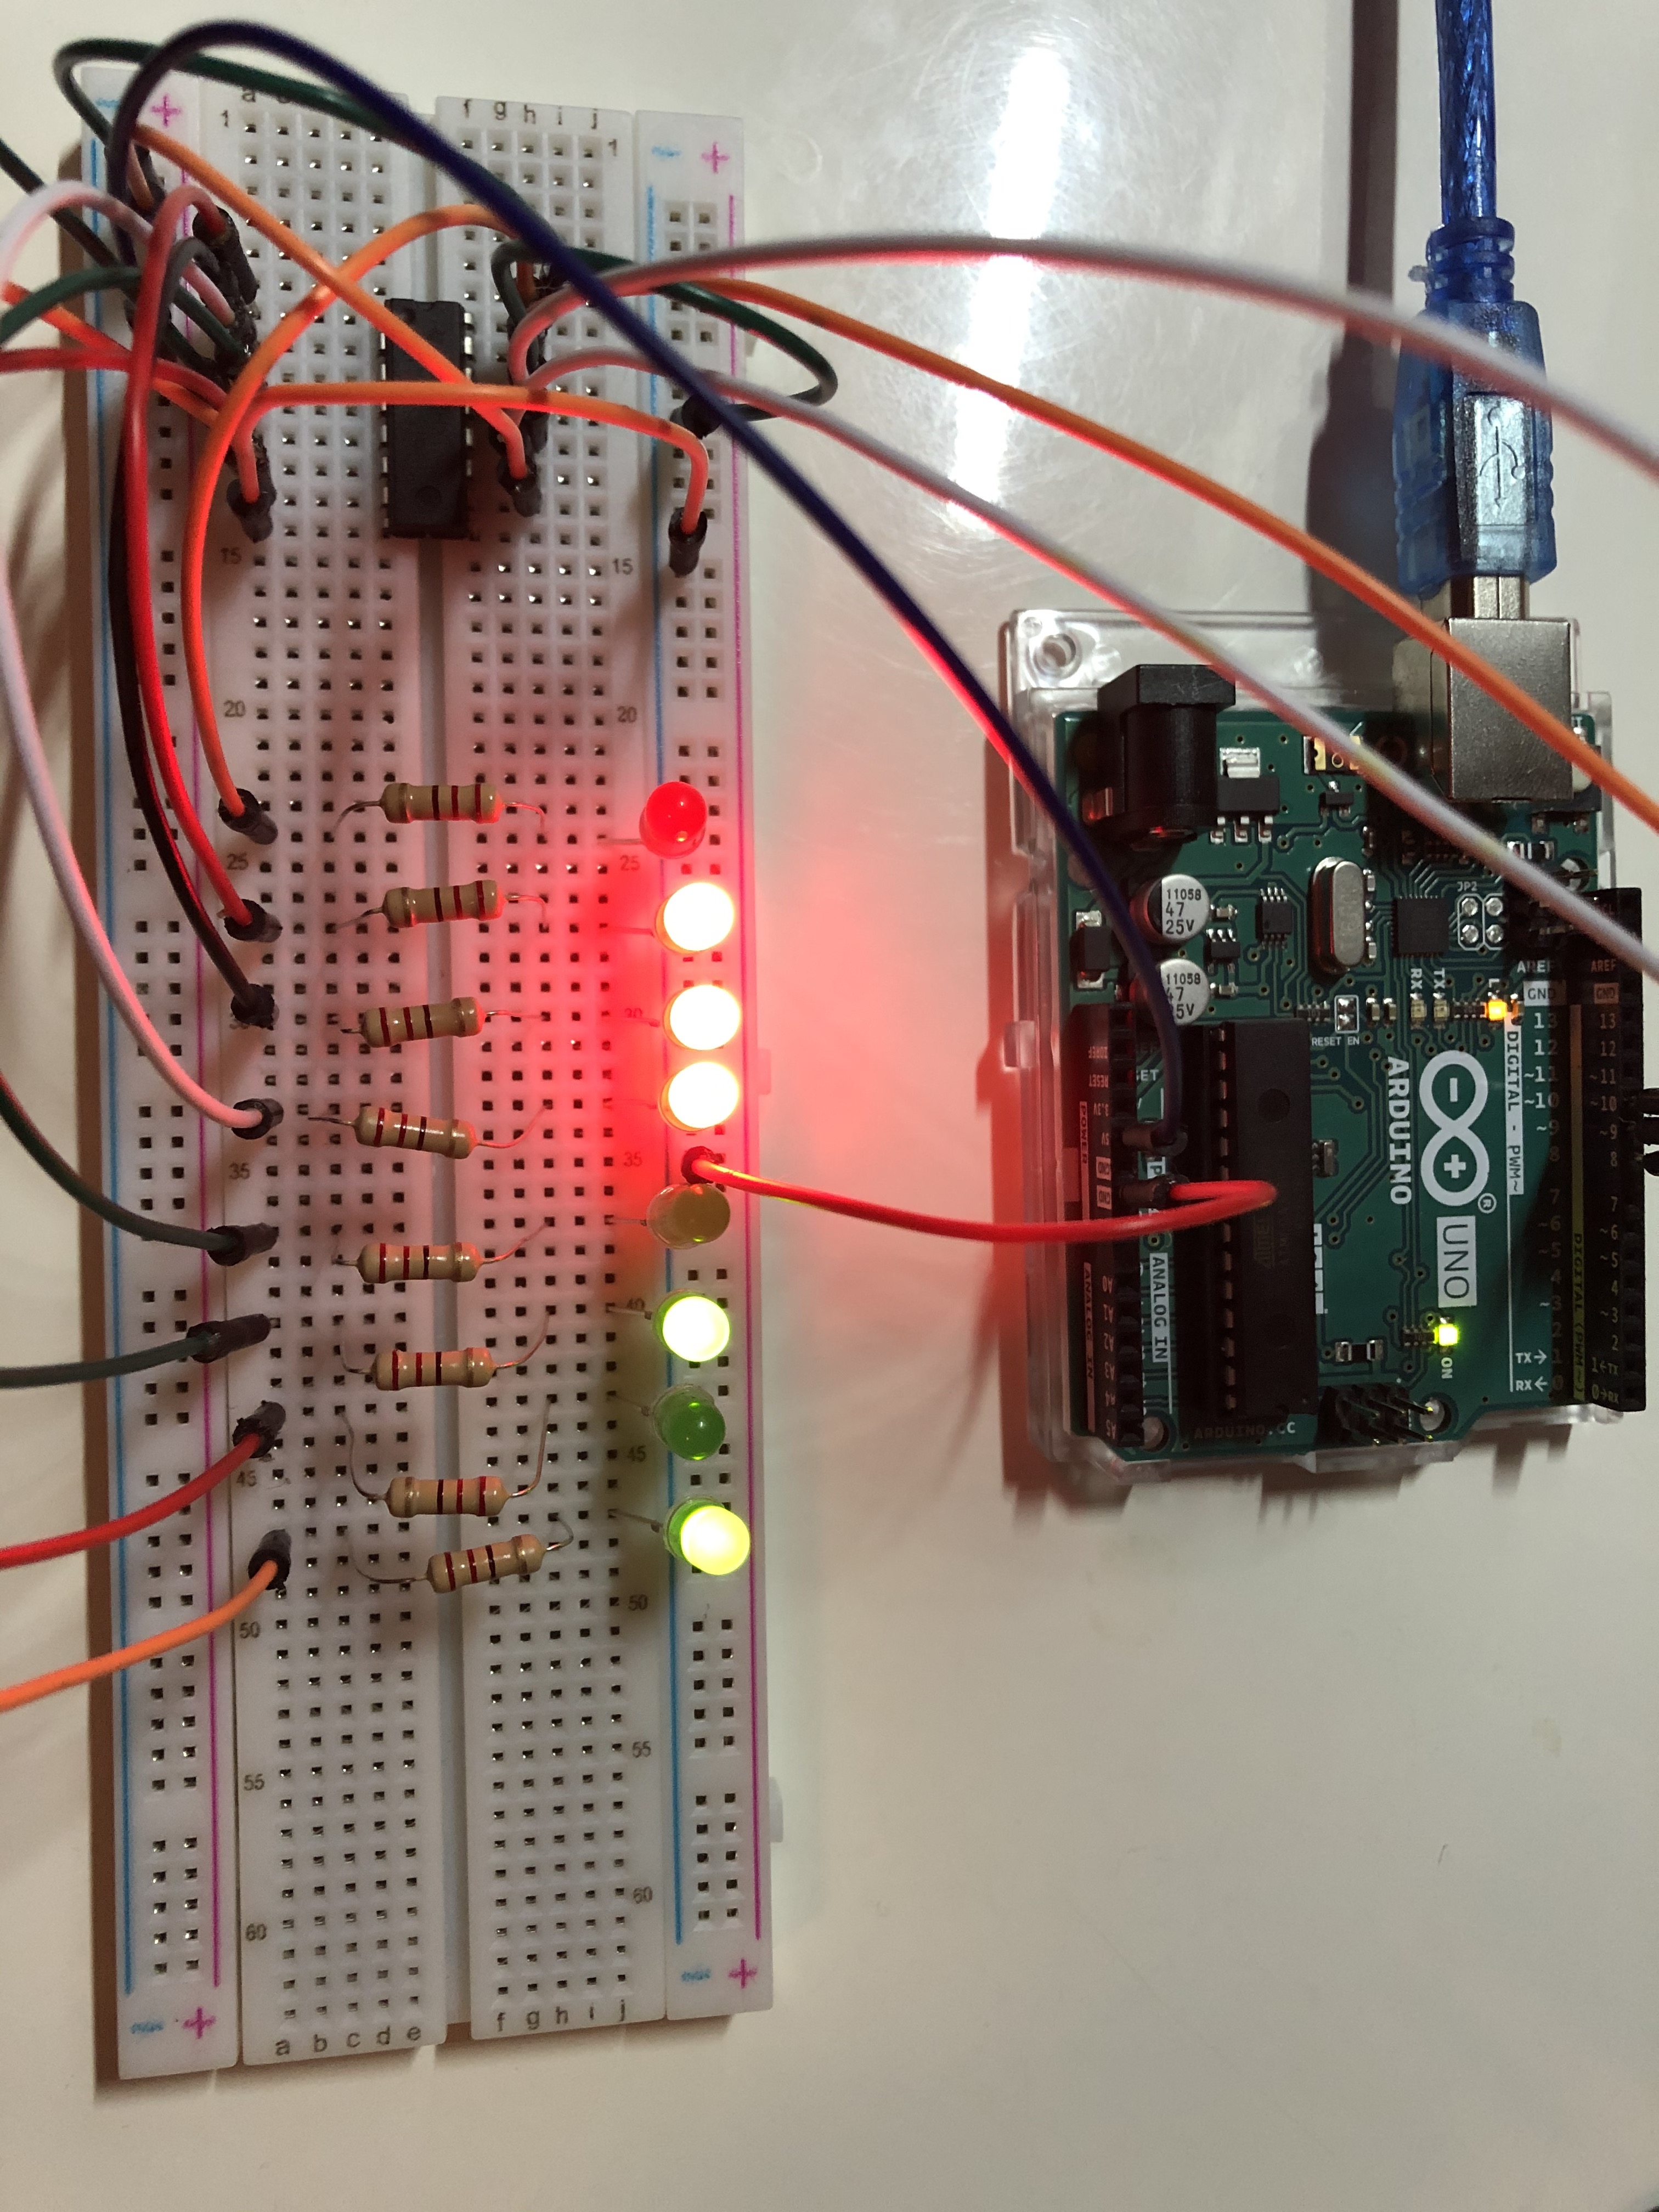
(四) 74HC595位移缓存器
代码
int latchpin = 10;
int clockpin = 9;
int datapin = 8;

void setup() {
  // put your setup code here, to run once:
  pinMode(latchpin, OUTPUT);
  pinMode(clockpin, OUTPUT);
  pinMode(datapin, OUTPUT);
}

void loop() {
  // put your main code here, to run repeatedly:
  for(int data = 0; data < 255; data++){
    digitalWrite(latchpin, LOW);
    shiftOut(datapin, clockpin, LSBFIRST, data);
    digitalWrite(latchpin, HIGH);
    delay(500);
  }
}
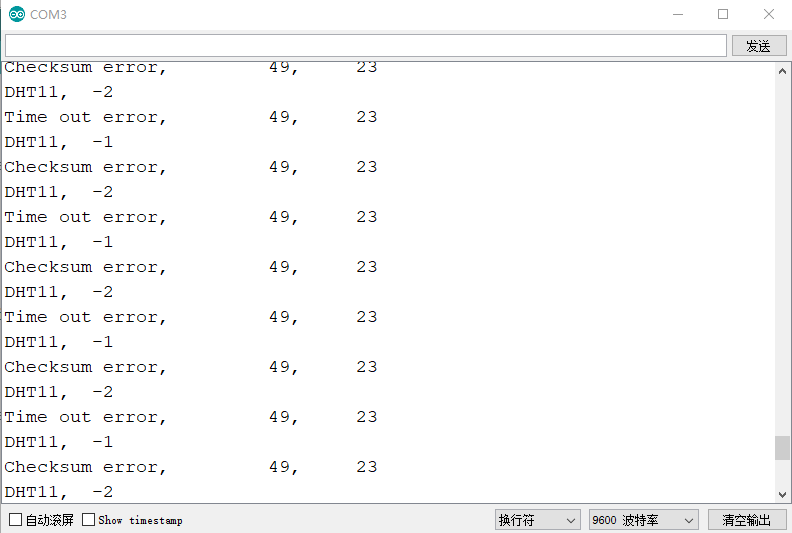
总结:
(1)DHT11温湿度传感器读到的信号,会报错,但是还是有温湿度的变化,不知怎么回事。
(2)模拟输入端A0-A5可以作为I/O口,编号为14-19;
(3)arduino基础的24个入门小实验,做完了,对arduino有了一定的初步认识。
在理解传感器内部的电路的同时,要注意代码的逻辑,和硬件的连接,这类小实验还是很简单的。
(4)下次打算做arduino的一个开源项目,meArm机械臂,希望能对arduino开发板认识更深刻。