一、 安装 js
安装地址:https://nodejs.org/zh-cn/download/current/
备注:Win7系统可使用版本为 13
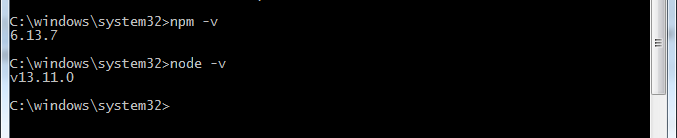
安装完成后,检查是否成功安装
安装完成样式

管理员运行 cmd ;
输入 npm -v (查看 npm 版本)
输入 node -v(查看 node 版本)
二、 js 环境配置
- 在其它磁盘中创建文件夹【node_cache】【node_global】
- 更改全局安装 及 缓存路径,命令如下
- npm config set prefix “E: ode13.11.0 ode_cache”
- npm config set prefix “E: ode13.11.0 ode_cache”
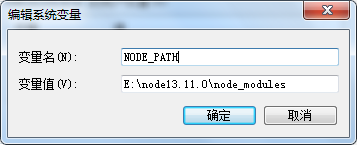
- 配置环境变量
- 右键打开我的电脑—>属性à高级系统设置à环境变量
- 在系统变量中,创建变量【NODE_PATH】,输入【E: ode13.11.0 ode_modules】
在用户变量的【Path】变量中修改输入【E: ode13.11.0 ode_global】
修改完成点击确定
三、安装 newman 相关
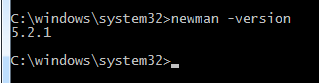
1. 管理员运行 cmd ,输入 npm install –g newman 安装成功
2. 验证 newman –version
3. 安装 html 套件,输入 npm install -g newman-reporter-html
输出报告时使用的命令:
-r html,json,junit 指定生成html,json,xml形式的测试报告
--reporter-json-export jsonReport.json 生成json格式的测试报告
--reporter-junit-export xmlReport.xml 生成xml格式的测试报告
--reporter-html-export htmlReport.html 生成html格式的测试报告
备注:默认生成的测试报告保存在当前目录下,如果文件名前加上路径,则保存在指定的目录下
4. 安装 htmlextra 套件,输入 npm install -g newman-reporter-htmlextra
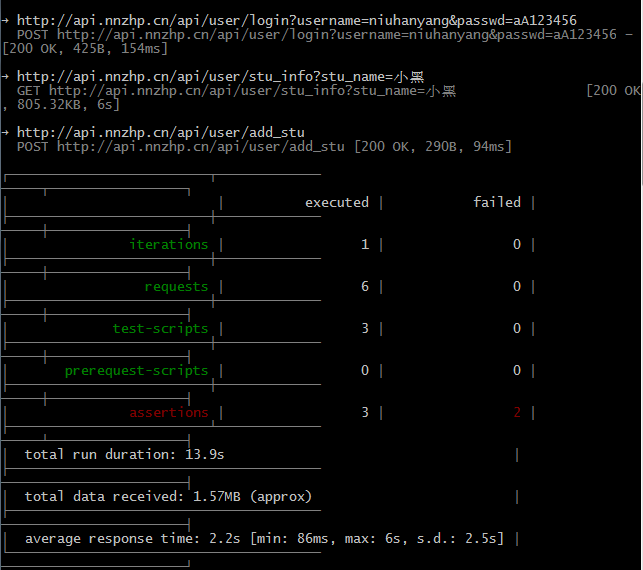
四、运行及测试报告输出
- 简单运行从postman 导出的json文件
输入命令:newman run Python.postman_collection.json


2. 输出json和html文件报告
输入命令:newman run Python.postman_collection.json -r html,json --reporter-json-export jsonReport.json --reporter-html-export htmlReport.html

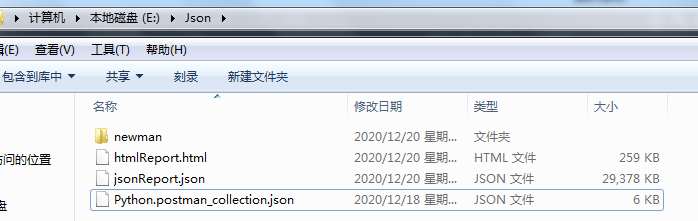
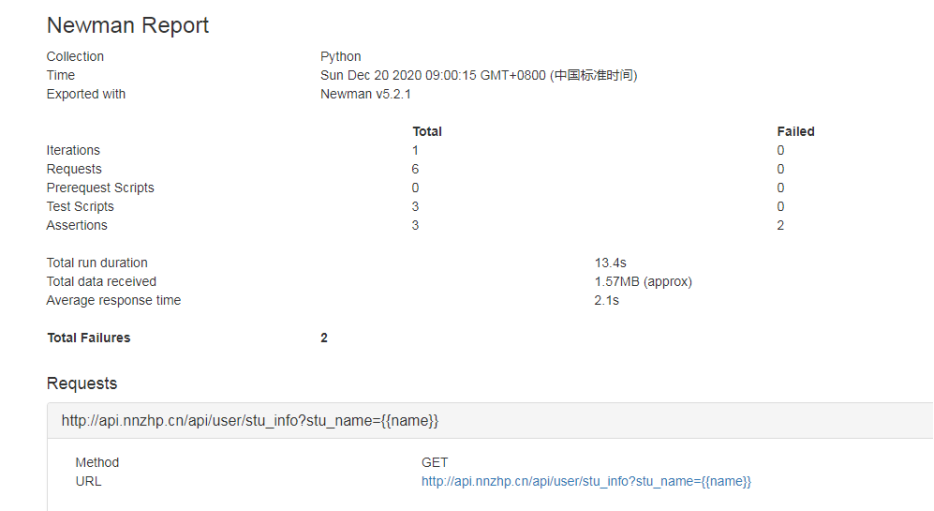
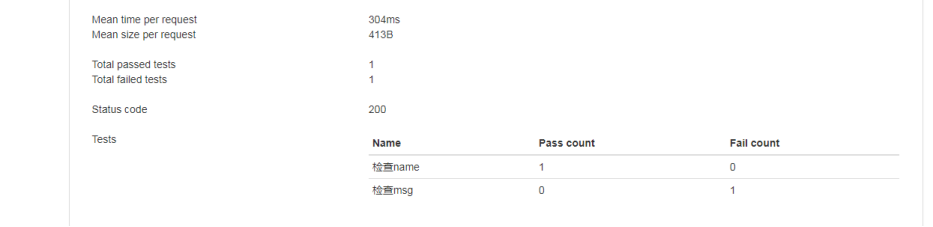
Html 文件打开样式
3. 生成比较高级的html报告
输入命令:newman run Python.postman_collection.json -r htmlextra --reporter-html-export htmlReport.html

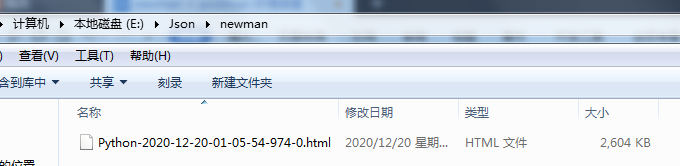
Html 文件打开样式

