一、准备工作
首先新建一个空工程,springboot相关的整合都放在该工程下。
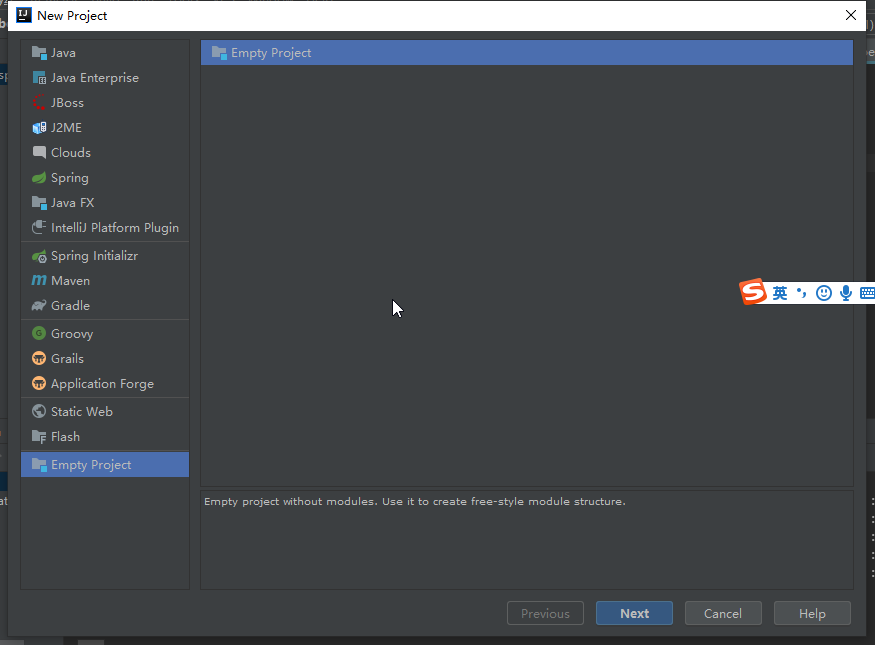
该空工程名称为spring-boot-example

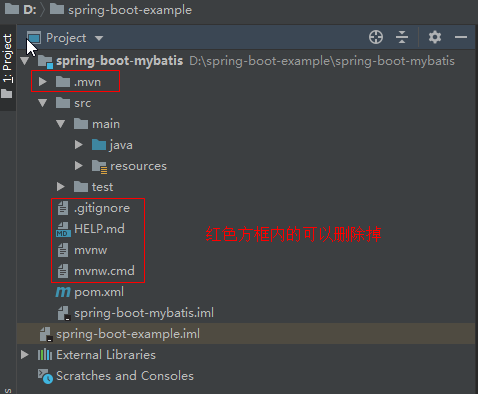
创建好的空工程如下:

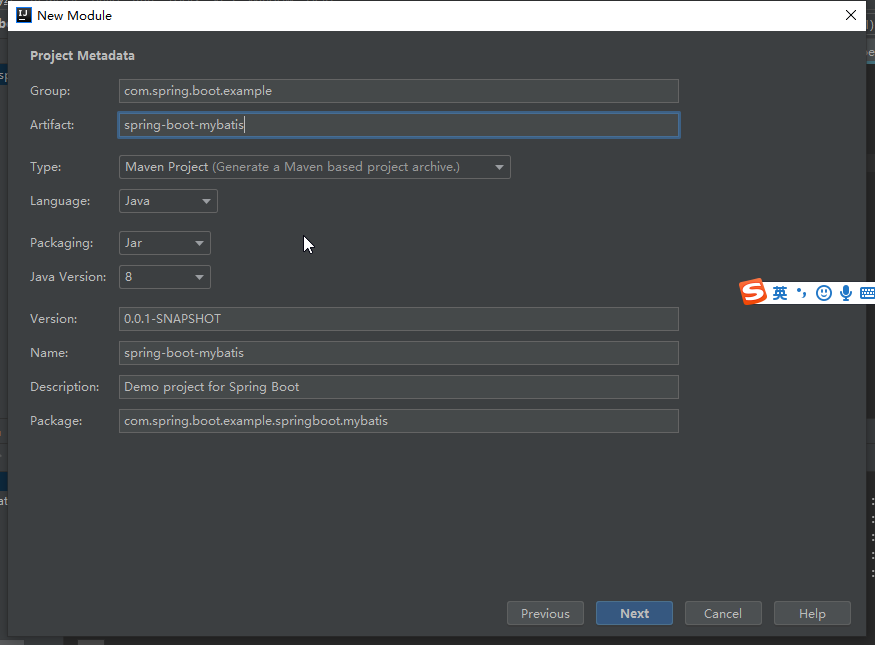
接着我们创建模块

注:使用Spring Initializr是从Spring.io上获取工程,需要保证电脑有网。
模块分组为com.spring.boot.example
模块名为spring-boot-mybatis
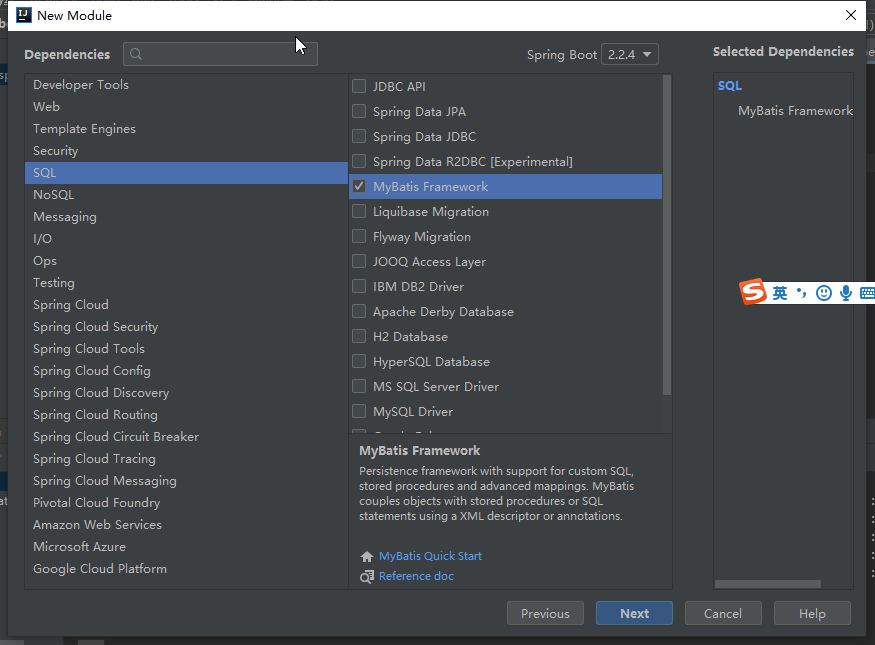
添加MyBatis
添加MySQL驱动依赖
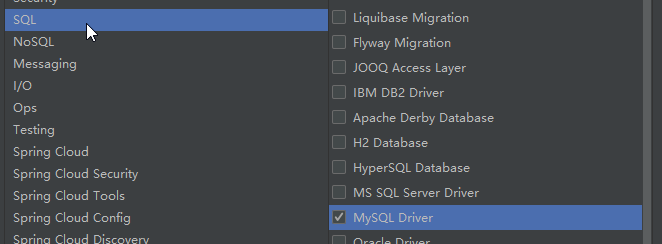
整合mybatis只需要添加MyBatis Framework,SQL驱动即可,
但为了从前端到调用后端接口的完整流程,我们将Web中Spring Web也加上。

创建完成后如下图所示
完整pom.xml依赖
<?xml version="1.0" encoding="UTF-8"?>
<project xmlns="http://maven.apache.org/POM/4.0.0" xmlns:xsi="http://www.w3.org/2001/XMLSchema-instance"
         xsi:schemaLocation="http://maven.apache.org/POM/4.0.0 https://maven.apache.org/xsd/maven-4.0.0.xsd">
    <modelVersion>4.0.0</modelVersion>
    <parent>
        <groupId>org.springframework.boot</groupId>
        <artifactId>spring-boot-starter-parent</artifactId>
        <version>2.2.4.RELEASE</version>
        <relativePath/> <!-- lookup parent from repository -->
    </parent>
    <groupId>com.spring.boot.example</groupId>
    <artifactId>spring-boot-mybatis</artifactId>
    <version>0.0.1-SNAPSHOT</version>
    <name>spring-boot-mybatis</name>
    <description>Demo project for Spring Boot</description>

    <properties>
        <java.version>1.8</java.version>
    </properties>

    <dependencies>

        <!-- web依赖 -->
        <dependency>
            <groupId>org.springframework.boot</groupId>
            <artifactId>spring-boot-starter-web</artifactId>
        </dependency>

        <!--  mybatis -->
        <dependency>
            <groupId>org.mybatis.spring.boot</groupId>
            <artifactId>mybatis-spring-boot-starter</artifactId>
            <version>2.1.1</version>
        </dependency>

        <!-- MySQL驱动-->
        <dependency>
            <groupId>mysql</groupId>
            <artifactId>mysql-connector-java</artifactId>
        </dependency>

        <dependency>
            <groupId>org.springframework.boot</groupId>
            <artifactId>spring-boot-starter-test</artifactId>
            <scope>test</scope>
            <exclusions>
                <exclusion>
                    <groupId>org.junit.vintage</groupId>
                    <artifactId>junit-vintage-engine</artifactId>
                </exclusion>
            </exclusions>
        </dependency>
    </dependencies>

    <build>
        <plugins>
            <plugin>
                <groupId>org.springframework.boot</groupId>
                <artifactId>spring-boot-maven-plugin</artifactId>
            </plugin>
        </plugins>
    </build>

</project>
准备工作做完后,我们接下来创建一张表。和该表对应的实体类。
建表语句:
CREATE TABLE `user` (
  `id` int(11) NOT NULL COMMENT 'id',
  `name` varchar(50) DEFAULT NULL COMMENT 'name',
  `address` varchar(100) DEFAULT NULL COMMENT 'address',
  PRIMARY KEY (`id`)
) ENGINE=InnoDB DEFAULT CHARSET=utf8;
创建实体类

package com.spring.boot.example.springboot.mybatis.dao;

public class User {
    private Integer id;
    private String name;
    private String address;

    public Integer getId() {
        return id;
    }

    public void setId(Integer id) {
        this.id = id;
    }

    public String getName() {
        return name;
    }

    public void setName(String name) {
        this.name = name;
    }

    public String getAddress() {
        return address;
    }

    public void setAddress(String address) {
        this.address = address;
    }
}
二、配置
整体流程:
1首先配置数据库连接地址,用户名密码、驱动。
2编写对应xml文件并与接口关联
3 配置文件添加mybatis相关配置,Spring启动类添加注解扫描对应接口
2.1 配置数据库基本信息
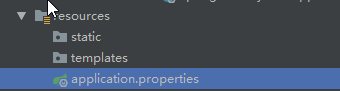
在application.properties中进行配置,具体内容如下:
#数据库地址,localhost使用的本地数据库,如未配置localhost映射可使用127.0.0.1
spring.datasource.url=jdbc:mysql://localhost:3306/spring-boot-example
#用户名密码
spring.datasource.username=xxxx
spring.datasource.password=xxxxxx
#数据库驱动
#此處驱动有两个
#com.mysql.jdbc.Driver
#com.mysql.cj.jdbc.Driver
#MySQL5用的驱动url是com.mysql.jdbc.Driver,MySQL6以后用的是com.mysql.cj.jdbc.Driver。
#使用何种驱动,根据安装MySQL的版本而定
spring.datasource.driver-class-name=com.mysql.cj.jdbc.Driver
#附:使用com.mysql.cj.jdbc.Driver如果出现时区问题(Caused by: java.sql.SQLException: The server time zone value 'XXXXXXXXX' is unrecognized...)
#解决方法一:可参阅https://blog.csdn.net/weixin_43976890/article/details/91397749(未尝试)
#解决方法二:在数据库中执行如下语句: set GLOBAL time_zone='+8:00';(已尝试)


#以上配置都在org.springframework.boot.autoconfigure.jdbc包中。
#mybatis-spring-boot-starter依赖了spring-boot-starter-jdbc。
#自动配置时会将数据库连接相關信息注入到mybatis中
数据库连接信息配置后,我们先来测试下。
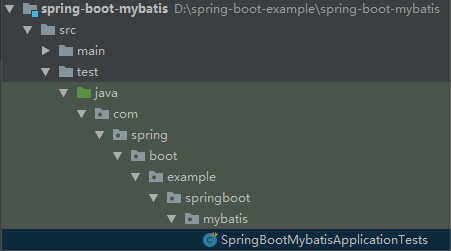
在test文件下,找到测试类,SpringBootMyBatisApplicationTests.
测试类具体内容如下:
package com.spring.boot.example.springboot.mybatis;

import org.junit.jupiter.api.Test;
import org.junit.runner.RunWith;
import org.springframework.beans.factory.annotation.Autowired;
import org.springframework.boot.test.context.SpringBootTest;
import org.springframework.test.context.junit4.SpringJUnit4ClassRunner;

import javax.sql.DataSource;
import java.sql.Connection;
import java.sql.ResultSet;
import java.sql.SQLException;
import java.sql.Statement;

@SpringBootTest
//使其运行在spring环境中进行测试.
//@RunWith如果没有,需要添加Junit依赖,具体解决方法在下面。
@RunWith(SpringJUnit4ClassRunner.class)
class SpringBootMybatisApplicationTests {

    @Autowired
    private DataSource dataSource;

    @Test
    void contextLoads() throws SQLException {
      //根据配置的数据库信息获取连接,执行语句
        Connection connection = dataSource.getConnection();
        Statement statement = connection.createStatement();
        ResultSet resultSet = statement.executeQuery("select * from user");
    //打印结果
        while(resultSet.next()){
            int id = resultSet.getInt(1);
            String name = resultSet.getString(2);
            String address = resultSet.getString(3);
            System.out.println("id:" + id + " name:" + name + " address:" + address);
        }
    }

}
将光标放置contextLoads方法名上,鼠标右键点击运行该方法。
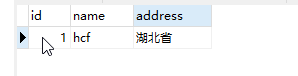
控制台中打印了数据库表中数据

没有RunWith可将光标移至RunWith出,按住Alt+Enter点击AddJUnit4 to classpath.

如果没有提示,可直接在pom.xml中添加JUnit依赖,两者效果一致。
<dependency>
            <groupId>junit</groupId>
            <artifactId>junit</artifactId>
            <scope>test</scope>
        </dependency>
至此,数据库信息配置正确。
2.2编写接口类xml文件。

首先编写接口类,具体内容如下:
package com.spring.boot.example.springboot.mybatis.mapper;

import com.spring.boot.example.springboot.mybatis.dao.User;

public interface UserMapper {

    User getUserById(Integer id);
}
然后在resource文件夹下新建一个mapper文件夹编写对应的xml
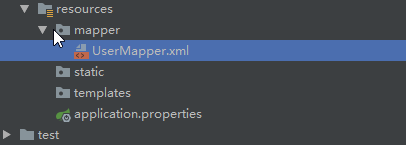
具体内容如下:
<?xml version="1.0" encoding="UTF-8" ?>
<!DOCTYPE mapper
        PUBLIC "-//mybatis.org//DTD Mapper 3.0//EN"
        "http://mybatis.org/dtd/mybatis-3-mapper.dtd">
<!-- 此处与接口类地址对应 -->
<mapper namespace="com.spring.boot.example.springboot.mybatis.mapper.UserMapper">
    <!-- 此处与接口方法名对应 指定参数类型与返回结果类型-->
    <select id="getUserById" parameterType="java.lang.Integer" resultType="com.spring.boot.example.springboot.mybatis.dao.User">
        select * from user where id = #{id}
    </select>
</mapper>
2.3配置文件添加相关信息,SpringBoot启动类添加扫描接口注解
在application.properties中添加如下配置,指明映射文件位置。
#指定映射xml文件位置
#classpath对应resource,*.xml表示配置mapper下所有xml文件
mybatis.mapper-locations=classpath:mapper/*.xml
在SpringBoot启动类下添加扫描接口的注解,这里扫描的是接口,不是xml。

package com.spring.boot.example.springboot.mybatis;

import org.mybatis.spring.annotation.MapperScan;
import org.springframework.boot.SpringApplication;
import org.springframework.boot.autoconfigure.SpringBootApplication;

@SpringBootApplication
@MapperScan("com.spring.boot.example.springboot.mybatis.mapper")//扫描指定包下接口
public class SpringBootMybatisApplication {

    public static void main(String[] args) {
        SpringApplication.run(SpringBootMybatisApplication.class, args);
    }

}
我们继续在test下找到测试类,编写测试UserMapper的方法
package com.spring.boot.example.springboot.mybatis;

import com.spring.boot.example.springboot.mybatis.dao.User;
import com.spring.boot.example.springboot.mybatis.mapper.UserMapper;
import org.junit.jupiter.api.Test;
import org.junit.runner.RunWith;
import org.springframework.beans.factory.annotation.Autowired;
import org.springframework.boot.test.context.SpringBootTest;
import org.springframework.test.context.junit4.SpringJUnit4ClassRunner;

import javax.sql.DataSource;
import java.sql.Connection;
import java.sql.ResultSet;
import java.sql.SQLException;
import java.sql.Statement;

@SpringBootTest
//使其运行在spring环境中进行测试.
//@RunWith如果没有,需要添加Junit依赖,解决方法参考下述
@RunWith(SpringJUnit4ClassRunner.class)
class SpringBootMybatisApplicationTests {

    @Autowired
    private DataSource dataSource;

    @Autowired
    private UserMapper userMapper;

//    @Test
//    void contextLoads() throws SQLException {
//        Connection connection = dataSource.getConnection();
//        Statement statement = connection.createStatement();
//        ResultSet resultSet = statement.executeQuery("select * from user");
//
//        while(resultSet.next()){
//            int id = resultSet.getInt(1);
//            String name = resultSet.getString(2);
//            String address = resultSet.getString(3);
//            System.out.println("id:" + id + " name:" + name + " address:" + address);
//        }
//    }

    @Test void testUserMapper(){
        User userById = userMapper.getUserById(1);
        System.out.println(userById.getId() + " " + userById.getAddress() + " " + userById.getName());
    }

}
运行testUserMapper,控制台中输出了查询到的信息。

最后我们新建一个controller文件夹,创建一个UserController类。
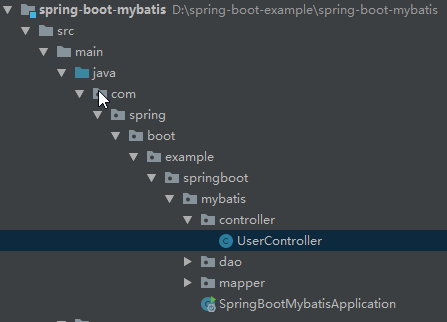
package com.spring.boot.example.springboot.mybatis.controller;


import com.spring.boot.example.springboot.mybatis.dao.User;
import com.spring.boot.example.springboot.mybatis.mapper.UserMapper;
import org.springframework.beans.factory.annotation.Autowired;
import org.springframework.stereotype.Controller;
import org.springframework.web.bind.annotation.RequestMapping;
import org.springframework.web.bind.annotation.ResponseBody;

@Controller
public class UserController {

    @Autowired
    private UserMapper userMapper;

    @ResponseBody
    @RequestMapping("/getUserById")
    public User getUserById(Integer id){
        return userMapper.getUserById(id);
    }
}
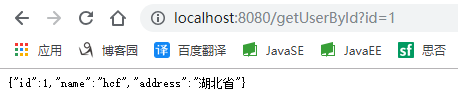
运行SpringBootDataApplication,
在地址栏输入如下地址(或用127.0.0.1代替localhost)
参考:
https://blog.csdn.net/superdangbo/article/details/78732700
https://www.cnblogs.com/huang-changfan/p/10244855.html
https://www.bilibili.com/video/av38657363?p=59