文章结构图:
> 项目进度
终于解决了App端调用云函数,并且在一位学长的帮助下解决了tortoiseGit的使用,这让我可以方便地在HX内直接git,而不用到项目管理器里git bush
> 遇到的问题
1. tortoiseGit运行提示:cannot spawn C:\Program Files\TortoiseGit\bin\TortoiseGitPlink.exe:No such file or directory
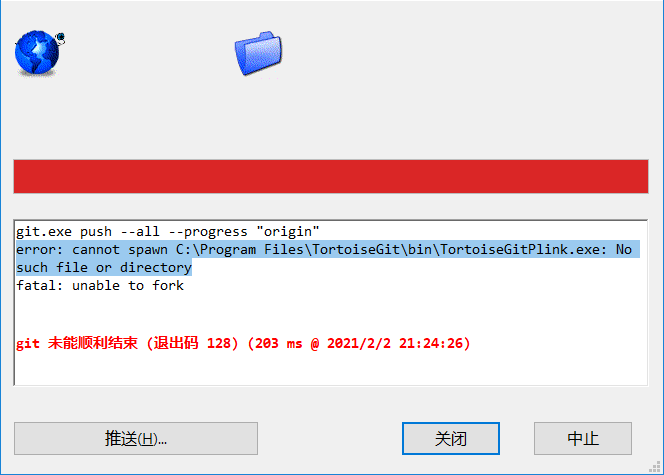
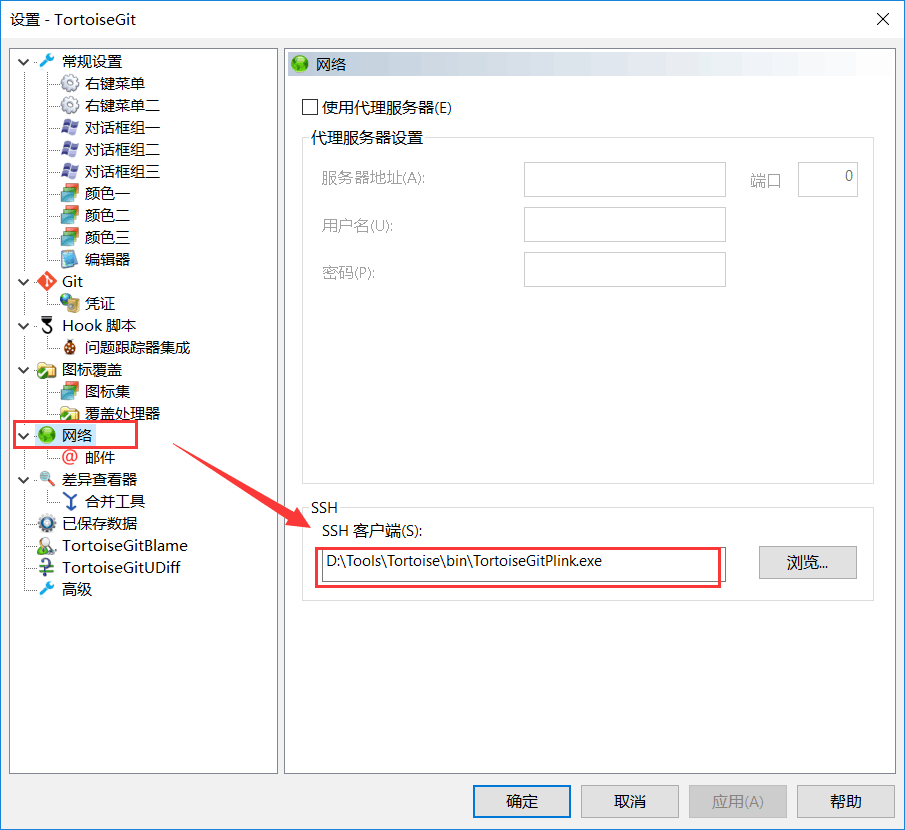
出现该问题主要是由于SSH地址不对,tortoise没法找对对应的程序,解决方法很简单,只需要在桌面右键——tortoiseGit——设置,在网络的SSH里面,配置正确的客户端地址(一般在tortoise的安装目录下)
2. tortoiseGit运行提示:Could not read from remote repository,Please make sure you have the correct access rights and the repository exists.
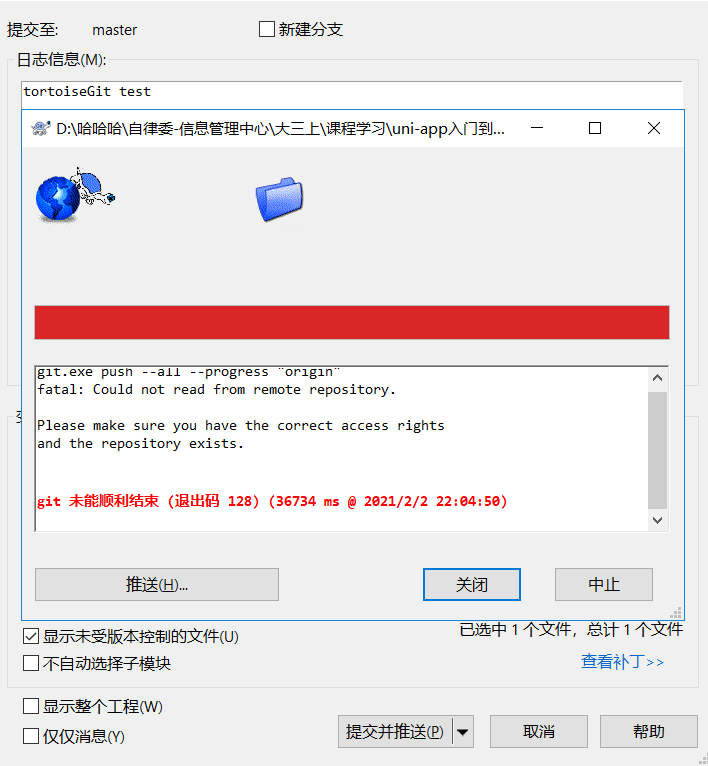
这个问题会麻烦一些,主要是tortoiseGit作为git的附生产品,原本以为它能和git共用一个公私钥,但没想到它还要单独配置一个公私钥,解决方法如下:
首先你需要在tortoiseGit的安装目录下找到puttygen.exe程序,双击运行
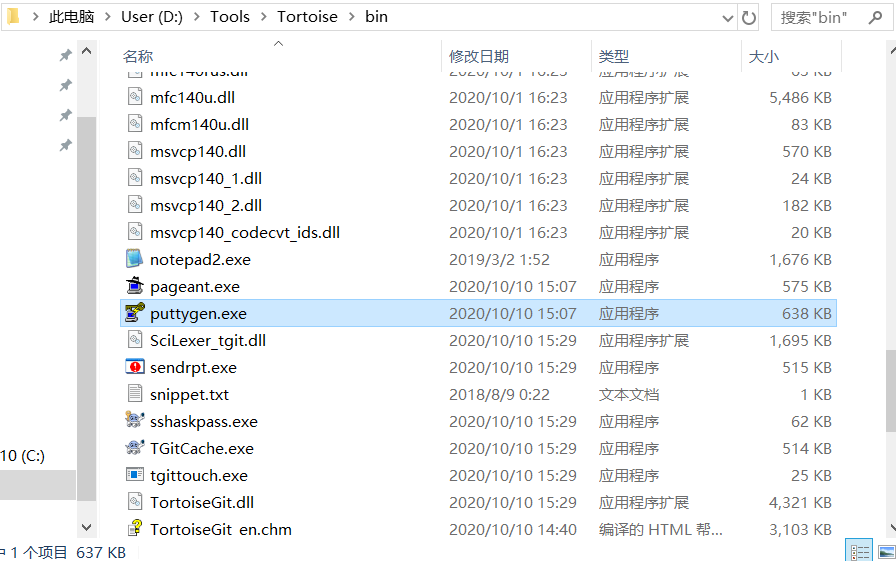
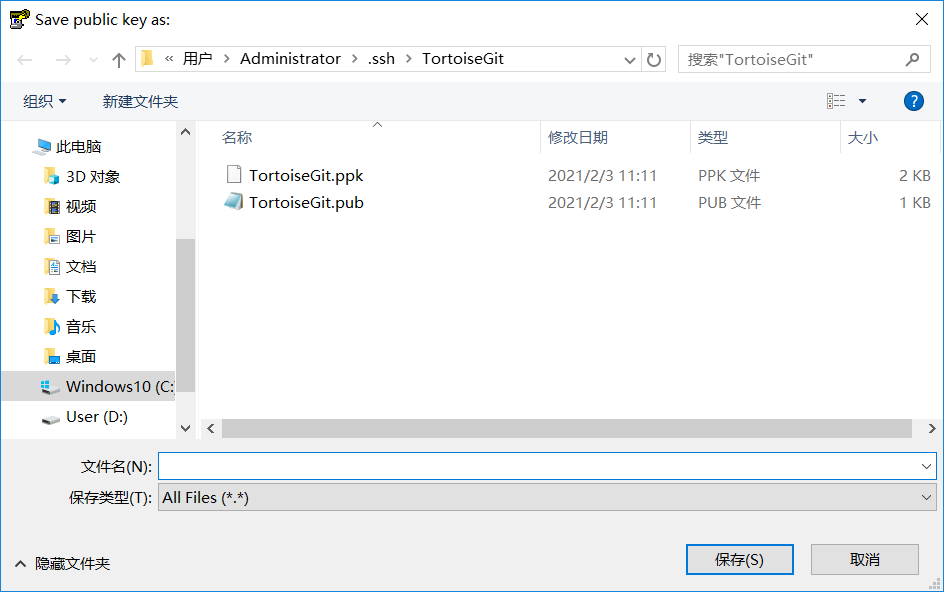
点击generate,生成公钥,随后分别点击底部的Save public key和Save private key,保存为公私钥
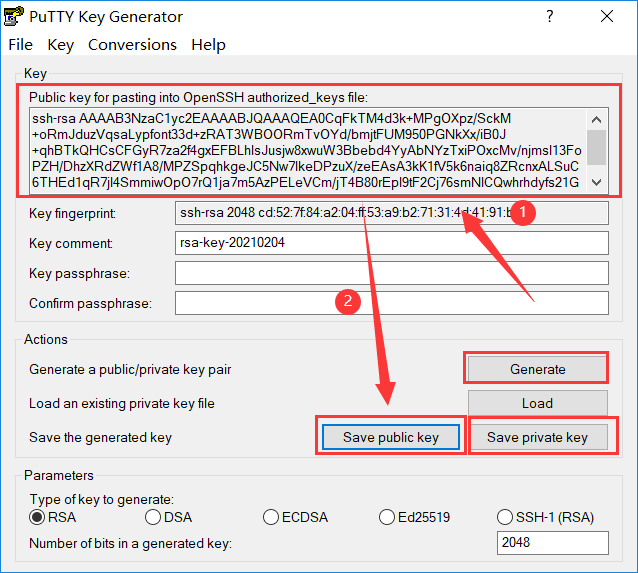
公钥文件后缀为.pub,私钥文件后缀为.ppk
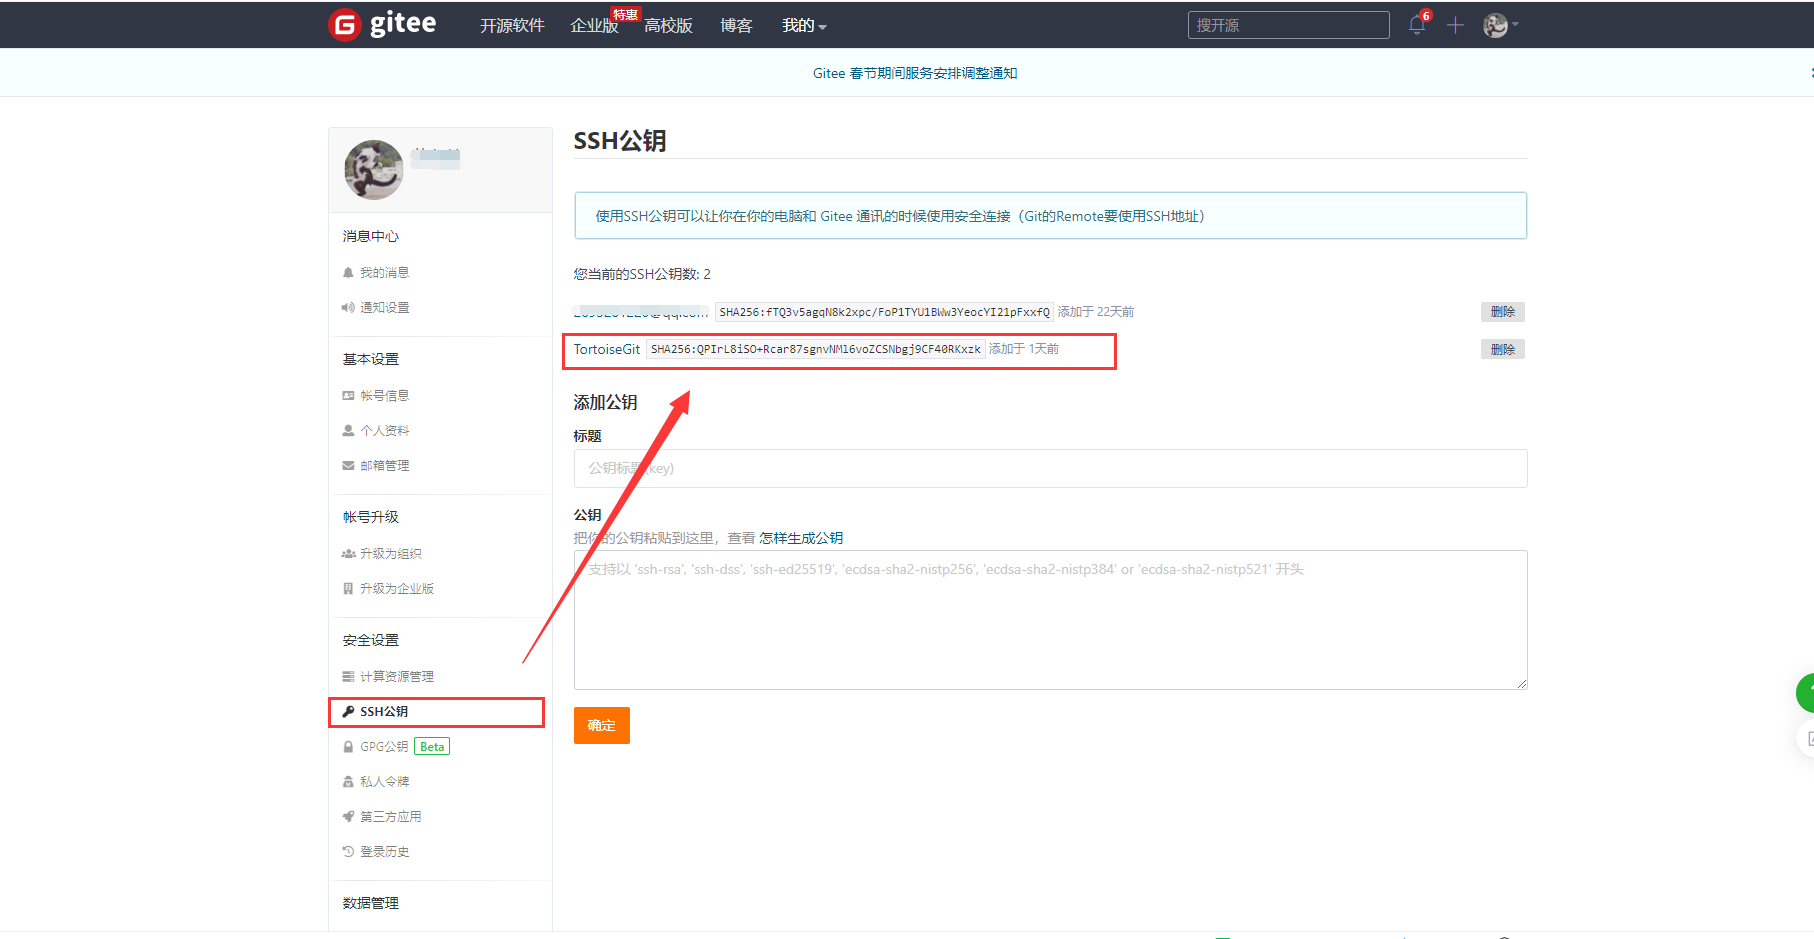
接着在你的git仓库中添加SSH公钥(公钥为刚刚保存的后缀为.pub的文件内容)
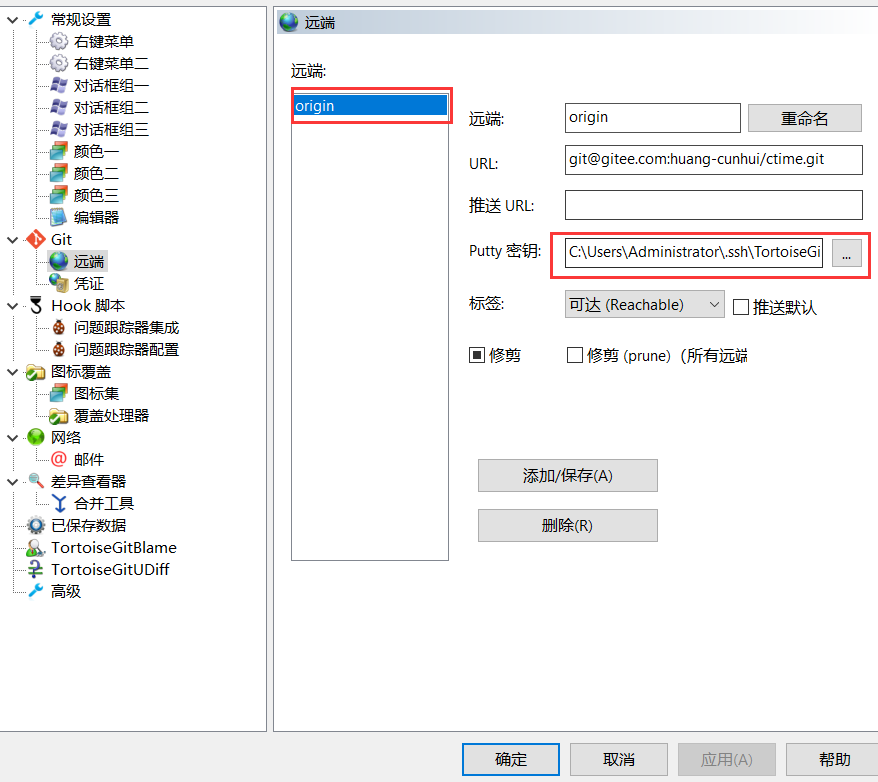
随后在HX中使用git,发现已经可以正常commit,但是push还需要配置一下私钥,在HX中打开git的推送界面,点击远端的管理
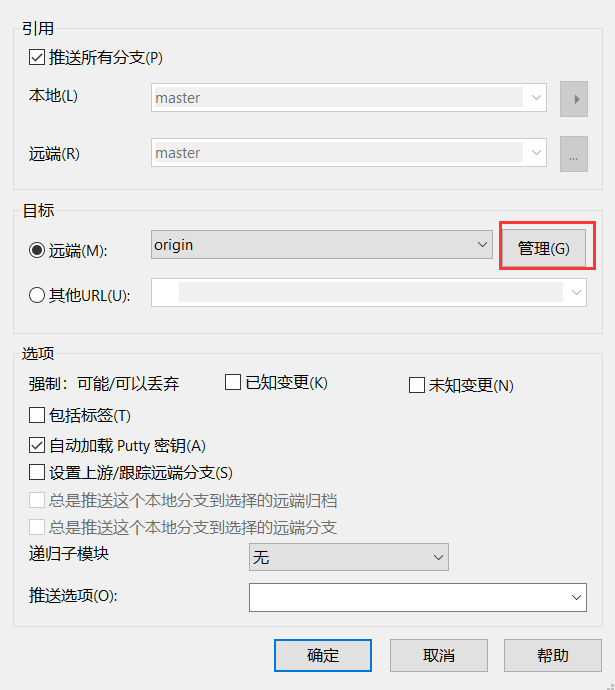
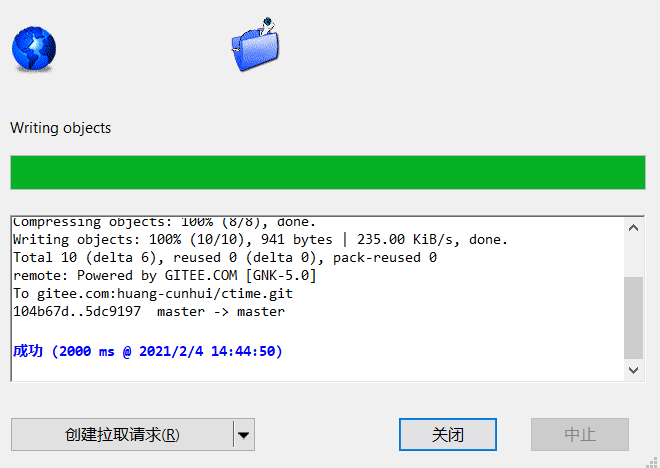
选择一个远端(我的是origin),并为它配置putty私钥(就是刚刚保存的后缀为.ppk的文件),配置完成后就可以正常推送了
推送成功!至此已经可以在HX内正常使用git了
3. 用户名和密码输入框,连续输入字符会报错
这是原先的代码(通过输入框绑定事件,获取输入框的值):
<template>
	<view>
		<input type="text" name="username" placeholder="请输入账号" class="input_style" v-bind:style="focus_style_01" @focus="onFocus_01" @blur="onBlur_01" @input="search_name($event)" />
		<input type="password" name="pass" placeholder="登陆密码" class="input_style" v-bind:style="focus_style_02" @focus="onFocus_02" @blur="onBlur_02" @input="search_pwd($event)" />
	</view>
</template>
<script>
	// 获取name输入框的数值,传给data中的ipt_name
	search_name($event){
		this.ipt_name = event.currentTarget.value
	},
	// 获取pwd输入框的数值,传给data中的ipt_pwd
	search_pwd($event){
		this.ipt_pwd = event.currentTarget.value
	}
</script>
这是更改后的代码(通过v-model传值):
<template>
	<view>
		<input type="text" name="username" placeholder="请输入账号" class="input_style" v-bind:style="focus_style_01" @focus="onFocus_01" @blur="onBlur_01" v-model="ipt_name" />
		<input type="password" name="pass" placeholder="登陆密码" class="input_style" v-bind:style="focus_style_02" @focus="onFocus_02" @blur="onBlur_02" v-model="ipt_pwd" />
	</view>
</template>
修改之后我们无论输入多快,都不会报错了
4. App端调用云函数
最先开始因为在app端输入账号密码后,点击登陆没有反应,并不是云函数的问题,而是数值传递的问题,用了上面的v-model传值,云函数便可以调用了
> 后面的计划
尽管耗费了这么多的时间,而且看似解决了不少问题,可我们项目的核心功能还没有做出来,所以下一步的安排是设计主页面index.vue,完成添加任务的功能