Intro to WSPBuilder
WSPBuilder is a tool for building web solution (WSP) files to deploy out to a SharePoint farm. It is free, open source, and available on CodePlex here: http://www.codeplex.com/wspbuilder. It is a tool that, in my opinion, every SharePoint developer should be using.
So what is a WSP file? WSP files are web solution files. Essentially, they are CAB files that contain a special manifest.xml file that let’s SharePoint know what to do with it. WSP files are stored in the SharePoint solution store. When a WSP file has been stored in the solution store, it can be deployed out to all front-end servers in the farm with one click. When you use WSP files, you no longer have to deploy content to front-end servers using batch scripts and there is no chance of forgetting to deploy to one of your many front-end web servers. As an added bonus, if front-end servers are added to the farm, all deployed web solutions will be deployed to them automatically.
So why use WSPBuilder? WSPBuilder simplifies the rather tedious process of creating WSP files from all of your assemblies, content, and components required to deploy your SharePoint solution. Instead of having to manually create a manifest.xml, a DDF file, and using the makecab.exe utility, you simply have to use the “Build WSP” feature within WSPBuilder.
For this article, I will be downloading the Visual Studio Add-In, since that is the easiest way to use the tool. Installation of the tool is straightforward and consists of clicking the Next button a few times.
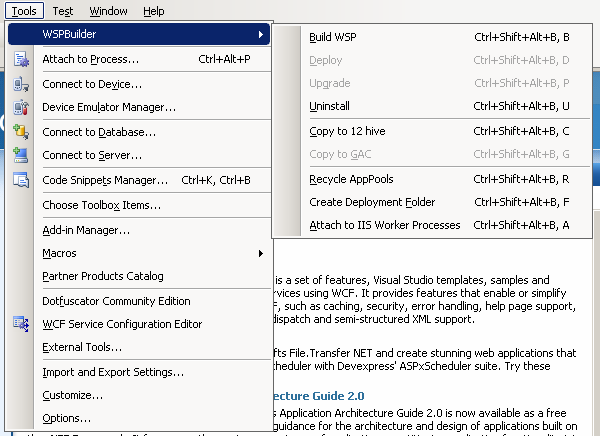
After WSPBuilder has finished installing, go ahead and fire up Visual Studio. You should now see some new options available within the Tools menu as illustrated below:
There will also be a few new project templates available:
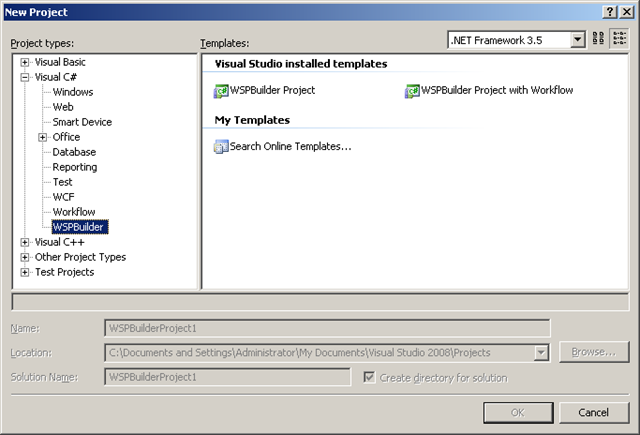
Create a new WSPBuilder project named WSPBuilderDemo. After your project is created, add a new Blank Feature to the project from the WSPBuilder section and name it WSPBuilderContentType:
![]()
This will put two XML files into a folder off of the “12” folder in your project. This folder represent the 12 hive in SharePoint. With this two files we will be building a custom content type. Replace the contents of feature.xml with the following text:
<?xml version="1.0" encoding="utf-8"?>
<Feature  Id="6D588B85-4DF2-4d5e-BFB6-20787D5280C3"
    Title="WSPBuilder Content Type"
    Description="This is a feature for demonstrating WSPBuilder."
    Version="12.0.0.0"
    Hidden="FALSE"
    Scope="Site"
    DefaultResourceFile="core"
    xmlns="http://schemas.microsoft.com/sharepoint/">
    <ElementManifests>
        <ElementManifest Location="elements.xml"/>
    </ElementManifests>
</Feature>
Replace the contents of the elements.xml file with the following text:
We are now ready to build the WSP file. Clicks Tools –> WSPBuilder –> Build WSP. You should see some text in the output window and when all is done, we should have a WSP file in the root folder of our project. Fire up a command prompt and head over to that directory. To add the WSP file to the solution store, issue the following command: stsadm –o addsolution –filename WSPBuilderDemo.wsp. You should see “Operation completed successfully.” meaning that our WSP file is now in the solution store.
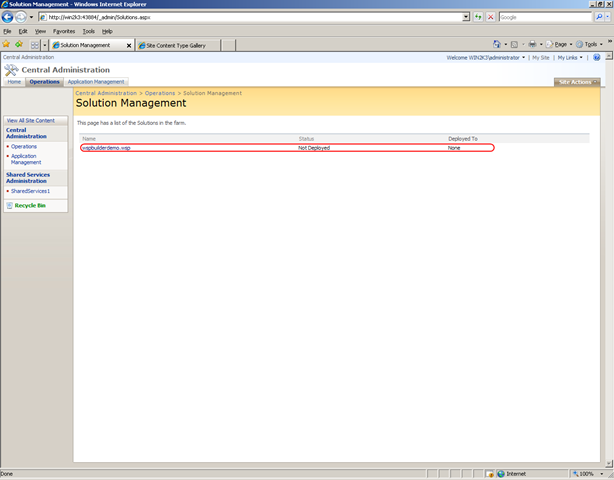
We can see the solution store by going to Central Admin –> Operations Tab –> Solution Management. You should see the wspbuilderdemo.wsp file has now been put into your farm’s solution store:
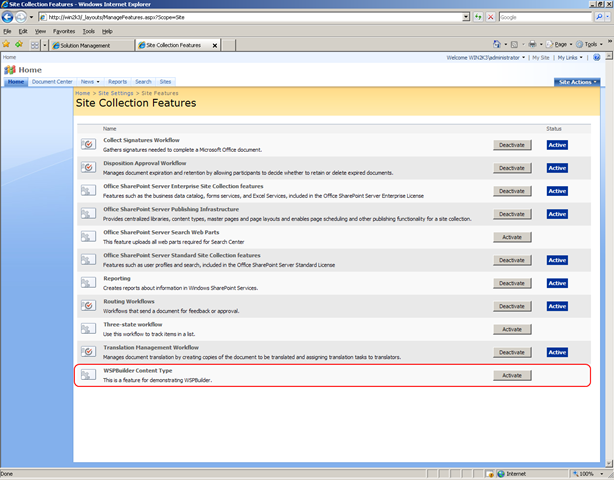
Go ahead and click on wspbuilderdemo.wsp and deploy the feature out globally. Once deployment is finished, you can activate the feature via Site Collection Features:
Then verify its existence in the Site Content Types section of a site within the site collection:
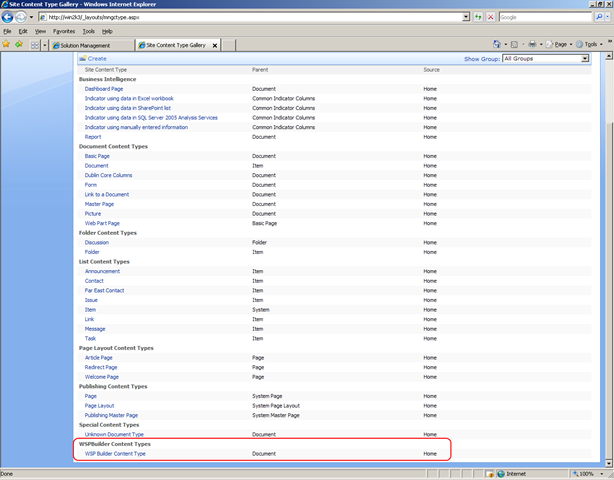
So those are the basics to using WSPBuilder. As you can see, within a few minutes, we were able to build a WSP file, add it to the solution store, and deploy it globally to our SharePoint farm. Keep your eyes out for more on WSPBuilder soon!