说明:
feign默认情况下使用的是JDK原始的URLConnection发送的HTTP请求,没有使用到连接池,但是对每个地址会保持长连接,即HTTP的persistence connection。我们可以利用Apache的HTTP client替换原始的HTTP client,通过设置连接池,超时时间等,对服务调用进行调优。spring cloud从Brixtion.SR5版本之后支持这种替换操作。
1、使用Apache的HTTP client替换feign默认的client
a、项目依赖:
<parent>
        <groupId>org.springframework.boot</groupId>
        <artifactId>spring-boot-starter-parent</artifactId>
        <version>2.0.3.RELEASE</version>
        <relativePath/>
</parent>

<properties>
        <project.build.sourceEncoding>UTF-8</project.build.sourceEncoding>
        <project.reporting.outputEncoding>UTF-8</project.reporting.outputEncoding>
        <java.version>1.8</java.version>
        <spring-cloud.version>Finchley.RELEASE</spring-cloud.version>
</properties>

<dependencyManagement>
        <dependencies>
            <dependency>
                <groupId>org.springframework.cloud</groupId>
                <artifactId>spring-cloud-dependencies</artifactId>
                <version>${spring-cloud.version}</version>
                <type>pom</type>
                <scope>import</scope>
            </dependency>
        </dependencies>
</dependencyManagement>

<dependencies>
        <dependency>
            <groupId>org.springframework.boot</groupId>
            <artifactId>spring-boot-starter-web</artifactId>
        </dependency>
        <!-- Spring Cloud OpenFeign的Starter的依赖 -->
        <dependency>
            <groupId>org.springframework.cloud</groupId>
            <artifactId>spring-cloud-starter-openfeign</artifactId>
        </dependency>
        <!-- 使用Apache HttpClient替换Feign原生httpclient -->
        <dependency>
            <groupId>org.apache.httpcomponents</groupId>
            <artifactId>httpclient</artifactId>
        </dependency>

        <dependency>
            <groupId>com.netflix.feign</groupId>
            <artifactId>feign-httpclient</artifactId>
            <version>8.17.0</version>
        </dependency>
</dependencies>

<build>
        <plugins>
            <plugin>
                <groupId>org.springframework.boot</groupId>
                <artifactId>spring-boot-maven-plugin</artifactId>
            </plugin>
        </plugins>
</build>
b、项目启动类:
import org.springframework.boot.SpringApplication;
import org.springframework.boot.autoconfigure.SpringBootApplication;
import org.springframework.cloud.openfeign.EnableFeignClients;

@SpringBootApplication
@EnableFeignClients
public class SpringCloudFeignApplication {

    public static void main(String[] args) {
        SpringApplication.run(SpringCloudFeignApplication.class, args);
    }
}
c、编写测试代码:
client接口:
import org.springframework.cloud.openfeign.FeignClient;
import org.springframework.http.ResponseEntity;
import org.springframework.web.bind.annotation.RequestMapping;
import org.springframework.web.bind.annotation.RequestMethod;

//https://api.caiyunapp.com/v2/TAkhjf8d1nlSlspN/121.6544,25.1552/forecast.json 彩云天气API
@FeignClient(name = "caiyunapp", url = "https://api.caiyunapp.com/v2/TAkhjf8d1nlSlspN/121.6544,25.1552")
public interface HelloFeignService {

    @RequestMapping(value = "/forecast.json", method = RequestMethod.GET)
    ResponseEntity<byte[]> searchRepo();

}
controller类:
import cn.springcloud.book.feign.service.HelloFeignService;
import org.springframework.beans.factory.annotation.Autowired;
import org.springframework.http.ResponseEntity;
import org.springframework.web.bind.annotation.GetMapping;
import org.springframework.web.bind.annotation.RestController;

@RestController
public class HelloFeignController {

    @Autowired
    private HelloFeignService helloFeignService;

    // 服务消费者对位提供的服务
    @GetMapping(value = "/search")
    public ResponseEntity<byte[]> searchGithubRepoByStr() {
        return helloFeignService.searchRepo();
    }

}
d、工程配置文件:
server:
  port: 8011
spring:
  application:
    name: httpclient-demo

feign:
  httpclient:
      enabled: true
e、启动工程,浏览器访问接口:
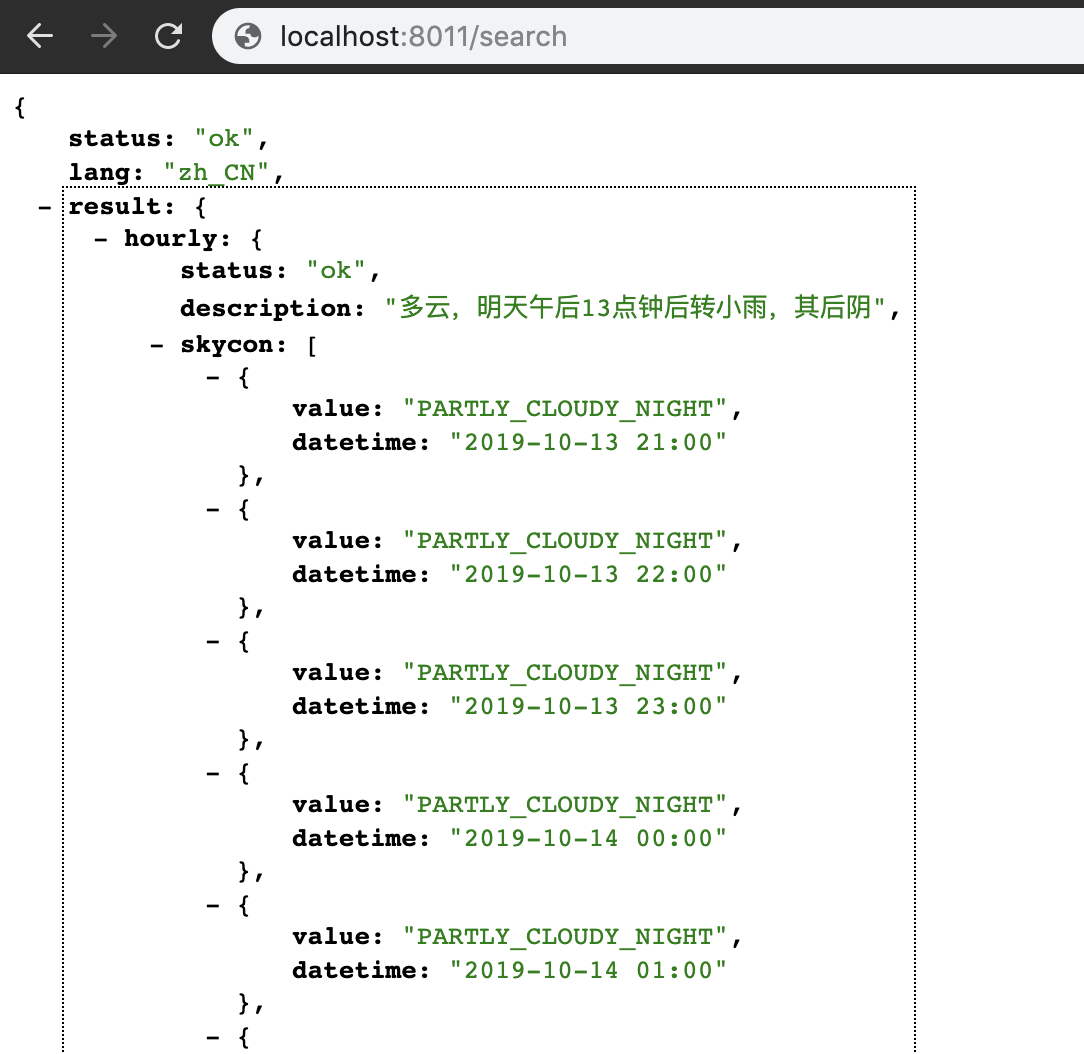
说明替换默认client成功,接口正常访问。
2、使用OKHTTP替换feign默认的client
OKHTTP是目前比较火的一个HTTP客户端,具有以下优点:
- 支持SPDY,可以合并多个到同一主机的请求。
- 使用连接池技术减少请求延迟。
- 使用GZIP压缩减少传输数据量。
- 缓存响应避免重复请求。
a、项目依赖:
跟上面的依赖类似,排除下面的依赖:
<!-- 使用OKHTTP无需这2个依赖 -->
<!-- 使用Apache HttpClient替换Feign原生httpclient -->
<dependency>
            <groupId>org.apache.httpcomponents</groupId>
            <artifactId>httpclient</artifactId>
</dependency>

<dependency>
            <groupId>com.netflix.feign</groupId>
            <artifactId>feign-httpclient</artifactId>
            <version>8.17.0</version>
</dependency>
加上下面的配置:
<dependency>
            <groupId>io.github.openfeign</groupId>
            <artifactId>feign-okhttp</artifactId>
</dependency>
b、在上面的代码编写基础上,编写一个配置类,如下:
import feign.Feign;
import okhttp3.ConnectionPool;
import org.springframework.boot.autoconfigure.AutoConfigureBefore;
import org.springframework.boot.autoconfigure.condition.ConditionalOnClass;
import org.springframework.cloud.openfeign.FeignAutoConfiguration;
import org.springframework.context.annotation.Bean;
import org.springframework.context.annotation.Configuration;

import java.util.concurrent.TimeUnit;

@Configuration
@ConditionalOnClass(Feign.class)
@AutoConfigureBefore(FeignAutoConfiguration.class)
public class FeignOkHttpConfig {
    @Bean
    public okhttp3.OkHttpClient okHttpClient(){
        return new okhttp3.OkHttpClient.Builder()
                 //设置连接超时
                .connectTimeout(60, TimeUnit.SECONDS)
                //设置读超时
                .readTimeout(60, TimeUnit.SECONDS)
                //设置写超时
                .writeTimeout(60,TimeUnit.SECONDS)
                //是否自动重连
                .retryOnConnectionFailure(true)
                .connectionPool(new ConnectionPool())
                //构建OkHttpClient对象
                .build();
    }

}
c、配置文件:
server:
  port: 8011
spring:
  application:
    name: okhttp-demo


feign:
    httpclient:
         enabled: false
    okhttp:
         enabled: true
d、启动项目,访问接口,即可正常获取到数据,表明替换成功。