之前Flask博客的文本编辑器使用的是markdown,对部署洗该语法的用户不够友好,因此这里为博客添加个简单易用的Tinymce文本编辑器。
github见:https://github.com/ikheu/my_flasky
1 项目中添加Tinymce
下载好Tinymce包以及语言包,并添加到项目中。添加到项目的方法,参考了这篇文章:Pyhton日记——给Flask加上优雅的TinyMCE编辑器。tinymce_setup.js是配置文件,设置了文本编辑器的语言、按钮等。

2 编辑器表单
为了和其它表单的风格保持一致,这里仍使用了Flask-wtf表单。配置文件tinymce_setup.js中标识了id为content的标签作为Tinymce编辑器显示,这里为editor字段添加了相应的指示。测试发现,表单的editor显示为Tinymce后,使用验证函数无法对输入进行判断,这里将输入的判断放入视图函数中。
class EditorForm(FlaskForm):
    title = StringField('标题', validators=[DataRequired(),  Length(1, 64)])
    editor = TextAreaField('正文', id = 'content')
    submit = SubmitField('发表')
3 视图函数
使用request.method判断请求为POST后,判断输入是否为空,若无输入则给予flask消息提醒。若已登录的用户具有写博客的权限,则输入的内容作为Post的body_html属性创建新的博客。Tinymce将输入的文本内容转为html代码,因此这里使用body_html,而不使用body。
@main.route('/editor', methods=['GET', 'POST'])
@login_required
def editor():
    ''' 编辑器界面 '''
    form = EditorForm()
    if request.method == 'POST':
        if not form.editor.data:
            flash('Write something.')
            return render_template('editor.html', form=form)
        if current_user.can(Permission.WRITE_ARTICLES):
            print(request.form)
            post = Post(title=request.form['title'],
                        body_html=request.form['editor'],
                        author=current_user._get_current_object())
            db.session.add(post)
            db.session.commit()
            return redirect(url_for('.post', id=post.id))
    return render_template('editor.html', form = form)
4 编辑器页面
在editor.html中加入tinymce.min.js、tinymce_setup.js这两个文件。使用wtf.quick_form渲染编辑器表单。
{% extends "base.html" %}
{% import "bootstrap/wtf.html" as wtf %}
{% block title %}Editor{% endblock %}
{% block head %}
{{ super() }}
    <script src="{{ url_for('static', filename='tinymce/js/tinymce/tinymce.min.js') }}"></script>
    <script src="{{ url_for('static', filename='js/tinymce_setup.js') }}"></script>
{% endblock %}

{% block page_content %}
{{ wtf.quick_form(form) }}
{% endblock %}
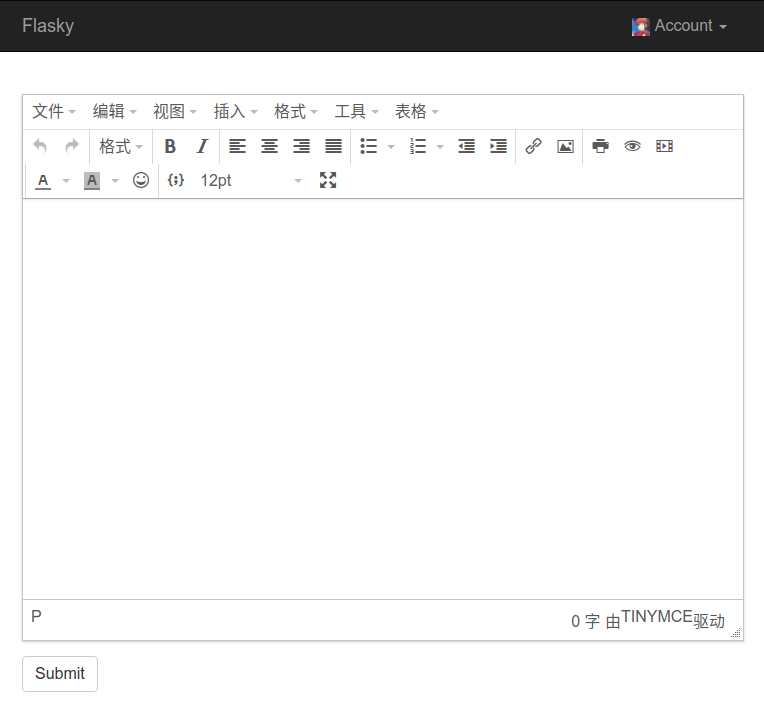
编辑器界面显示如下:

5 代码高亮
在编辑界面上,代码是可以高亮的:

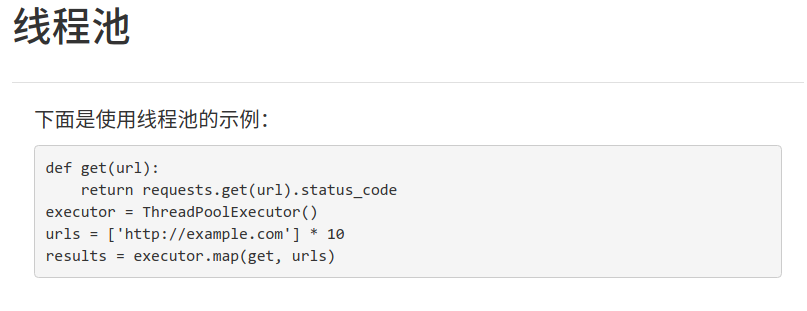
提交后,由于没有关联到任何渲染样式,代码自然无法高亮:

为了保证提交前后的显示是一样的,仍想使用与tinyMCE编辑窗口中的样式来渲染提交后的页面。查了tinyMCE官网发现,需要手动配置js和css文件。下载渲染程序并添加到文章页的html文件中:
{% block head %}
    {{ super() }}
    <link rel="stylesheet" type="text/css" href="{{ url_for('static', filename='prism.css') }}">
    <script src="{{ url_for('static', filename='js/prism.js') }}"></script>
{% endblock %}
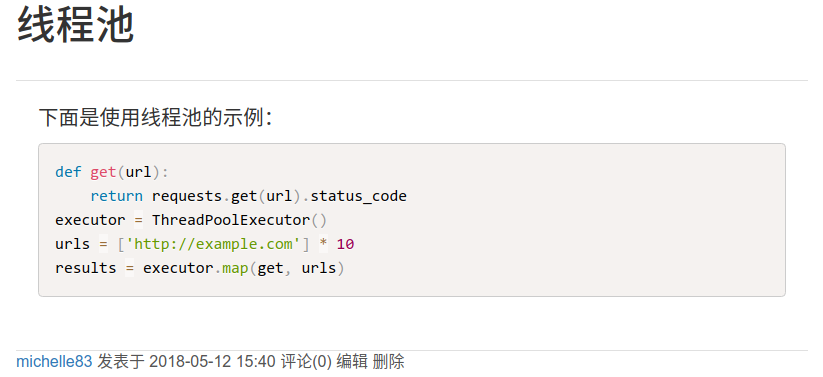
刷新文章页,显示如下:

大功告成。