1.简介
当HBase数据库中存在非常重要的业务数据的时候为了保护数据的可以对数据进行备份处理。对于HBase来说从备份操作来看可分为离线备份和在线备份。
2. 前准备
在测试环境上准备有哦两套HBase集群,资源有限原因他们共享一个hdfs集群和zookeeper,通过配置不同node路径和数据路径来区别开。
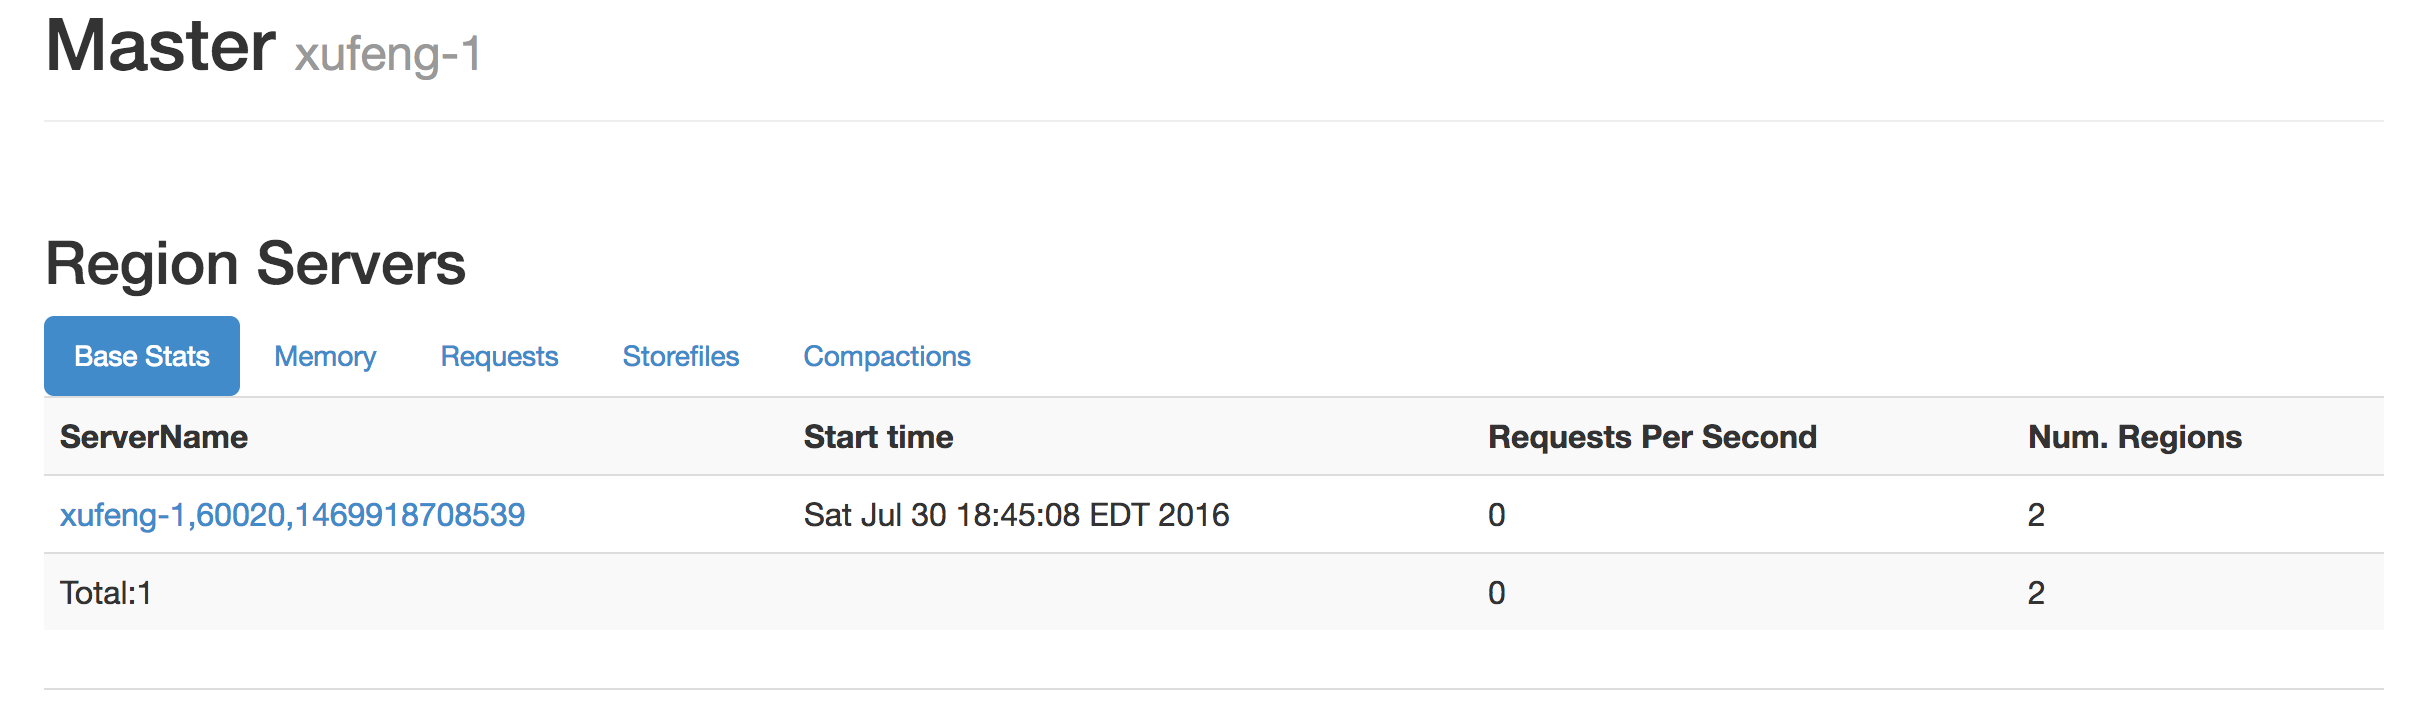
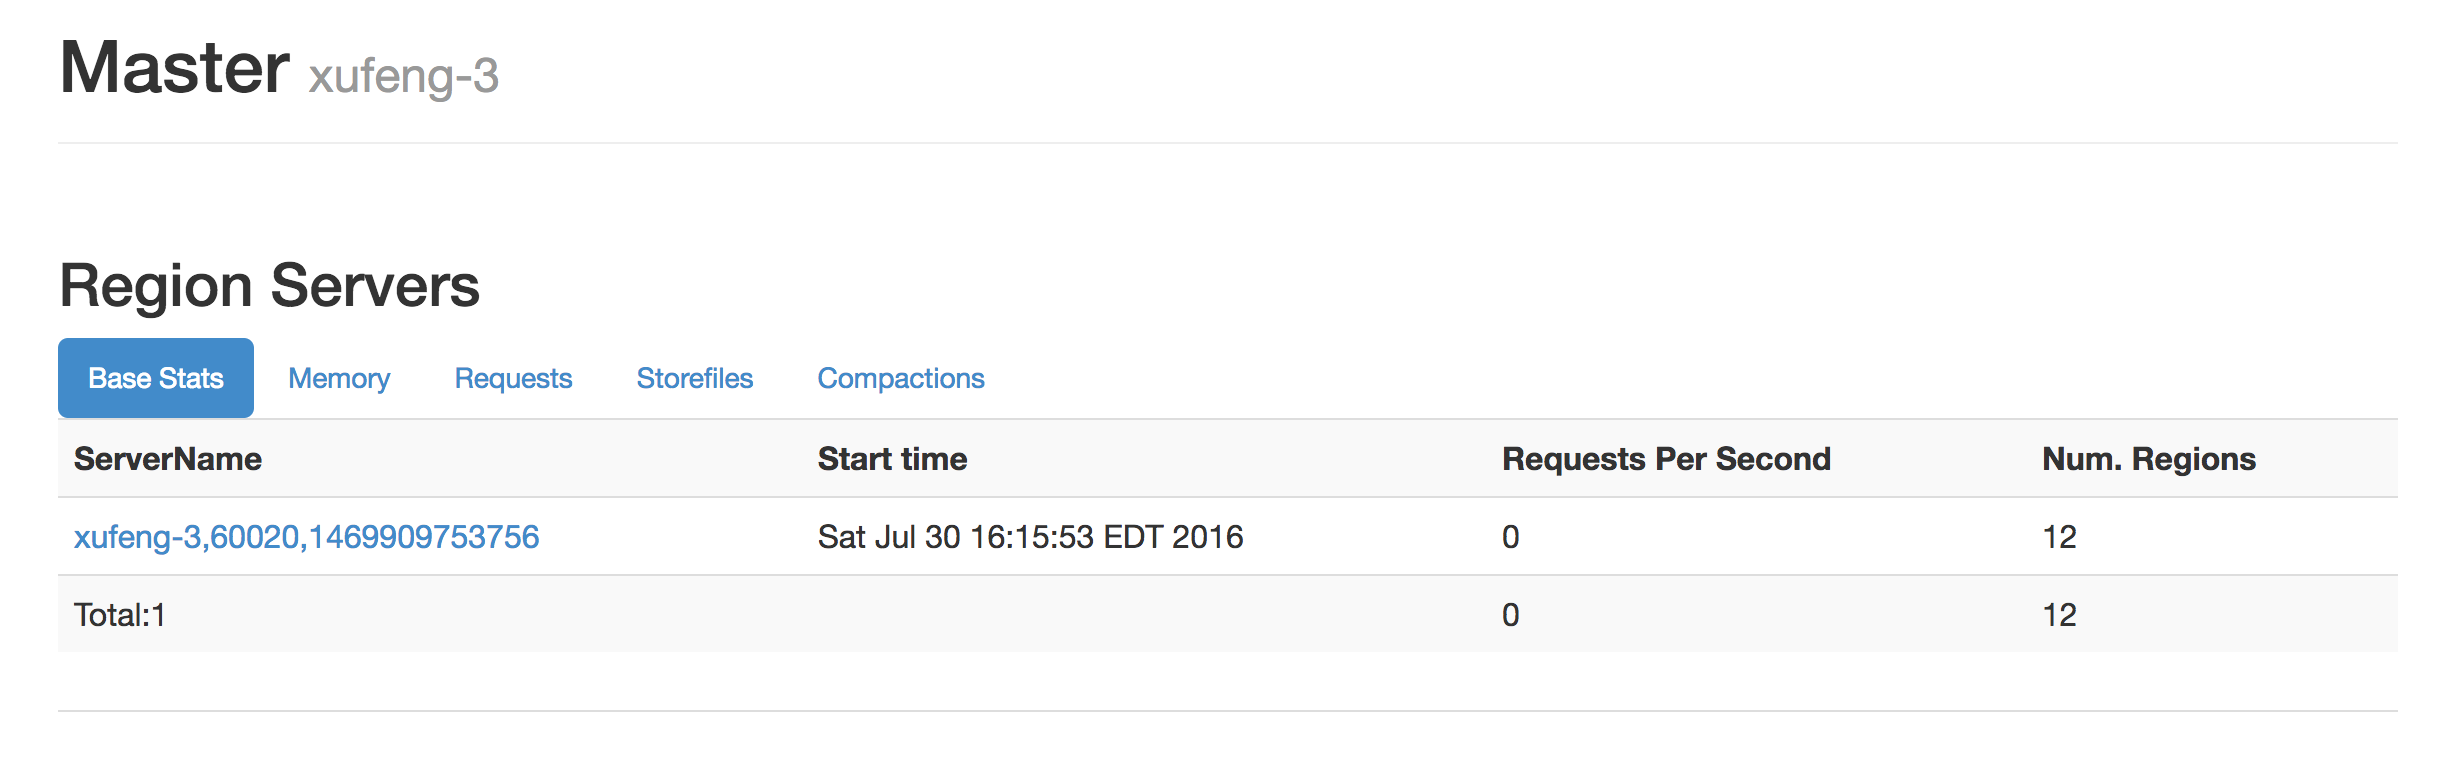

其中xufeng-1上的集群中没有任何数据,xufeng-3集群上存在一些表和数据:
3.离线备份
离线备份顾名思义,在做备份的时候需要将集群停止,然后将集群在hdfs上的数据文件夹完整的拷贝到其他目录或者其他hdfs上,之后可以使用让其他集群或本集群重新加载这些数据从而达到备份的目的。之所以需要停止集群,因为如果集群处于服务状态的话,如果拷贝过程中,有数据正在插入或者表正在被创建等就会造成备份的数据的内部冲突。
3.1需求
对于上述前准备的两个集群,我们将xufeng-3这个集群上的数据备份出来,然后将这些数据直接拷贝到xufeng-1这个集群的对应的hdfs目中去。启动集群xufeng-1检查数据备份是否成功。
3.2 实现步骤:
步骤1:停止两个集群
步骤2:删除目标目录文件夹
hadoop fs -rmr /hbase_backup
步骤3:由于在测试中实在同一个hdfs集群上拷贝数据的,所以这里简单地使用了hadoop fs -cp 命令将xufeng-3集群对应的/hbase目录下的所有内容拷贝到xufeng-1集群对应的/hbase_backup目录中去。
hadoop fs -cp /hbase /hbase_backup
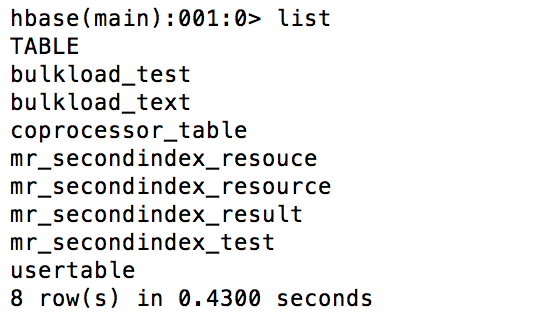
步骤4:启动xufeng-1集群检查结果:
hbase(main):001:0> list
TABLE
bulkload_test
bulkload_text
coprocessor_table
mr_secondindex_resouce
mr_secondindex_resource
mr_secondindex_result
mr_secondindex_test
usertable
8 row(s) in 0.4480 seconds

=> ["bulkload_test", "bulkload_text", "coprocessor_table", "mr_secondindex_resouce", "mr_secondindex_resource", "mr_secondindex_result", "mr_secondindex_test", "usertable"]
hbase(main):003:0> scan 'bulkload_test'
ROW                                            COLUMN+CELL
 rowKey10                                      column=f1:a, timestamp=1469912957257, value=a_10
 rowKey10                                      column=f2:b, timestamp=1469912957257, value=b_10
 rowKey6                                       column=f1:a, timestamp=1469912957257, value=a_6
 rowKey6                                       column=f2:b, timestamp=1469912957257, value=b_6
 rowKey7                                       column=f1:a, timestamp=1469912957257, value=a_7
 rowKey7                                       column=f2:b, timestamp=1469912957257, value=b_7
 rowKey8                                       column=f1:a, timestamp=1469912957257, value=a_8
 rowKey8                                       column=f2:b, timestamp=1469912957257, value=b_8
 rowKey9                                       column=f1:a, timestamp=1469912957257, value=a_9
 rowKey9                                       column=f2:b, timestamp=1469912957257, value=b_9
5 row(s) in 0.3340 seconds
3.3 离线备份总结
通过上述方式让一个新集群接收备份数据的前提是,这个集群必须是新建的纯净的,无论在zookeeper上都不能有垃圾数据。另外更加可靠的做法就是你可以先去备份数据,然后在建立hbase集群,在配置文件中将其目录指定到备份文件的目录即可。此种备份方法可以定时执行,因为并不是是实时备份,所以存在丢失数据的风险。
4. 在线备份
在线备份的意思是指不停止集群,将数据备份到同一个集群或者不同集群。好处显而易见,业务不会停止。
在线备份的方法一般有三种:
- copyTable
- export and import
- replication
1.copyTable使用方法
这种方式通过MR计算框架将数据从源表中读取出来,在将这些数据插入到目标集群的目标表中。读取和插入都是走API 客户端的。
1. 首先我们在两个集群中建立两张表,在xufeng-3的backup_test_copytable_source作为备份源表,在xufeng-1集群上的backup_test_copytable_dest表作为备份目标表。
需要注意的是: 两个表的结构需要保持一致。
backup_test_copytable_source表结构:
hbase(main):003:0> describe 'backup_test_copytable_source'
Table backup_test_copytable_source is ENABLED
backup_test_copytable_source
COLUMN FAMILIES DESCRIPTION
{NAME => 'f1', DATA_BLOCK_ENCODING => 'NONE', BLOOMFILTER => 'ROW', REPLICATION_SCOPE => '0',
 VERSIONS => '1', COMPRESSION => 'NONE', MIN_VERSIONS => '0', TTL => 'FOREVER', KEEP_DELETED_
CELLS => 'FALSE', BLOCKSIZE => '65536', IN_MEMORY => 'false', BLOCKCACHE => 'true'}
{NAME => 'f2', DATA_BLOCK_ENCODING => 'NONE', BLOOMFILTER => 'ROW', REPLICATION_SCOPE => '0',
 VERSIONS => '1', COMPRESSION => 'NONE', MIN_VERSIONS => '0', TTL => 'FOREVER', KEEP_DELETED_
CELLS => 'FALSE', BLOCKSIZE => '65536', IN_MEMORY => 'false', BLOCKCACHE => 'true'}
2 row(s) in 0.0450 seconds
backup_test_copytable_dest表结构:
hbase(main):019:0> describe 'backup_test_copytable_dest'
Table backup_test_copytable_dest is ENABLED
backup_test_copytable_dest
COLUMN FAMILIES DESCRIPTION
{NAME => 'f1', DATA_BLOCK_ENCODING => 'NONE', BLOOMFILTER => 'ROW', REPLICATION_SCOPE =>
 '0', VERSIONS => '1', COMPRESSION => 'NONE', MIN_VERSIONS => '0', TTL => 'FOREVER', KEE
P_DELETED_CELLS => 'FALSE', BLOCKSIZE => '65536', IN_MEMORY => 'false', BLOCKCACHE => 't
rue'}
{NAME => 'f2', DATA_BLOCK_ENCODING => 'NONE', BLOOMFILTER => 'ROW', REPLICATION_SCOPE =>
 '0', VERSIONS => '1', COMPRESSION => 'NONE', MIN_VERSIONS => '0', TTL => 'FOREVER', KEE
P_DELETED_CELLS => 'FALSE', BLOCKSIZE => '65536', IN_MEMORY => 'false', BLOCKCACHE => 't
rue'}
{NAME => 'f3', DATA_BLOCK_ENCODING => 'NONE', BLOOMFILTER => 'ROW', REPLICATION_SCOPE =>
 '0', VERSIONS => '1', COMPRESSION => 'NONE', MIN_VERSIONS => '0', TTL => 'FOREVER', KEE
P_DELETED_CELLS => 'FALSE', BLOCKSIZE => '65536', IN_MEMORY => 'false', BLOCKCACHE => 't
rue'}
2.保持backup_test_copytable_dest表为空。我们在backup_test_copytable_source中插入测试数据,其中在f1列族和f2列族上都插入数据:
hbase(main):002:0> scan 'backup_test_copytable_source'
ROW                      COLUMN+CELL
 row1                    column=f1:a, timestamp=1469925544667, value=f1aValue
 row1                    column=f1:b, timestamp=1469925535422, value=f1bValue
 row1                    column=f2:a, timestamp=1469925564187, value=f2aValue
 row1                    column=f2:b, timestamp=1469925573770, value=f2bValue
 row2                    column=f1:a, timestamp=1469925646986, value=f1aValue
 row2                    column=f1:b, timestamp=1469925653872, value=f1bValue
 row2                    column=f2:a, timestamp=1469925662058, value=f2aValue
 row2                    column=f2:b, timestamp=1469925667362, value=f2bValue
3.需求:我们需要将backup_test_copytable_source的f1列族下的数据备份到backup_test_copytable_dest的f1列族中:
在xufeng-3备份源集群上执行:
HADOOP_CLASSPATH=`/opt/hadoop/hbase/bin/hbase classpath` hadoop jar hbase-server-1.0.0-cdh5.4.2.jar copytable --families=f1 --peer.adr=xufeng-1:2181:/hbase_backup --new.name=backup_test_copytable_dest backup_test_copytable_source
其中:
--families:需要备份的列族信息
--peer.adr:目标集群在zookeeper的根节点信息,也就指明了目标集群的访问地址
--new.name:备份目标表名
最后执行备份源表名要将backup_test_copytable_source的f1列族
4.上述命令会执行MR任务,最后会将数据拷贝的目标表中:
hbase(main):021:0> scan 'backup_test_copytable_dest'
ROW                     COLUMN+CELL
 row1                   column=f1:a, timestamp=1469925544667, value=f1aValue
 row1                   column=f1:b, timestamp=1469925535422, value=f1bValue
 row2                   column=f1:a, timestamp=1469925646986, value=f1aValue
 row2                   column=f1:b, timestamp=1469925653872, value=f1bValue
2 row(s) in 0.1820 seconds
5. 除了上述参数外,也可以通过starttime和endtime参数来指定备份的时间段,这样我们可以进行增量备份。但是由于数据的timestamp用户插入数据的时候可以指定的,所以根据starttime/endtime来进行增量备份的时候需要业务配合,插入数据的时候不要指定timestamp值,或者插入的timestamp值有增量的特点。
具体的copytable使用方法可以参考:
[hadoop@xufeng-3 lib]$ HADOOP_CLASSPATH=`/opt/hadoop/hbase/bin/hbase classpath` hadoop jar hbase-server-1.0.0-cdh5.4.2.jar copytable
Usage: CopyTable [general options] [--starttime=X] [--endtime=Y] [--new.name=NEW] [--peer.adr=ADR] <tablename>

Options:
 rs.class     hbase.regionserver.class of the peer cluster
              specify if different from current cluster
 rs.impl      hbase.regionserver.impl of the peer cluster
 startrow     the start row
 stoprow      the stop row
 starttime    beginning of the time range (unixtime in millis)
              without endtime means from starttime to forever
 endtime      end of the time range.  Ignored if no starttime specified.
 versions     number of cell versions to copy
 new.name     new table's name
 peer.adr     Address of the peer cluster given in the format
              hbase.zookeeer.quorum:hbase.zookeeper.client.port:zookeeper.znode.parent
 families     comma-separated list of families to copy
              To copy from cf1 to cf2, give sourceCfName:destCfName.
              To keep the same name, just give "cfName"
 all.cells    also copy delete markers and deleted cells
 bulkload     Write input into HFiles and bulk load to the destination table

Args:
 tablename    Name of the table to copy

Examples:
 To copy 'TestTable' to a cluster that uses replication for a 1 hour window:
 $ bin/hbase org.apache.hadoop.hbase.mapreduce.CopyTable --starttime=1265875194289 --endtime=1265878794289 --peer.adr=server1,server2,server3:2181:/hbase --families=myOldCf:myNewCf,cf2,cf3 TestTable
For performance consider the following general option:
  It is recommended that you set the following to >=100. A higher value uses more memory but
  decreases the round trip time to the server and may increase performance.
    -Dhbase.client.scanner.caching=100
  The following should always be set to false, to prevent writing data twice, which may produce
  inaccurate results.
    -Dmapreduce.map.speculative=false
6.copyTable备份总结:
此方法使得在两个集群同时online的时候进行备份,与离线备份一样,由于需要周期性的执行,也会存在数据丢失的风险。
通过copytable方法是针对单个表的备份操作,如果需要进行多个表的备份需要分别处理。
另外由于是通过api的方式读取备份源表的数据,所以势必会造成备份源数据的性能下降。
2.export and import
这种方法通过export工具执行MR任务读取HBase表数据(通过HBase 客户端)dump到相同集群的hdfs上,文件的格式是sequence格式的,在dump的时候可以指定MR的参数来进行压缩。
后续如果需要restore数据的时候通过import将dump下来的文件通过MR任务进行数据插入(通过HBase客户端)。
1. 在xufeng-3备份源集群上创建如下表并插入数据:
hbase(main):002:0> create 'backup_test_exporttable_source','f1','f2'
0 row(s) in 1.4780 seconds

hbase(main):012:0> scan'backup_test_exporttable_source'
ROW                     COLUMN+CELL
 row1                   column=f1:a, timestamp=1469931540396, value=f1-a
 row1                   column=f1:b, timestamp=1469931546015, value=f1-b
 row1                   column=f2:a, timestamp=1469931556171, value=f2-a
 row1                   column=f2:b, timestamp=1469931551950, value=f2-b
 row2                   column=f1:a-2, timestamp=1469931578074, value=f1-a-2
 row2                   column=f1:b-2, timestamp=1469931585208, value=f1-b-2
 row2                   column=f2:a-2, timestamp=1469931595183, value=f2-a-2
 row2                   column=f2:b-2, timestamp=1469931641553, value=f2-b-2
2.xufeng-3集群上通过如下命令出发dump文件MR任务:
HADOOP_CLASSPATH=`/opt/hadoop/hbase/bin/hbase classpath` hadoop jar hbase-server-1.0.0-cdh5.4.2.jar export -D mapreduce.output.fileoutputformat.compress=true -D mapreduce.output.fileoutputformat.compress.codec=org.apache.hadoop.io.compress.BZip2Codec -D mapreduce.output.fileoutputformat.compress.type=BLOCK backup_test_exporttable_source /backuptestdata/backup_test_exporttable_source_dumpfiles
其中通过-D指令来想MR任务配置参数,这里我们设置其在block上进行gzip的压缩算法。最后两个参数是表名和dump到的目标文件夹目录。
上述任务会通过HBase的API进行表的scan然后将结果存储到文件中去。
3.查看hdfs文件系统确认dump的文件结果:
[hadoop@xufeng-1 ~]$ hadoop fs -ls /backuptestdata/backup_test_exporttable_source_dumpfiles
16/07/30 22:36:02 WARN util.NativeCodeLoader: Unable to load native-hadoop library for your platform... using builtin-java classes where applicable
Found 2 items
-rw-r--r--   1 hadoop supergroup          0 2016-07-30 22:32 /backuptestdata/backup_test_exporttable_source_dumpfiles/_SUCCESS
-rw-r--r--   1 hadoop supergroup        409 2016-07-30 22:32 /backuptestdata/backup_test_exporttable_source_dumpfiles/part-m-00000
4。除了上述名另外我们还可以指定数据的版本号和开始timestamp和结束timestamp来进行增量的dump备份,当然如copytable一样,对于timestamp的增量备份需要业务配合,最好是插入数据的时候不要认为指定。
具体其还有那些参数可以参看export的具体使用方法:
[hadoop@xufeng-3 lib]$ HADOOP_CLASSPATH=`/opt/hadoop/hbase/bin/hbase classpath` hadoop jar hbase-server-1.0.0-cdh5.4.2.jar export
ERROR: Wrong number of arguments: 0
Usage: Export [-D <property=value>]* <tablename> <outputdir> [<versions> [<starttime> [<endtime>]] [^[regex pattern] or [Prefix] to filter]]

  Note: -D properties will be applied to the conf used.
  For example:
   -D mapreduce.output.fileoutputformat.compress=true
   -D mapreduce.output.fileoutputformat.compress.codec=org.apache.hadoop.io.compress.GzipCodec
   -D mapreduce.output.fileoutputformat.compress.type=BLOCK
  Additionally, the following SCAN properties can be specified
  to control/limit what is exported..
   -D hbase.mapreduce.scan.column.family=<familyName>
   -D hbase.mapreduce.include.deleted.rows=true
   -D hbase.mapreduce.scan.row.start=<ROWSTART>
   -D hbase.mapreduce.scan.row.stop=<ROWSTOP>
For performance consider the following properties:
   -Dhbase.client.scanner.caching=100
   -Dmapreduce.map.speculative=false
   -Dmapreduce.reduce.speculative=false
For tables with very wide rows consider setting the batch size as below:
   -Dhbase.export.scanner.batch=10
5.对于上述dump出的文件会放在与HBase集群同样资源的hdfs上,所以建议可以拷贝的外部hdfs集群或者通过外部介质存储。
6.现在表已经dump出来了,如何restore呢?我们在另外一个HBase集群xufeng-3上建立表,这个表的结构需要和备份源表列族等信息结构一致:
hbase(main):005:0> create 'backup_test_exporttable_dest','f1','f2'
0 row(s) in 6.8200 seconds

hbase(main):010:0> scan 'backup_test_exporttable_dest'
ROW                      COLUMN+CELL
0 row(s) in 0.0200 seconds
7.通过如下命令将数据restore到目标表中去。
HADOOP_CLASSPATH=`/opt/hadoop/hbase/bin/hbase classpath` hadoop jar hbase-server-1.0.0-cdh5.4.2.jar import backup_test_exporttable_dest /backuptestdata/backup_test_exporttable_source_dumpfiles
这个命令比较简单,只要指定目标表和dump文件父路径即可。
上述命令会读取dump命令中的内容然后组装成put将数据插入的目标表中去。
8.检查目标表数据
=> ["backup_test_copytable_dest", "backup_test_exporttable_dest"]
hbase(main):002:0> scan 'backup_test_exporttable_dest'
ROW                      COLUMN+CELL
 row1                    column=f1:a, timestamp=1469931540396, value=f1-a
 row1                    column=f1:b, timestamp=1469931546015, value=f1-b
 row1                    column=f2:a, timestamp=1469931556171, value=f2-a
 row1                    column=f2:b, timestamp=1469931551950, value=f2-b
 row2                    column=f1:a-2, timestamp=1469931578074, value=f1-a-2
 row2                    column=f1:b-2, timestamp=1469931585208, value=f1-b-2
 row2                    column=f2:a-2, timestamp=1469931595183, value=f2-a-2
 row2                    column=f2:b-2, timestamp=1469931641553, value=f2-b-2
2 row(s) in 0.3430 seconds
9.总结
export和import的组合使用可以进行数据的文件落地然后在restore,他们都是MR任务通过HBase API进行数据的读取和插入。对于dump出来的文件建议放在不同的hdfs集群上避免丢失。
3. replication
此种机制相对来说比较复杂,其实HBase本省的备份机制。前述的几种方法都是借用MR和HBAse客户端进行数据的转移。
对于replication的用户会在另外的博文中演示说明[How to]HBase集群备份方法--Replication机制
5.总计
对于生产版本的数据的维护都是如履薄冰,备份机制可以让我们在现有集群宕机或者损毁的情况下继续有备份集群进行快速的数据恢复和提供服务。