简介:
环境:虚拟机+centos6.6
Cmake下载地址:http://www.cmake.org/files/v3.0/cmake-3.0.2.tar.gz
Nginx 下载地址:
http://nginx.org/download/nginx-1.6.2.tar.gz
Pcre下载地址:
ftp://ftp.csx.cam.ac.uk/pub/software/programming/pcre/pcre-8.36.tar.gz
****这个ftp下载页面有时候会出现404,不过可以去这个地址下载另一个版本的
http://down1.chinaunix.net/distfiles/pcre-8.30.tar.bz2 ****
Openssl下载地址:
http://www.openssl.org/source/openssl-1.0.1j.tar.gz
Zlib下载地址:
http://zlib.net/zlib-1.2.8.tar.gz
安装包存放位置: /usr/local 目录下
1、安装前配置:
vi /etc/sysconfig/iptables 开启防火墙端口
-A INPUT -m state --state NEW -m tcp -p tcp --dport 3306 -j ACCEPT 添加3306端口
Esc+:wq 退出
service iptables restart 重新启动防火墙
关闭selinux(原因我不知道,反正我在安装很多软件时候都做这个设置)
Vi /etc/selinux/config
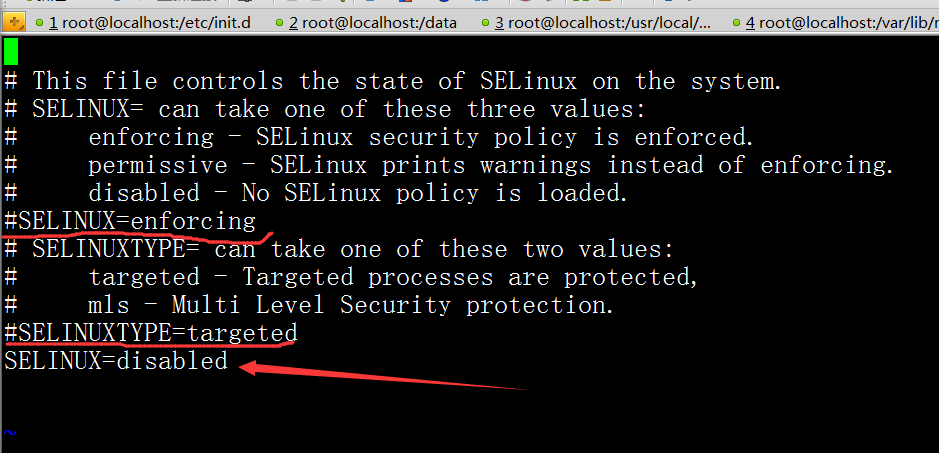
把默认的都‘#’注销了,然后添加一条SELINUX=disabled
我把 下载好的软件包存放在 /usr/local目录下,所以读者如果在参考文档时候和自己的存放目录不一致时候请按自己的存放目录进行修改
运行yum库:
yum install -y apr* autoconf automake bison bzip2 bzip2* cloog-ppl compat* cpp curl curl-devel fontconfig fontconfig-devel freetype freetype* freetype-devel gcc gcc-c++ gtk+-devel gd gettext gettext-devel glibc kernel kernel-headers keyutils keyutils-libs-devel krb5-devel libcom_err-devel libpng libpng* libpng-devel libjpeg* libsepol-devel libselinux-devel libstdc++-devel libtool* libgomp libxml2 libxml2-devel libXpm* libX* libtiff libtiff* make mpfr ncurses* ntp openssl nasm nasm* openssl-devel patch pcre-devel perl php-common php-gd policycoreutils ppl telnet t1lib t1lib* wget zlib-devel
1、安装pcre
cd /usr/local/src
mkdir /usr/local/pcre
tar zxvf pcre-8.36.tar.gz
cd pcre-8.36
./configure --prefix=/usr/local/pcre
make
make install

2、安装openssl
cd /usr/local/src
mkdir /usr/local/openssl
tar zxvf openssl-1.0.1j.tar.gz
cd openssl-1.0.1j
./config --prefix=/usr/local/openssl
make
make install
vi /etc/profile

export PATH=$PATH:/usr/local/openssl/bin
:wq!
source /etc/profile
3、安装zlib
cd /usr/local/src
mkdir /usr/local/zlib
tar zxvf zlib-1.2.8.tar.gz
cd zlib-1.2.8
./configure --prefix=/usr/local/zlib
make
make install
4、安装Nginx
groupadd www
useradd -g www www -s /bin/false
cd /usr/local/src
tar zxvf nginx-1.6.2.tar.gz
cd nginx-1.6.2
./configure --prefix=/usr/local/nginx --without-http_memcached_module --user=www --group=www --with-http_stub_status_module --with-http_ssl_module --with-http_gzip_static_module --with-openssl=/usr/local/openssl-1.0.1j --with-zlib=/usr/local/zlib-1.2.8 --with-pcre=/usr/local/pcre-8.36
注意:--with-openssl=/usr/local/openssl-1.0.1j --with-zlib=/usr/local/zlib-1.2.8 --with-pcre=/usr/local/pcre-8.36指向的是源码包解压的路径,而不是安装的路径,否则会报错
make
make install
vi /etc/rc.d/init.d/nginx #编辑启动文件添加下面内容
############################################################
#!/bin/sh
#
# nginx - this script starts and stops the nginx daemon
#
# chkconfig: - 85 15
# description: Nginx is an HTTP(S) server, HTTP(S) reverse
# proxy and IMAP/POP3 proxy server
# processname: nginx
# config: /etc/nginx/nginx.conf
# config: /usr/local/nginx/conf/nginx.conf
# pidfile: /usr/local/nginx/logs/nginx.pid
# Source function library.
. /etc/rc.d/init.d/functions
# Source networking configuration.
. /etc/sysconfig/network
# Check that networking is up.
[ "$NETWORKING" = "no" ] && exit 0
nginx="/usr/local/nginx/sbin/nginx"
prog=$(basename $nginx)
NGINX_CONF_FILE="/usr/local/nginx/conf/nginx.conf"
[ -f /etc/sysconfig/nginx ] && . /etc/sysconfig/nginx
lockfile=/var/lock/subsys/nginx
make_dirs() {
# make required directories
user=`$nginx -V 2>&1 | grep "configure arguments:" | sed 's/[^*]*--user=([^ ]*).*/1/g' -`
if [ -z "`grep $user /etc/passwd`" ]; then
useradd -M -s /bin/nologin $user
fi
options=`$nginx -V 2>&1 | grep 'configure arguments:'`
for opt in $options; do
if [ `echo $opt | grep '.*-temp-path'` ]; then
value=`echo $opt | cut -d "=" -f 2`
if [ ! -d "$value" ]; then
# echo "creating" $value
mkdir -p $value && chown -R $user $value
fi
fi
done
}
start() {
[ -x $nginx ] || exit 5
[ -f $NGINX_CONF_FILE ] || exit 6
make_dirs
echo -n $"Starting $prog: "
daemon $nginx -c $NGINX_CONF_FILE
retval=$?
echo
[ $retval -eq 0 ] && touch $lockfile
return $retval
}
stop() {
echo -n $"Stopping $prog: "
killproc $prog -QUIT
retval=$?
echo
[ $retval -eq 0 ] && rm -f $lockfile
return $retval
}
restart() {
#configtest || return $?
stop
sleep 1
start
}
reload() {
#configtest || return $?
echo -n $"Reloading $prog: "
killproc $nginx -HUP
RETVAL=$?
echo
}
force_reload() {
restart
}
configtest() {
$nginx -t -c $NGINX_CONF_FILE
}
rh_status() {
status $prog
}
rh_status_q() {
rh_status >/dev/null 2>&1
}
case "$1" in
start)
rh_status_q && exit 0
$1
;;
stop)
rh_status_q || exit 0
$1
;;
restart|configtest)
$1
;;
reload)
rh_status_q || exit 7
$1
;;
force-reload)
force_reload
;;
status)
rh_status
;;
condrestart|try-restart)
rh_status_q || exit 0
;;
*)
echo $"Usage: $0 {start|stop|status|restart|condrestart|try-restart|reload|force-reload|configtest}"
exit 2
esac
############################################################
:wq! #保存退出
chmod 775 /etc/rc.d/init.d/nginx #赋予文件执行权限
chkconfig nginx on #设置开机启动
/etc/rc.d/init.d/nginx restart #重启

我的IP地址
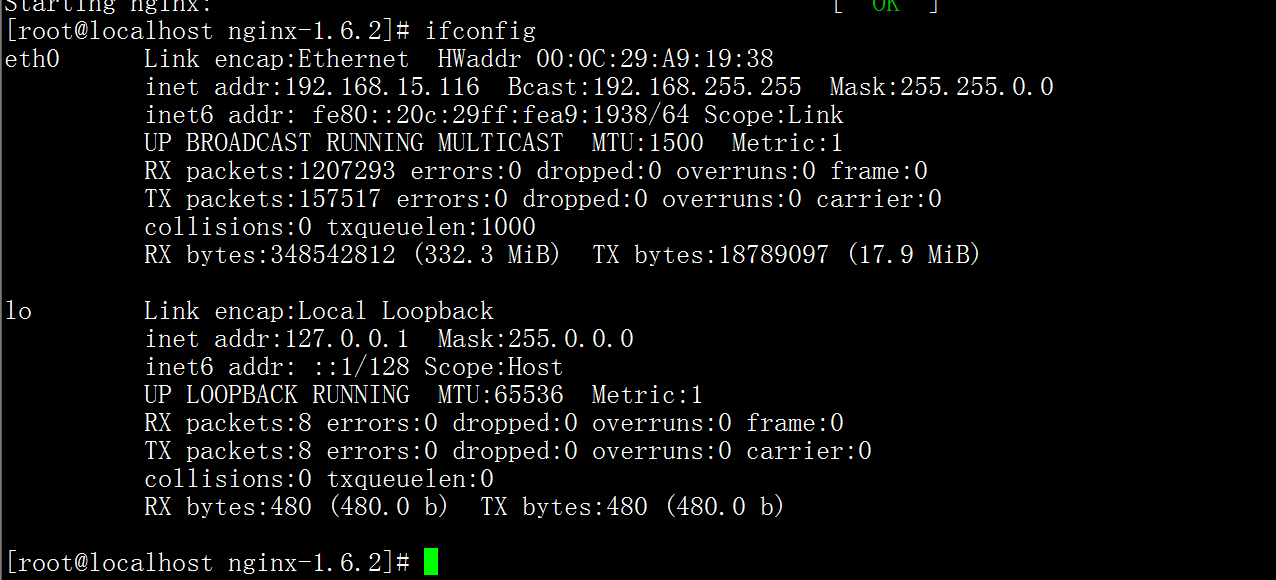
在浏览器中输入ip就可以看到nginx的页面了

本文是结合qihang01原创作品修改成符合我自己的学习习惯,如有转载,请注明qihang01原创,谢谢,尊重每一位无私奉献的作者,再次感谢!