Web应用中难免会遇到需要将数据导出并生成excel文件的需求。同样,对于本博客中的总结,也是建立在为了完成这样的一个需求,才开始去了解其实现形式,并且顺利完成需求的开发,先将实现过程总结于此。本博文是本人的劳动成果所得,在博客园总结分享,欢迎转载。在没有作者的书面说明的情况下,必须保留本段声明。作者:itRed 邮箱:it_red@sina.com 博客链接:http://www.cnblogs.com/itred GitHub链接:http://github.com/itred
根据自己的梳理,完成这样的需求在自己的技术范围之内比较认可的有两种方式,其一是利用第三方插件JXL实现excel文件的生成,另一种方式则是不需要第三方的插件,直接通过jsp页面的设置和action层的response跳转完成excel文件的生成。综合来讲,采用第三方插件不仅能够满足功能性需求,而且还提供函数、字体、颜色及其他方面的接口,如果直接采用jsp跳转形式,则样式会略显低调,但是其实现形式很容易理解,无需了解更多的技术层面的东西。现将两种具体的实现方式列出:
Demo 1:
首先来个简单易懂的。直接在action中将数据放到session服务器缓存中,然后再跳转到指定的jsp页面,在指定的jsp页面中设置其ContentType,这个会牵扯到http协议的response.ContentType 。不同的ContentType会影响到客户端看到的具体效果,默认的ContentType为text/html,也就是最为常见的网页格式。
新建web项目,加入struts2的相关jar包, 在默认的index.jsp页面加入一个form表单,本案例仅仅完成功能,数据在后台已经封装好,无前端交互,直接input一个提交按钮,转向action。index.jsp的源码如下:
<%@ page language="java" import="java.util.*" pageEncoding="UTF-8"%>
<%
    String path = request.getContextPath();
    String basePath = request.getScheme() + "://" + request.getServerName() + ":" + request.getServerPort()
                      + path + "/";
%>
<!DOCTYPE HTML PUBLIC "-//W3C//DTD HTML 4.01 Transitional//EN">
<html>
    <head>
       <base href="<%=basePath%>">
       <title>导出</title>
       <meta http-equiv="pragma" content="no-cache">
       <meta http-equiv="cache-control" content="no-cache">
       <meta http-equiv="expires" content="0">
       <meta http-equiv="keywords" content="keyword1,keyword2,keyword3">
       <meta http-equiv="description" content="This is my page">
    </head>
    <body>
       <form action="getXls_excel" method="post">
           <input type="submit" value="提交" />
       </form>
    </body>
</html>
然后新建action名为ExcelAction,源码如下:
package com.red.action;

import java.io.IOException;
import java.util.HashMap;
import java.util.Map;

import javax.servlet.http.HttpServletRequest;
import javax.servlet.http.HttpServletResponse;

import org.apache.struts2.ServletActionContext;

import com.opensymphony.xwork2.ActionSupport;

/**
 * jsp形式导出excel
 * @author Red
 */
public class ExcelAction extends ActionSupport {

    private static final long serialVersionUID = -3673769122296267756L;

    protected HttpServletRequest request = ServletActionContext.getRequest();
    protected HttpServletResponse response = ServletActionContext.getResponse();

    public void getXls() throws IOException {
        StringBuffer sb = new StringBuffer();
        sb.append("<table><tr><td>用户名称</td><td>邮箱地址</td></tr>");
        Map<String, String> map = new HashMap<String, String>();
        map.put("red1", "it_red@sina.com");
        map.put("red2", "it_red@sohu.com");
        map.put("red3", "it_red@163.com");
        for (String key : map.keySet()) {
            sb.append("<tr><td>").append(key).append("</td><td>").append(map.get(key)).append("</td></tr>");
        }
        request.getSession().setAttribute("excel", sb.toString());
        response.sendRedirect(request.getContextPath() + "/export.jsp");
    }
}
然后新建一个跳转后的jsp页面,也即是处理excel文件的工具。源码如下:
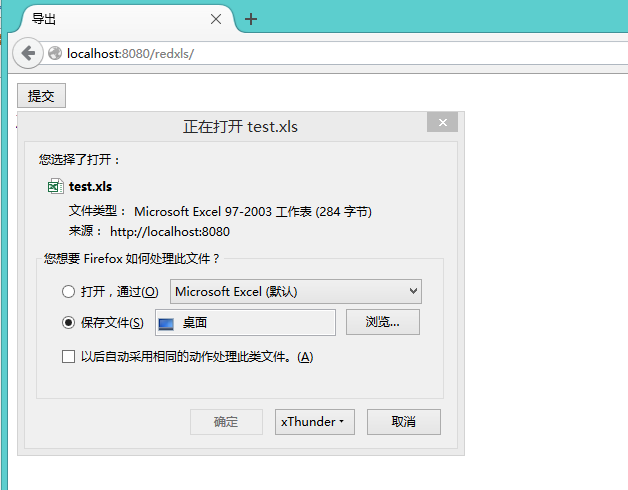
<%@ page language="java" import="java.util.*" pageEncoding="UTF-8"%>
<%@ page contentType="application/msexcel"%>
<%
  response.setContentType("application/msexcel;charset=UTF-8");
  response.setHeader("Content-disposition", "attachment; filename=test.xls");
%>
<html>
    <head>
       <title>Excel</title>
    </head>
    <body>
       <%
           String str = new String(session.getAttribute("excel").toString());
           out.print(str);
       %>
    </body>
</html>
在这里导出的文档编码是根据本地电脑的编码形式进行编码的,所以,如果本地是中文则需要修改response.setContentType("application/msexcel;charset=UTF-8");中的编码,将其改为GBK或者GB18030,只要支持中文就行。
功能实现,基本效果如下:
Demo2:
第二种方式是直接通过流的形式响应客户端浏览器,通过浏览器来提供下载。只是在这个地方,将ContentType设置在了action中,而并非是在jsp页面上。
加入JXL的jar包,Action源码:
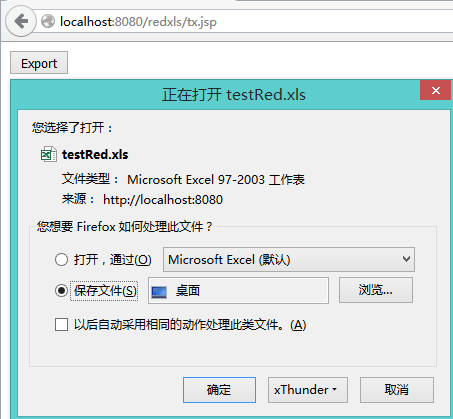
package com.red.action;

import java.io.IOException;
import java.io.OutputStream;
import java.util.HashMap;
import java.util.Map;

import javax.servlet.http.HttpServletRequest;
import javax.servlet.http.HttpServletResponse;

import jxl.Workbook;
import jxl.format.UnderlineStyle;
import jxl.write.Colour;
import jxl.write.Label;
import jxl.write.WritableCellFormat;
import jxl.write.WritableFont;
import jxl.write.WritableSheet;
import jxl.write.WritableWorkbook;
import jxl.write.WriteException;
import jxl.write.biff.RowsExceededException;

import org.apache.struts2.ServletActionContext;

import com.opensymphony.xwork2.ActionSupport;

/**
 * 第三方插件导出Excel
 * @author Red
 */
public class WriteExcelAction extends ActionSupport {
    HttpServletRequest request = ServletActionContext.getRequest();
    HttpServletResponse response = ServletActionContext.getResponse();

    public void writeExcel() throws RowsExceededException, WriteException, IOException {
        OutputStream os = response.getOutputStream();// 取得输出流
        response.reset();// 清空输出流
        response.setHeader("Content-disposition", "attachment; filename=testRed.xls");// 设定输出文件头
        response.setContentType("application/msexcel");// 定义输出类型

        WritableWorkbook wbook = Workbook.createWorkbook(os); // 建立excel文件
        String tmptitle = "测试数据"; // 标题
        WritableSheet wsheet = wbook.createSheet(tmptitle, 0); // sheet名称

        // 设置excel标题
        WritableFont wfont = new WritableFont(WritableFont.ARIAL, 16, WritableFont.BOLD, false,
                                              UnderlineStyle.NO_UNDERLINE, Colour.BLACK);
        WritableCellFormat wcfFC = new WritableCellFormat(wfont);
        wcfFC.setBackground(Colour.AQUA);
        wsheet.addCell(new Label(1, 0, tmptitle, wcfFC));
        wfont = new jxl.write.WritableFont(WritableFont.ARIAL, 14, WritableFont.BOLD, false,
                                           UnderlineStyle.NO_UNDERLINE, Colour.BLACK);
        wcfFC = new WritableCellFormat(wfont);

        // 开始生成主体内容
        wsheet.addCell(new Label(0, 2, "姓名"));
        wsheet.addCell(new Label(1, 2, "邮箱"));
        // SimpleDateFormat sdf = new SimpleDateFormat("yyyy-MM-dd HH:mm:ss");

        Map<String, String> map = new HashMap<String, String>();
        map.put("Red1", "it_red@sina.com");
        map.put("Red2", "it_red@sohu.com");
        map.put("Red3", "it_red@163.com");
        int count = 0;
        for (String key : map.keySet()) {
            wsheet.addCell(new Label(0, count + 3, key));
            wsheet.addCell(new Label(1, count + 3, map.get(key)));
            count++;
        }

        // 主体内容生成结束
        wbook.write(); // 写入文件
        wbook.close();
        os.close(); // 关闭流
    }
}
实现效果如下:
在完成以上两个Demo之后,打开其生成的excel文件,很容易看到两者的差别。其实对于究竟选择哪种形式来生成excel文件,还是需要根据实际的开发情况及应用本身来决定的。各有其特点和好处以及缺点。l另外,当你能理解以上代码时,以上代码便不仅仅只能生成excel文件了,自然而然就可以生成一些其他文件。
另附本博文中所涉及到的案例源码请点击链接
作者:itRed 博客:http://itred.cnblogs.com |