服务端
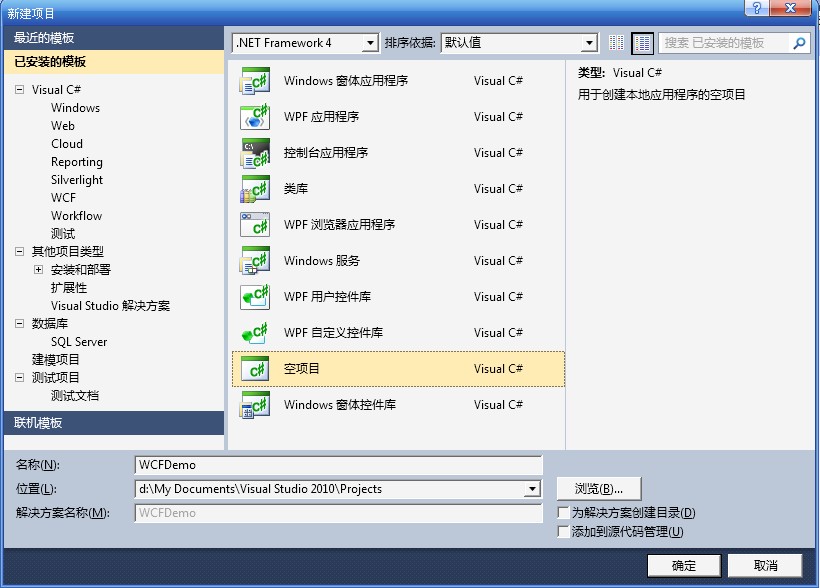
1.创建一个空的解决方案:WCFDemo:
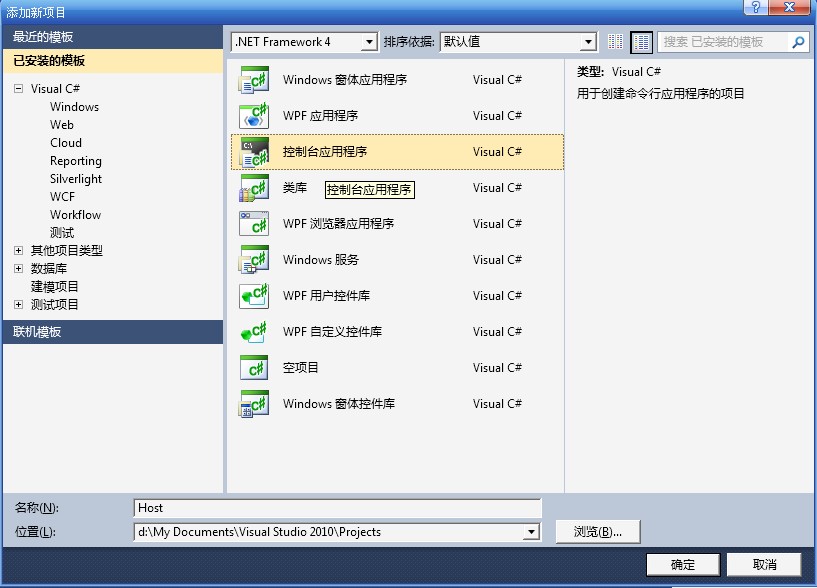
2.创建一个宿主控制台程序:Host
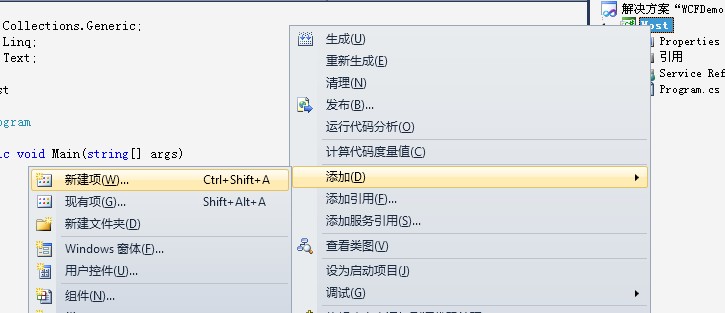
3.右击Host项目,选择“添加”--“新建项”,选择“WCF服务”创建名为“Service1.cs”的服务

如此:VS2010已经为我们创建了 IService1.cs Service1.cs app.config 三个文件,其中IService1.cs和Service1.cs 创建了同属于Host命名空间的类,我们可以修改这三个文件:
IService1.cs :
using System.ServiceModel;
namespace Host
{
// 注意: 使用“重构”菜单上的“重命名”命令,可以同时更改代码和配置文件中的接口名“IService1”。
[ServiceContract]
public interface IService1
{
[OperationContract]
string DoWork(int value);
}
}
Service1.cs:
using System.ServiceModel;
namespace Host
{
// 注意: 使用“重构”菜单上的“重命名”命令,可以同时更改代码和配置文件中的类名“Service1”。
public class Service1 : IService1
{
public string DoWork(int value)
{
int iPingfang = value * value;
return string.Format("经过平方后的值为:{0}",iPingfang );
}
}
}
App.config:
文件原则上可以不用改,但是address太长了(默认的为baseAddress="http://localhost:8732/Design_Time_Addresses/Host/Service1/")缩短为baseAddress=“http://localhost:8732/Service1/”
<?xml version="1.0" encoding="utf-8" ?>
<configuration>
<system.serviceModel>
<behaviors>
<serviceBehaviors>
<behavior name="">
<serviceMetadata httpGetEnabled="true" />
<serviceDebug includeExceptionDetailInFaults="false" />
</behavior>
</serviceBehaviors>
</behaviors>
<services>
<service name="Host.Service1">
<endpoint address="" binding="wsHttpBinding" contract="Host.IService1">
<identity>
<dns value="localhost" />
</identity>
</endpoint>
<endpoint address="mex" binding="mexHttpBinding" contract="IMetadataExchange" />
<host>
<baseAddresses>
<add baseAddress="http://localhost:8732/Service1/" />
</baseAddresses>
</host>
</service>
</services>
</system.serviceModel>
</configuration>
4.此外WCF服务必须在宿主进程中运行,我们可以修改 Program.cs 文件,创建宿主进程:
using System.ServiceModel;
namespace Host
{
class Program
{
static void Main(string[] args)
{
using (ServiceHost host = new ServiceHost(typeof(Host.Service1)))
{
host.Open();
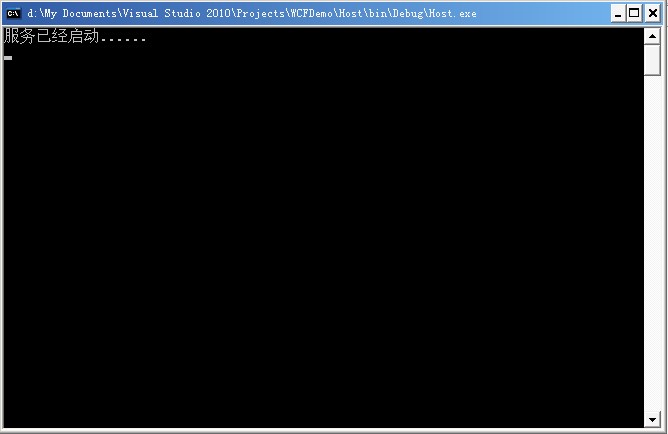
Console.WriteLine("服务已经启动......");
Console.ReadLine();
host.Close();
}
}
}
}
5.编译运行程序,生成Host.exe文件
客户端
1.启动刚创建的WCF服务宿主进程Host.exe
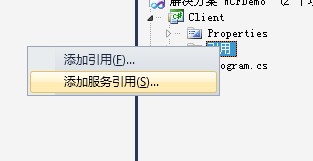
2.创建一个客户端控制台程序:Client

3.右击“引用”--“添加服务引用”,在“地址”的TextBox里面输入服务器的地址(就是咱们前面设置的baseaddress地址),并点击“前往”将得到目标服务器上面的Services,如下图所示:

如此,这一步将在客户端间接借助SvcUtil.exe文件创建客户端代理(命名空间为:using Client.ServiceReference1;)以及配置文件app.config,具体如下:
app.config:
<?xml version="1.0" encoding="utf-8" ?>
<configuration>
<system.serviceModel>
<bindings>
<wsHttpBinding>
<binding name="WSHttpBinding_IService1" closeTimeout="00:01:00"
openTimeout="00:01:00" receiveTimeout="00:10:00" sendTimeout="00:01:00"
bypassProxyOnLocal="false" transactionFlow="false" hostNameComparisonMode="StrongWildcard"
maxBufferPoolSize="524288" maxReceivedMessageSize="65536"
messageEncoding="Text" textEncoding="utf-8" useDefaultWebProxy="true"
allowCookies="false">
<readerQuotas maxDepth="32" maxStringContentLength="8192" maxArrayLength="16384"
maxBytesPerRead="4096" maxNameTableCharCount="16384" />
<reliableSession ordered="true" inactivityTimeout="00:10:00"
enabled="false" />
<security mode="Message">
<transport clientCredentialType="Windows" proxyCredentialType="None"
realm="" />
<message clientCredentialType="Windows" negotiateServiceCredential="true"
algorithmSuite="Default" />
</security>
</binding>
</wsHttpBinding>
</bindings>
<client>
<endpoint address="http://localhost:8732/Service1/" binding="wsHttpBinding"
bindingConfiguration="WSHttpBinding_IService1" contract="ServiceReference1.IService1"
name="WSHttpBinding_IService1">
<identity>
<dns value="localhost" />
</identity>
</endpoint>
</client>
</system.serviceModel>
</configuration>
4.修改客户端程序 Program.cs ,并使用代理访问服务契约:
using System.ServiceModel;
using Client.ServiceReference1;//引用命名空间
namespace Client
{
class Program
{
static void Main(string[] args)
{
ServiceReference1.Service1Client proxy = new Service1Client();
string str = proxy.DoWork(2);//运行服务端方法
Console.WriteLine(str);
Console.ReadLine();
}
}
}
5.编译运行程序,生成 Client.exe
