springboot项目搭建
使用IDEA创建一个maven项目
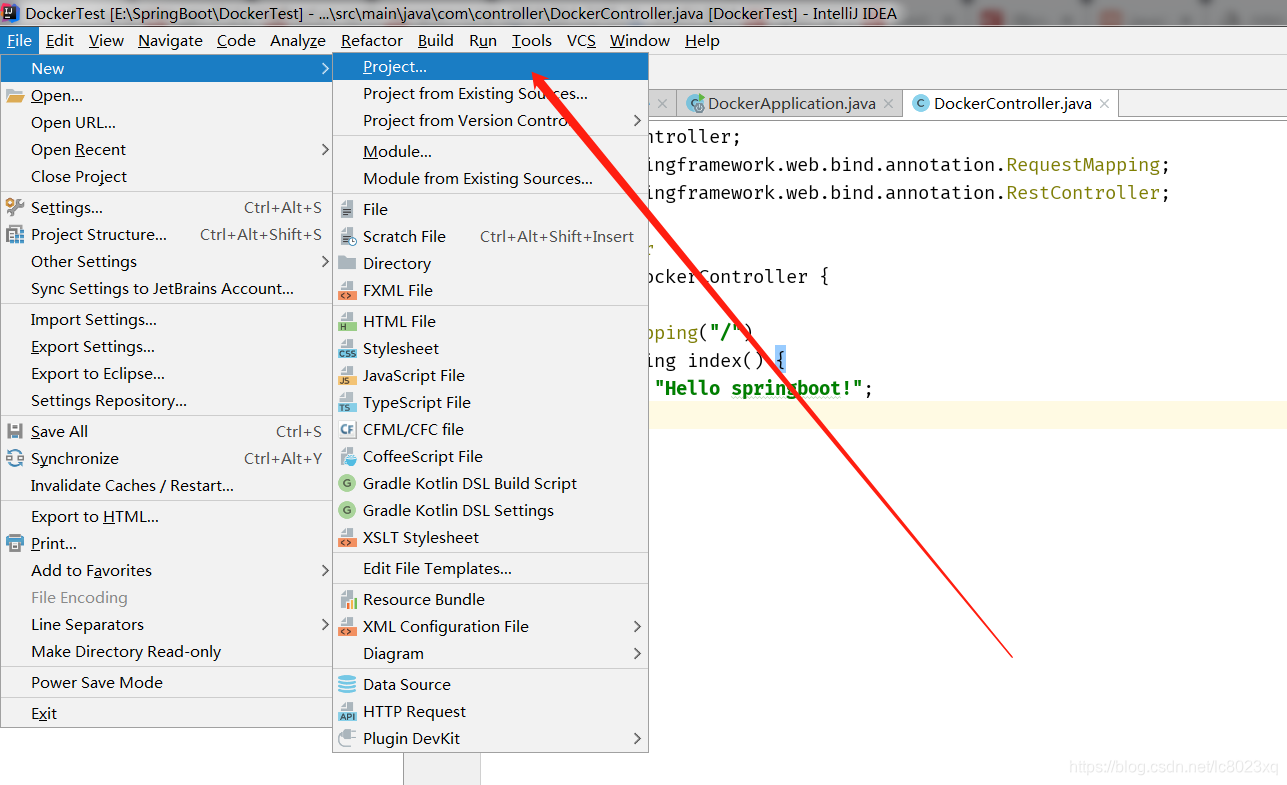
1.file>project
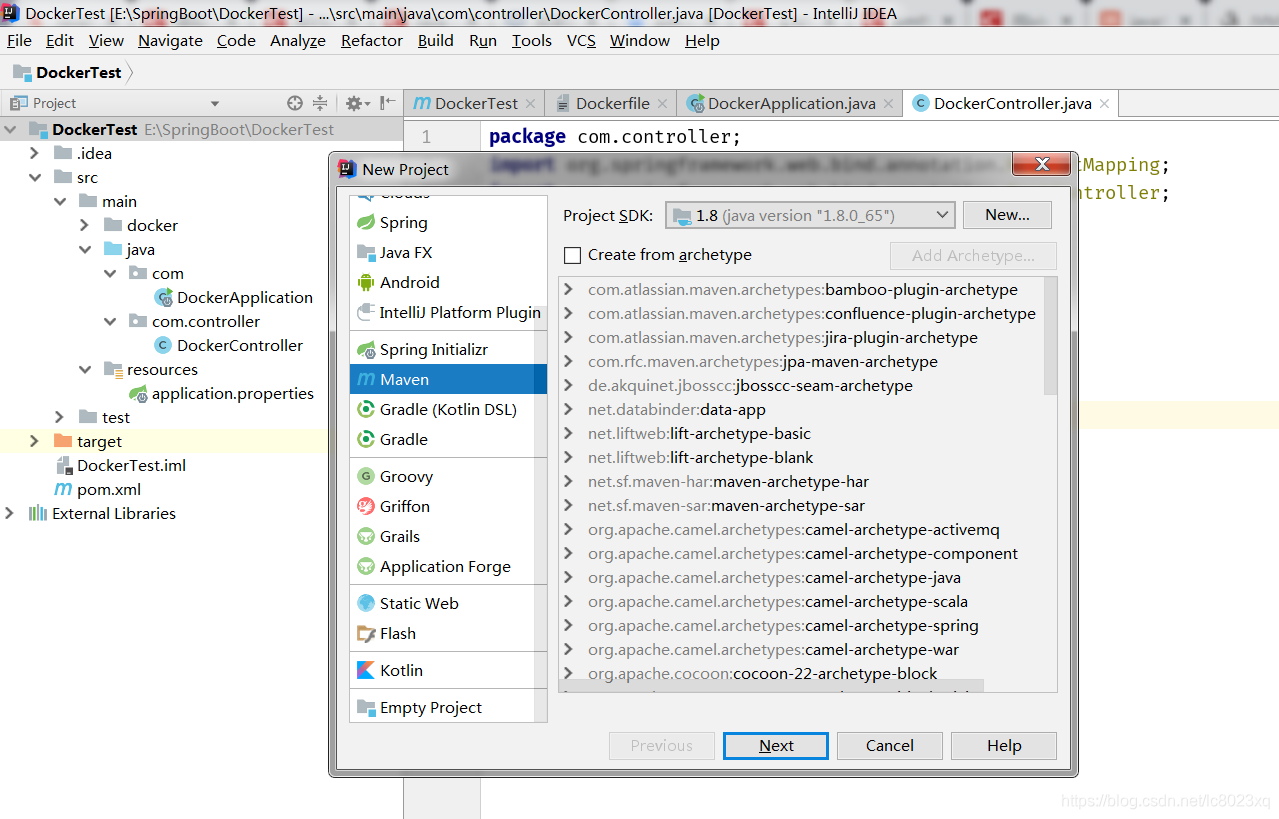
2.next
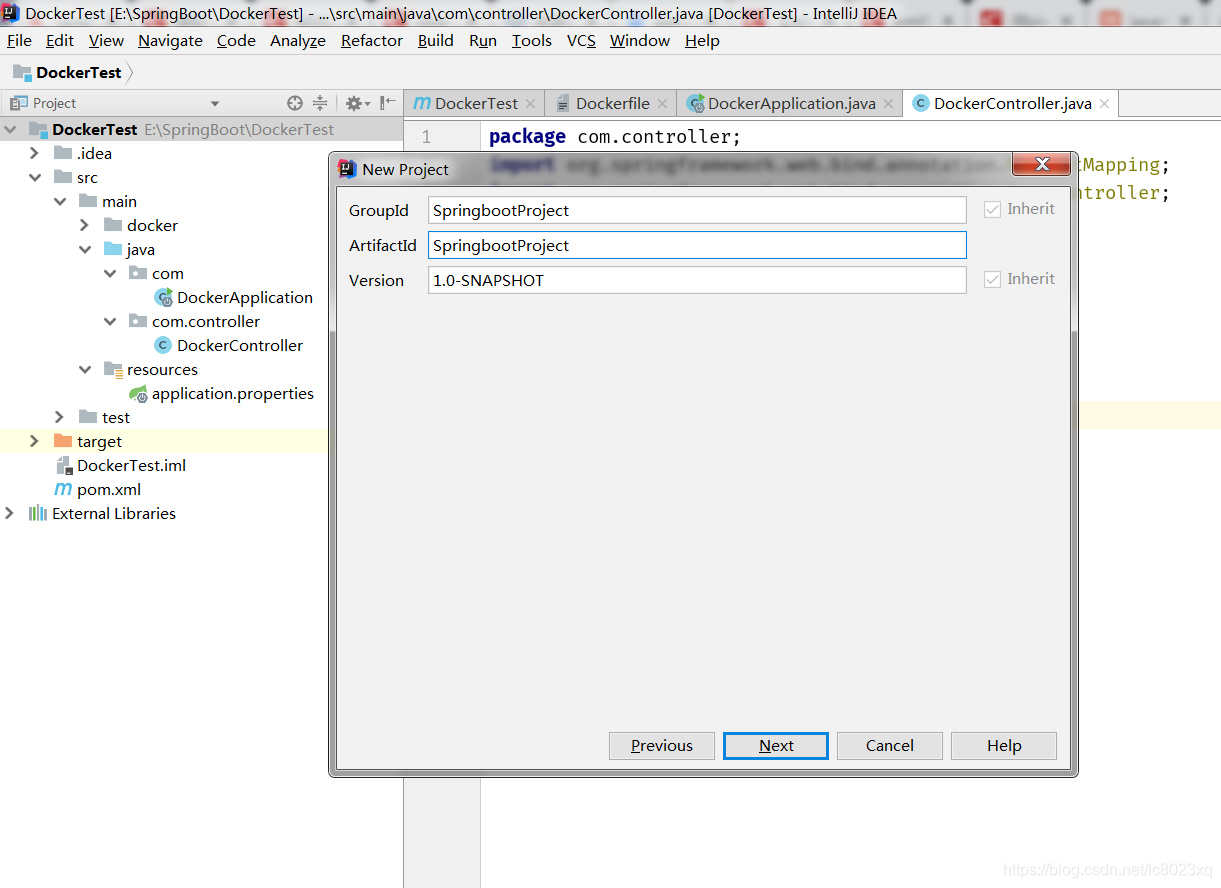
3.填写maven项目的grupId,atifactId直接next
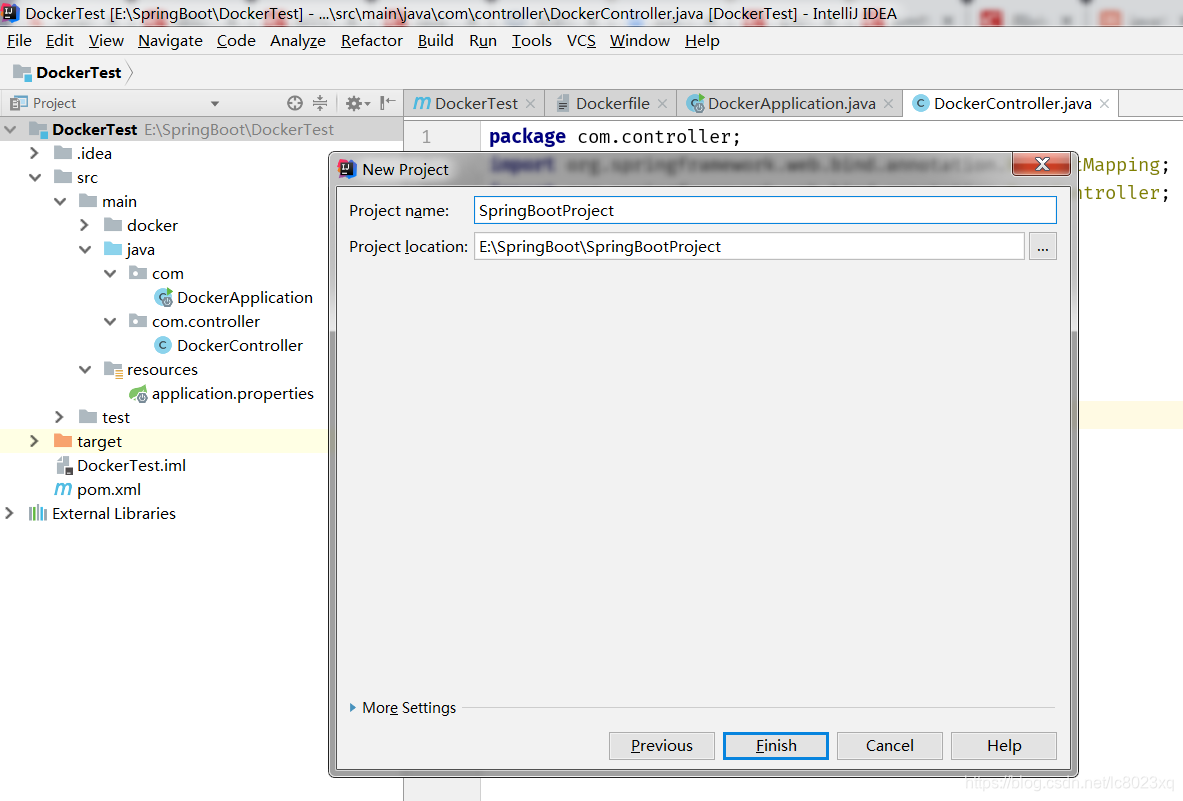
4.填写完项目名称点击 Finish 完成maven项目创建。
5.pom.xml文件中加入springboot相关依赖
<parent>
        <groupId>org.springframework.boot</groupId>
        <artifactId>spring-boot-starter-parent</artifactId>
        <version>2.0.0.RELEASE</version>
</parent>

<dependencies>
       <dependency>
           <groupId>org.springframework.boot</groupId>
           <artifactId>spring-boot-starter-web</artifactId>
       </dependency>
       <dependency>
           <groupId>org.springframework.boot</groupId>
           <artifactId>spring-boot-starter-test</artifactId>
           <scope>test</scope>
       </dependency>
</dependencies>
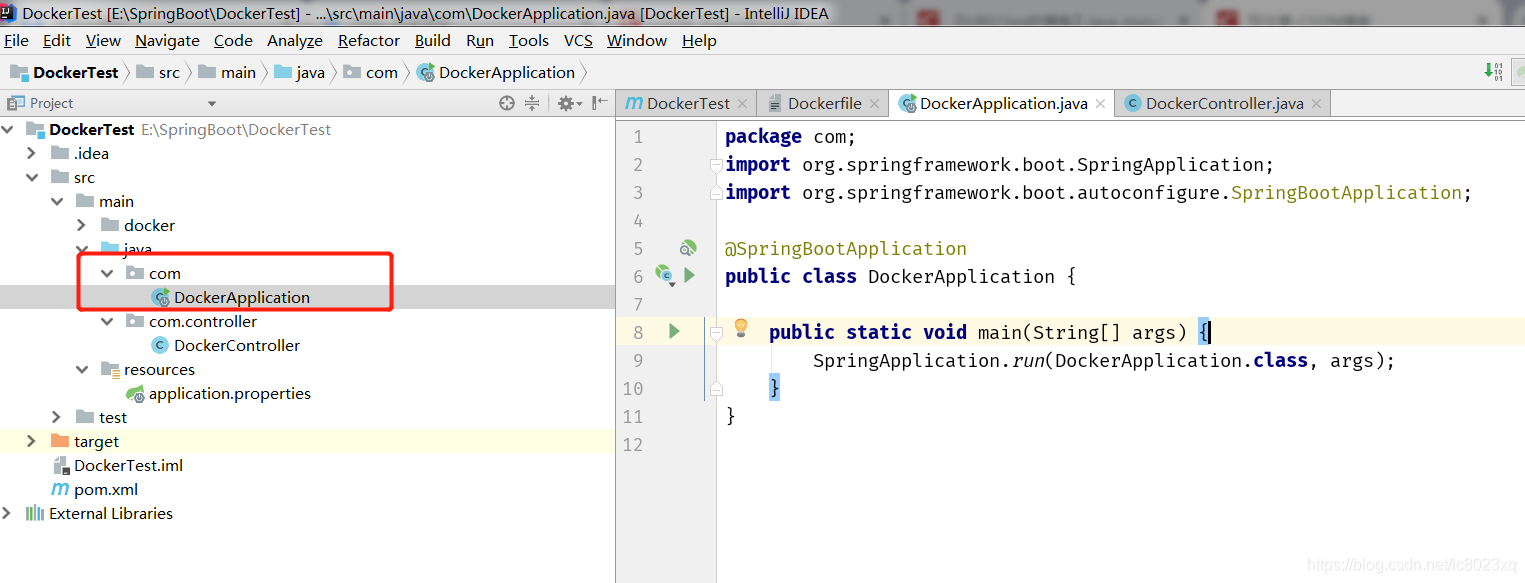
6.创建包并且在包根目录下面创建一个Application.java启动文件。
package com;
import org.springframework.boot.SpringApplication;
import org.springframework.boot.autoconfigure.SpringBootApplication;

@SpringBootApplication
public class DockerApplication {

    public static void main(String[] args) {
        SpringApplication.run(DockerApplication.class, args);
    }
}
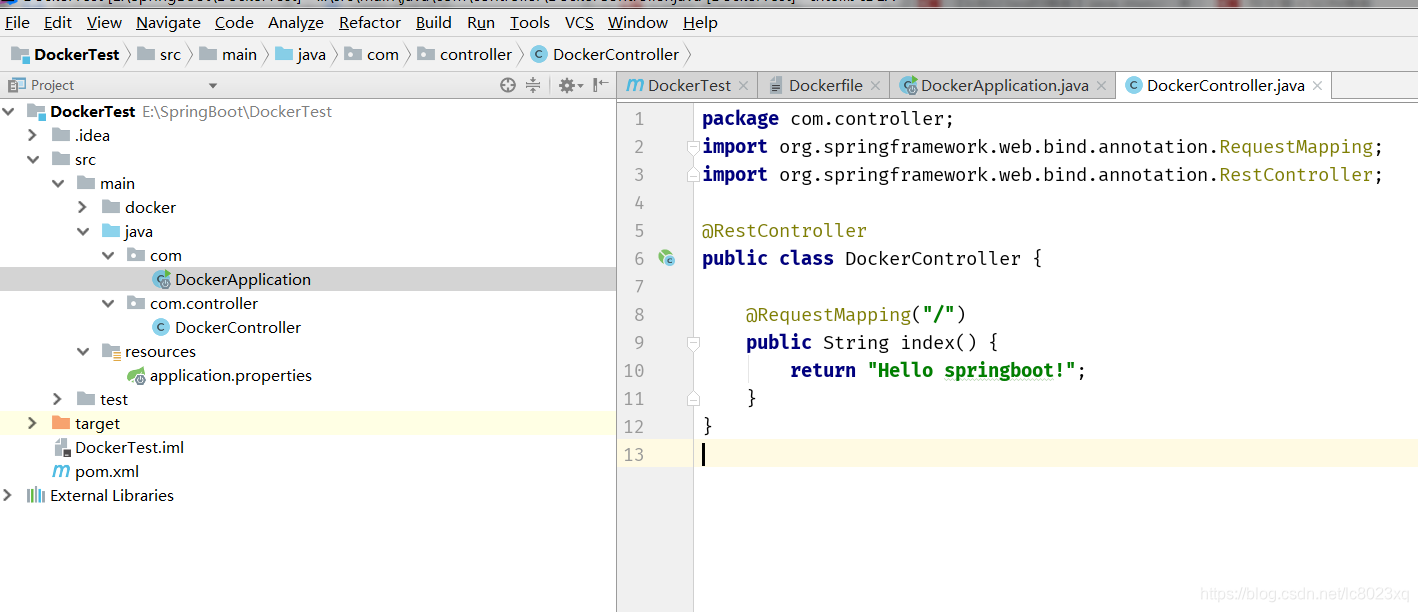
7.创建一个Controller控制器用@RestController标记,添加一个接口方法并加注解@RequestMapping("/")设置访问路径。
package com.controller;
import org.springframework.web.bind.annotation.RequestMapping;
import org.springframework.web.bind.annotation.RestController;

@RestController
public class DockerController {

    @RequestMapping("/")
    public String index() {
        return "Hello springboot!";
    }
}
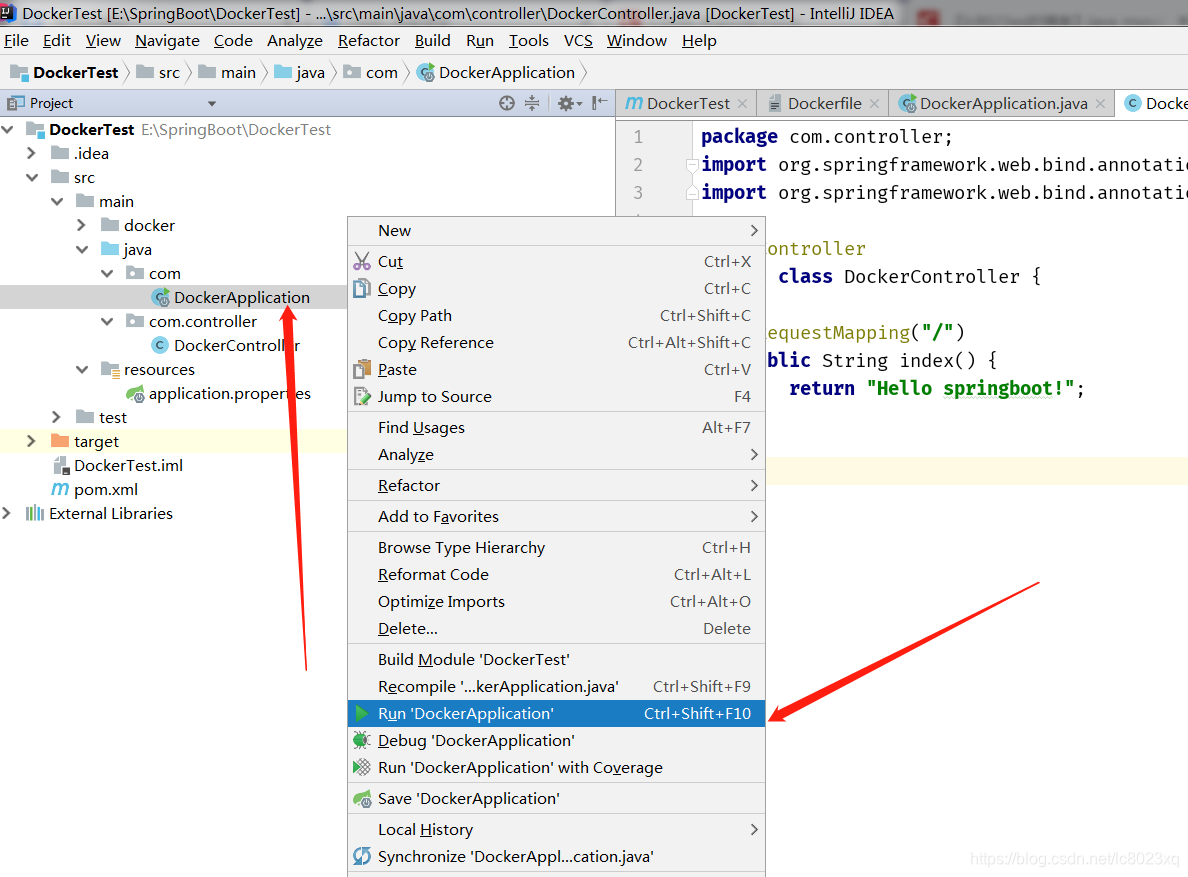
8.光标移到Application.java文件上右击,运行main方法启动内嵌tomacat,端口默认8080
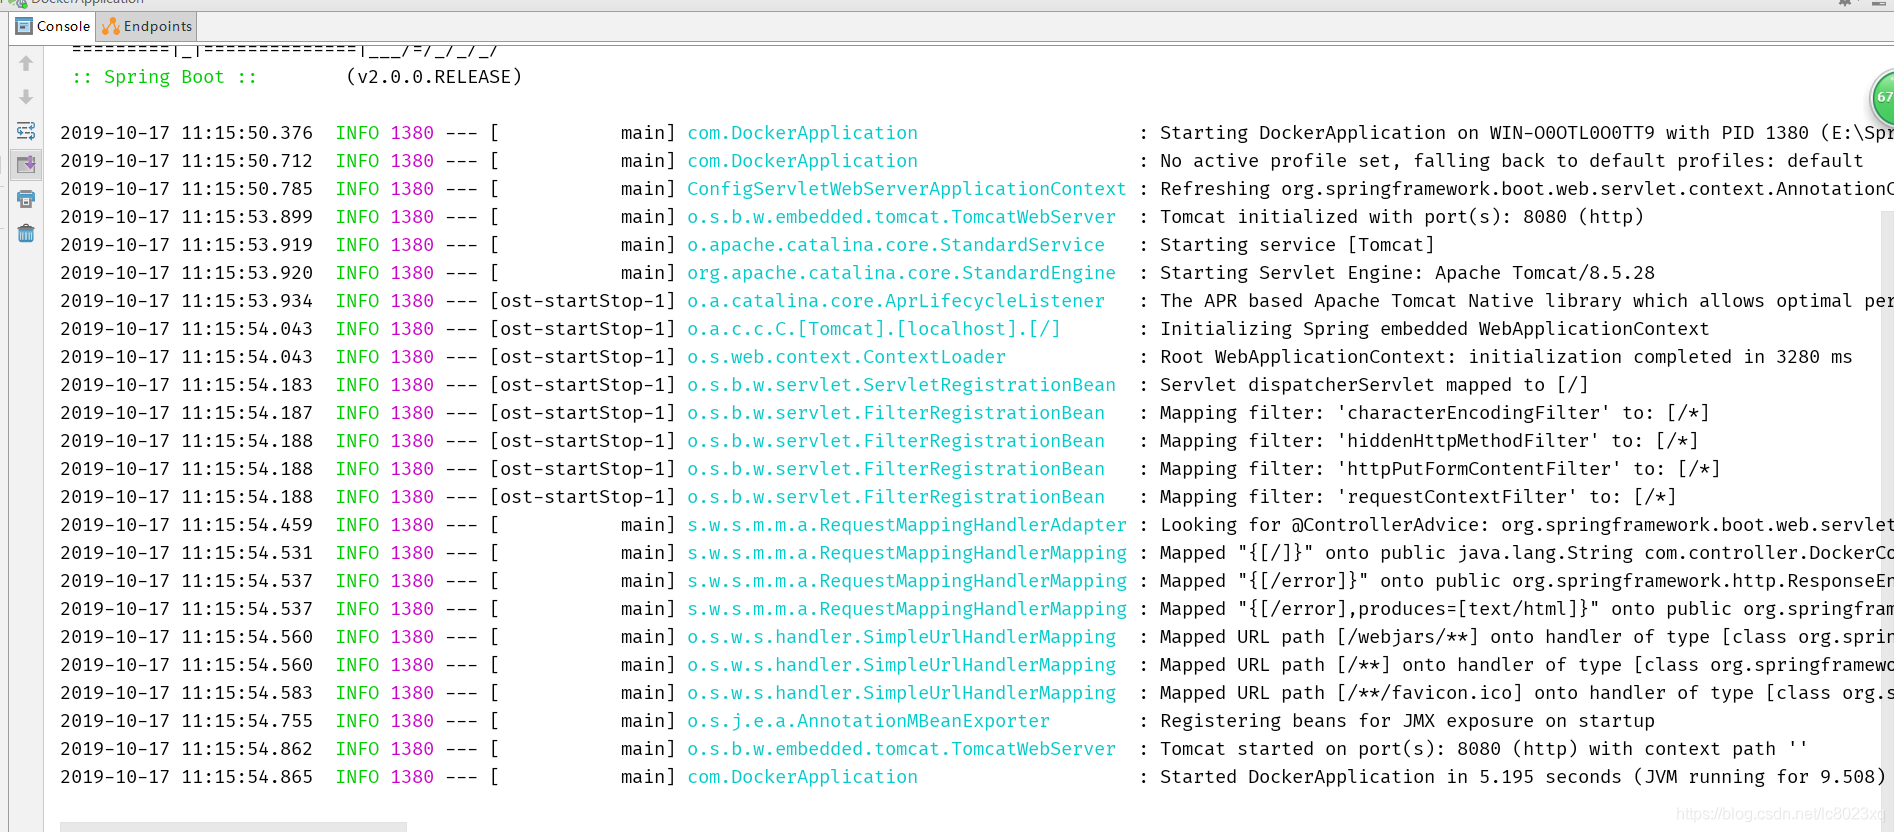
9.控制台启动成功日志。
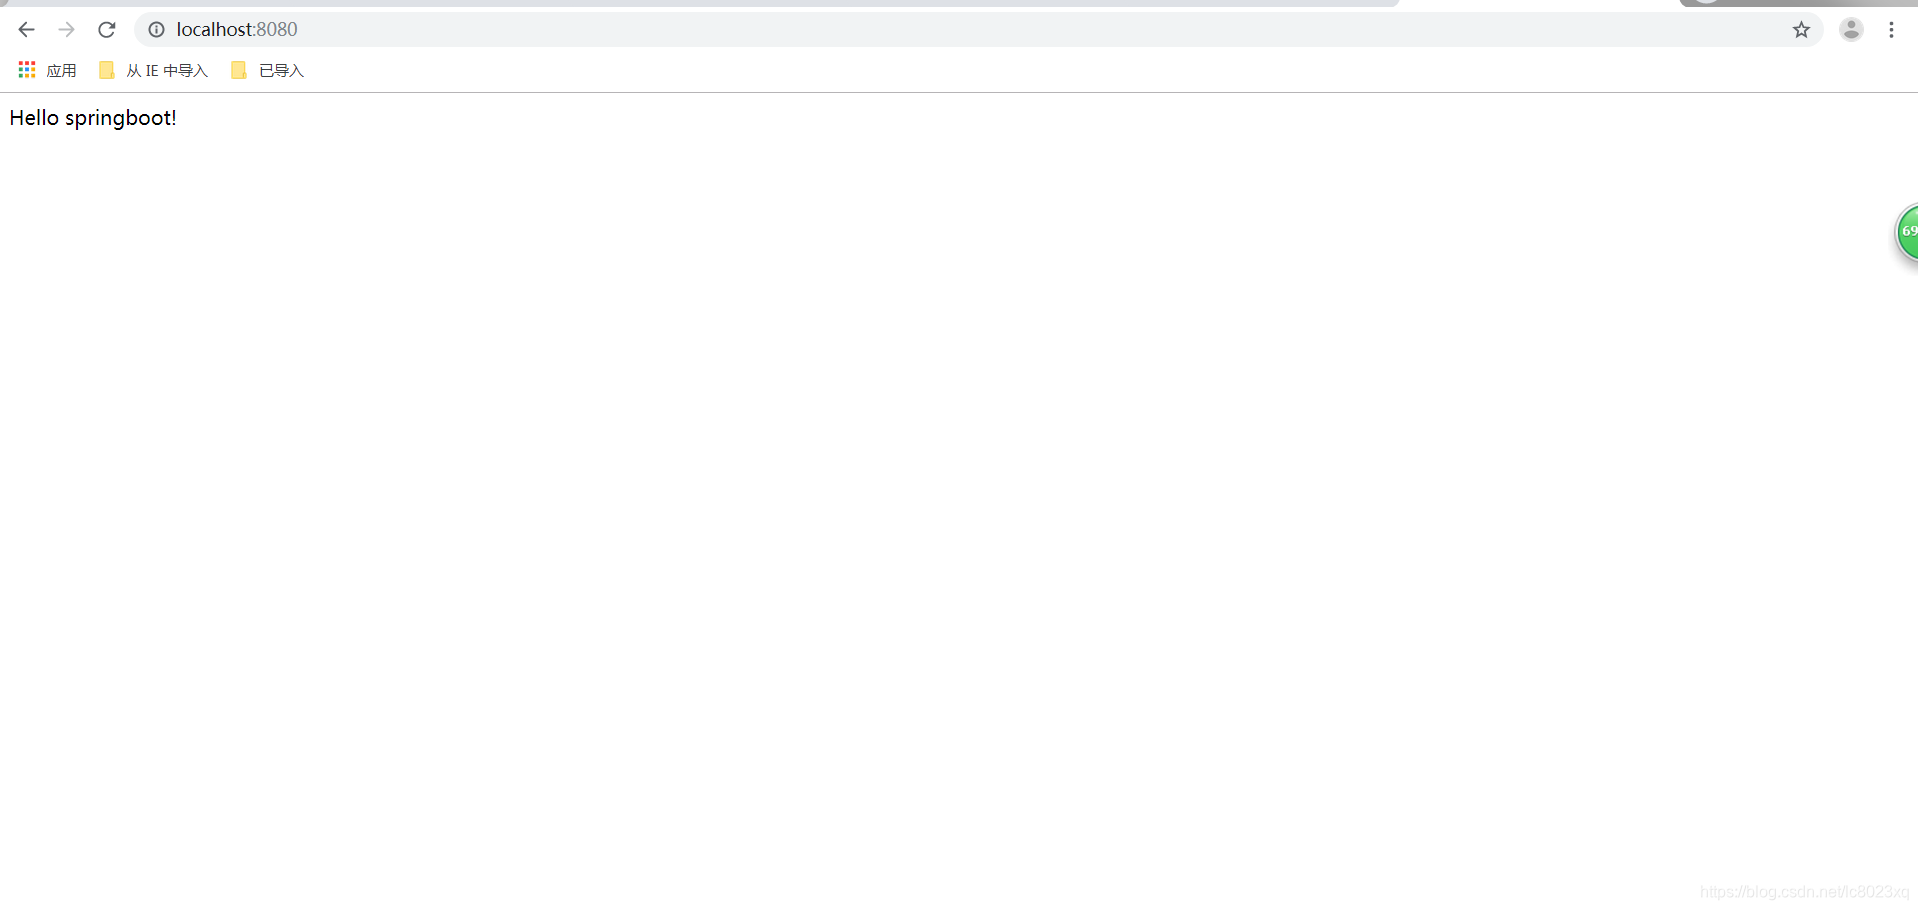
10.浏览器访问接口地址,返回结果“Hello springboot!”。
简易springboot项目搭建完成,谢谢观看。