背景
Fragment(碎片)是Android3.0提出来的概念,当时的主要目的是为了适配平板,准备将Activity碎片化,每个部分单独处理。fragment相较于Activity更加轻量,但是展示的效果与Actvity差不多,这给页面布局带来了更多的灵活性。由于Androidx的强制推行,以前的文章过于老旧,所以写下这一系列文章总结一下。
Fragment的优势
模块化 可以不用将所有代码写在Activity中,而是写在Fragment中,降低耦合。
可复用 fragment可以被多个Activity重用。
可适配 可以对不同大小的屏幕进行适配。
Fragment的简单使用
方法一:静态添加
静态添加就是将fragment当作一个控件内嵌在Activity的布局文件之中,这种方法并不提倡,这牺牲了Fragment的灵活性,没有发挥出Fragment应有的作用。使用如下
两个Fragment FragmentOne和FragmentTwo的布局文件如下
<?xml version="1.0" encoding="utf-8"?>
<RelativeLayout xmlns:android="http://schemas.android.com/apk/res/android"
android:orientation="vertical" android:layout_width="match_parent"
android:background="@color/colorAccent"
android:layout_height="match_parent">
<TextView
android:layout_width="wrap_content"
android:layout_height="wrap_content"
android:text="这是FragmentOne"
android:layout_centerInParent="true">
</TextView>
</RelativeLayout>
<?xml version="1.0" encoding="utf-8"?>
<RelativeLayout xmlns:android="http://schemas.android.com/apk/res/android"
android:layout_width="match_parent" android:layout_height="match_parent">
<TextView
android:layout_width="wrap_content"
android:layout_height="wrap_content"
android:text="这是FragmentTwo"
android:layout_centerInParent="true">
</TextView>
</RelativeLayout>
两个Fragment的类文件,注意继承Androidx包下的Fragment,通过重写onCreateView方法返回Fragment视图,关于Fragment的生命周期将会下一篇文章重点介绍。
public class FragmentOne extends Fragment {
@Nullable
@Override
public View onCreateView(@NonNull LayoutInflater inflater, @Nullable ViewGroup container, @Nullable Bundle savedInstanceState) {
View view = inflater.inflate(R.layout.fragment_one, container, false);
return view;
}
}
public class FragmentTwo extends Fragment {
@Nullable
@Override
public View onCreateView(@NonNull LayoutInflater inflater, @Nullable ViewGroup container, @Nullable Bundle savedInstanceState) {
return inflater.inflate(R.layout.fragment_two, container, false);
}
}
接下来将Fragment当作控件加入MainActivity布局文件,注意这里的id和name必填,否则会报错
<?xml version="1.0" encoding="utf-8"?>
<FrameLayout xmlns:android="http://schemas.android.com/apk/res/android"
xmlns:app="http://schemas.android.com/apk/res-auto"
xmlns:tools="http://schemas.android.com/tools"
android:layout_width="match_parent"
android:layout_height="match_parent"
tools:context=".MainActivity">
<LinearLayout
android:orientation="vertical"
android:layout_width="match_parent"
android:layout_height="match_parent">
<fragment
android:id="@+id/fragment_one"
android:layout_width="match_parent"
android:layout_weight="1"
android:name="com.snow.fragmentdemo.FragmentOne"
android:layout_height="match_parent">
</fragment>
<fragment
android:id="@+id/fragment_two"
android:layout_width="match_parent"
android:layout_height="match_parent"
android:layout_weight="1"
android:name="com.snow.fragmentdemo.FragmentTwo">
</fragment>
</LinearLayout>
</FrameLayout>
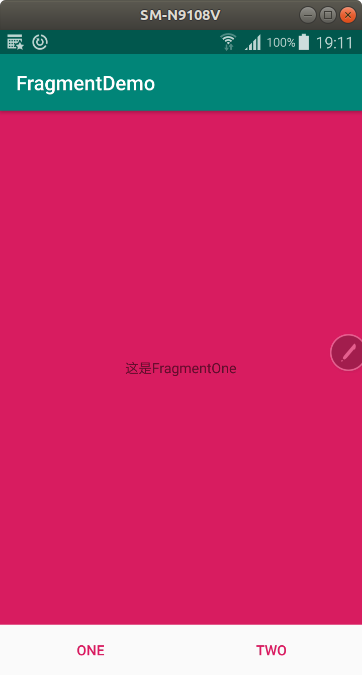
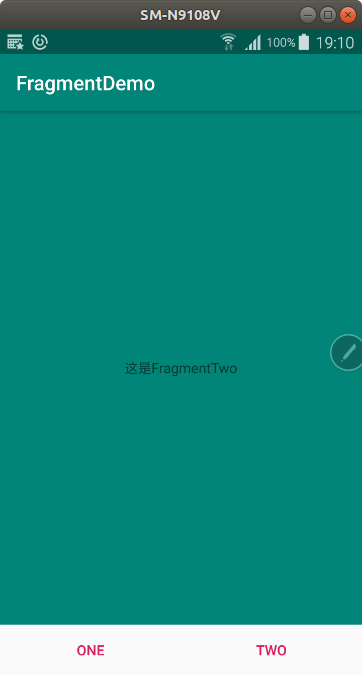
效果如下

方法二:动态添加
动态加载是使用FragmentManager和FragmentTransaction提供的API完成的,在Androidx中通过getSupportFragmentManager()获取FragmentManager。
FragmentManager fm = getSupportFragmentManager();
FragmentTransaction transaction = fm.beginTransaction();
下表列出了常用的API.
FragmentMananger
返回值 函数 描述
Fragment findFragmentById 通过ID来获取Fragment
Fragment findFragmentByTag 通过Tag来获取Fragment
List< Fragment> getFragments 获取所有被添加到FragmentManager中的Fragment
FragmentTransaction beginTransaction 获取FragmentTransaction
FragmentTransaction
返回值 函数 描述
FragmentTransaction add 向container中加入一个Fragment
FragmentTransaction remove 移除一个Fragemnt
FragmentTransaction replace 替换Fragment
FragmentTransaction commit 提交事务
FragmentTransaction show 展示Fragment
FragmentTransaction hide 隐藏Fragment
FragmentTransaction addToBackStack 将事物加入回退栈
事项注意
replace是将FragmentManager中所有的Fragment先移除再加入Fragment
每一个事物只能提交一次,否则回报错重复提交
调用addToBackStack后,按物理回退建会回滚,fragment页面内容也不会变,如TextView里的内容,没有调用,按物理回退建,直接退出Activity。
一个commit可以包含多个操作,如add,remove等
关键代码
public class MainActivity extends AppCompatActivity implements View.OnClickListener{
@Override
protected void onCreate(Bundle savedInstanceState) {
super.onCreate(savedInstanceState);
setContentView(R.layout.activity_main2);
findViewById(R.id.button1).setOnClickListener(this);
findViewById(R.id.button2).setOnClickListener(this);
}
@Override
public void onClick(View v) {
FragmentManager fm = getSupportFragmentManager();
switch (v.getId()) {
case R.id.button1:
FragmentTransaction transaction = fm.beginTransaction();
transaction.replace(R.id.content, new FragmentOne());
transaction.commit();
break;
case R.id.button2:
FragmentTransaction transaction2 = fm.beginTransaction();
transaction2.replace(R.id.content, new FragmentTwo()).commit();
break;
}
}
}
————————————————
版权声明:本文为CSDN博主「QStack」的原创文章,遵循CC 4.0 BY-SA版权协议,转载请附上原文出处链接及本声明。
原文链接:https://blog.csdn.net/QStack/article/details/108293729