Seata+Nacos+SpringCloudAlibaba部署指南
我使用的版本:
SpringCloudAlibaba : 2.1.1.RELEASE
Nacos : 1.1.4
Seata : 0.9
版本非常重要,有时版本不对,项目启动会报一些莫名其妙的错误.
1.1 安装Nacos
下载地址:https://github.com/alibaba/nacos/releases
解压之后,如果是单机部署的话,可以点击修改startup.sh中的MODE为standalone.
export SERVER="nacos-server"
# 修改MODE
export MODE="standalone"
export FUNCTION_MODE="all"
注意如果电脑ip变化了,需要删除/nacos/data文件夹,然后在重启.否则会提示服务down
启动命令
startup.sh
1.2 安装seata
- 下载地址:https://github.com/seata/seata/releases
- 解压seata文件夹
- 修改seata/conf/file.conf文件
改动点:
- 修改自定义事务名称,server 中 vgroup_mapping.my_test_tx_group 的名称,随意定义
- 修改事务日志存储模式为db。(默认为文件)store中的mode
- 修改数据库信息
transport {
  # tcp udt unix-domain-socket
  type = "TCP"
  #NIO NATIVE
  server = "NIO"
  #enable heartbeat
  heartbeat = true
  #thread factory for netty
  thread-factory {
    boss-thread-prefix = "NettyBoss"
    worker-thread-prefix = "NettyServerNIOWorker"
    server-executor-thread-prefix = "NettyServerBizHandler"
    share-boss-worker = false
    client-selector-thread-prefix = "NettyClientSelector"
    client-selector-thread-size = 1
    client-worker-thread-prefix = "NettyClientWorkerThread"
    # netty boss thread size,will not be used for UDT
    boss-thread-size = 1
    #auto default pin or 8
    worker-thread-size = 8
  }
  shutdown {
    # when destroy server, wait seconds
    wait = 3
  }
  serialization = "seata"
  compressor = "none"
}
service {
  #vgroup->rgroup
  # 1.自定义事务组名称
  vgroup_mapping.my_test_tx_group = "xiangjiao_tx_group"
  #only support single node
  default.grouplist = "127.0.0.1:8091"
  #degrade current not support
  enableDegrade = false
  #disable
  disable = false
  #unit ms,s,m,h,d represents milliseconds, seconds, minutes, hours, days, default permanent
  max.commit.retry.timeout = "-1"
  max.rollback.retry.timeout = "-1"
}

client {
  async.commit.buffer.limit = 10000
  lock {
    retry.internal = 10
    retry.times = 30
  }
  report.retry.count = 5
  tm.commit.retry.count = 1
  tm.rollback.retry.count = 1
}

## transaction log store
store {
  ## store mode: file、db
  # 2.修改为db
  mode = "db"

  ## file store
  file {
    dir = "sessionStore"

    # branch session size , if exceeded first try compress lockkey, still exceeded throws exceptions
    max-branch-session-size = 16384
    # globe session size , if exceeded throws exceptions
    max-global-session-size = 512
    # file buffer size , if exceeded allocate new buffer
    file-write-buffer-cache-size = 16384
    # when recover batch read size
    session.reload.read_size = 100
    # async, sync
    flush-disk-mode = async
  }

  ## database store
  db {
    ## the implement of javax.sql.DataSource, such as DruidDataSource(druid)/BasicDataSource(dbcp) etc.
    datasource = "dbcp"
    ## mysql/oracle/h2/oceanbase etc.
    db-type = "mysql"
    driver-class-name = "com.mysql.jdbc.Driver"
    url = "jdbc:mysql://127.0.0.1:3306/seata"
    # 3.修改数据库信息
    user = "root"
    password = "root"
    min-conn = 1
    max-conn = 3
    global.table = "global_table"
    branch.table = "branch_table"
    lock-table = "lock_table"
    query-limit = 100
  }
}
lock {
  ## the lock store mode: local、remote
  mode = "remote"

  local {
    ## store locks in user's database
  }

  remote {
    ## store locks in the seata's server
  }
}
recovery {
  #schedule committing retry period in milliseconds
  committing-retry-period = 1000
  #schedule asyn committing retry period in milliseconds
  asyn-committing-retry-period = 1000
  #schedule rollbacking retry period in milliseconds
  rollbacking-retry-period = 1000
  #schedule timeout retry period in milliseconds
  timeout-retry-period = 1000
}

transaction {
  undo.data.validation = true
  undo.log.serialization = "jackson"
  undo.log.save.days = 7
  #schedule delete expired undo_log in milliseconds
  undo.log.delete.period = 86400000
  undo.log.table = "undo_log"
}

## metrics settings
metrics {
  enabled = false
  registry-type = "compact"
  # multi exporters use comma divided
  exporter-list = "prometheus"
  exporter-prometheus-port = 9898
}

support {
  ## spring
  spring {
    # auto proxy the DataSource bean
    datasource.autoproxy = false
  }
}
- 创建数据库seata
新建一个数据库seata,并执行conf/db_store.sql文件,建立所需的表
另外还需要在你的每个业务数据库中执行conf/db_undo_log.sql
5. 修改conf/registry.conf配置文件
修改type为nacos
registry {
  # file 、nacos 、eureka、redis、zk、consul、etcd3、sofa
  type = "nacos"

  nacos {
    serverAddr = "localhost:8848"
    namespace = ""
    cluster = "default"
    username="nacos"
    password="nacos"
  }
- 启动seata
seata-server.sh
启动完成后,可以登陆nacos,127.0.0.1/8848/nacos看看服务是否注册成功
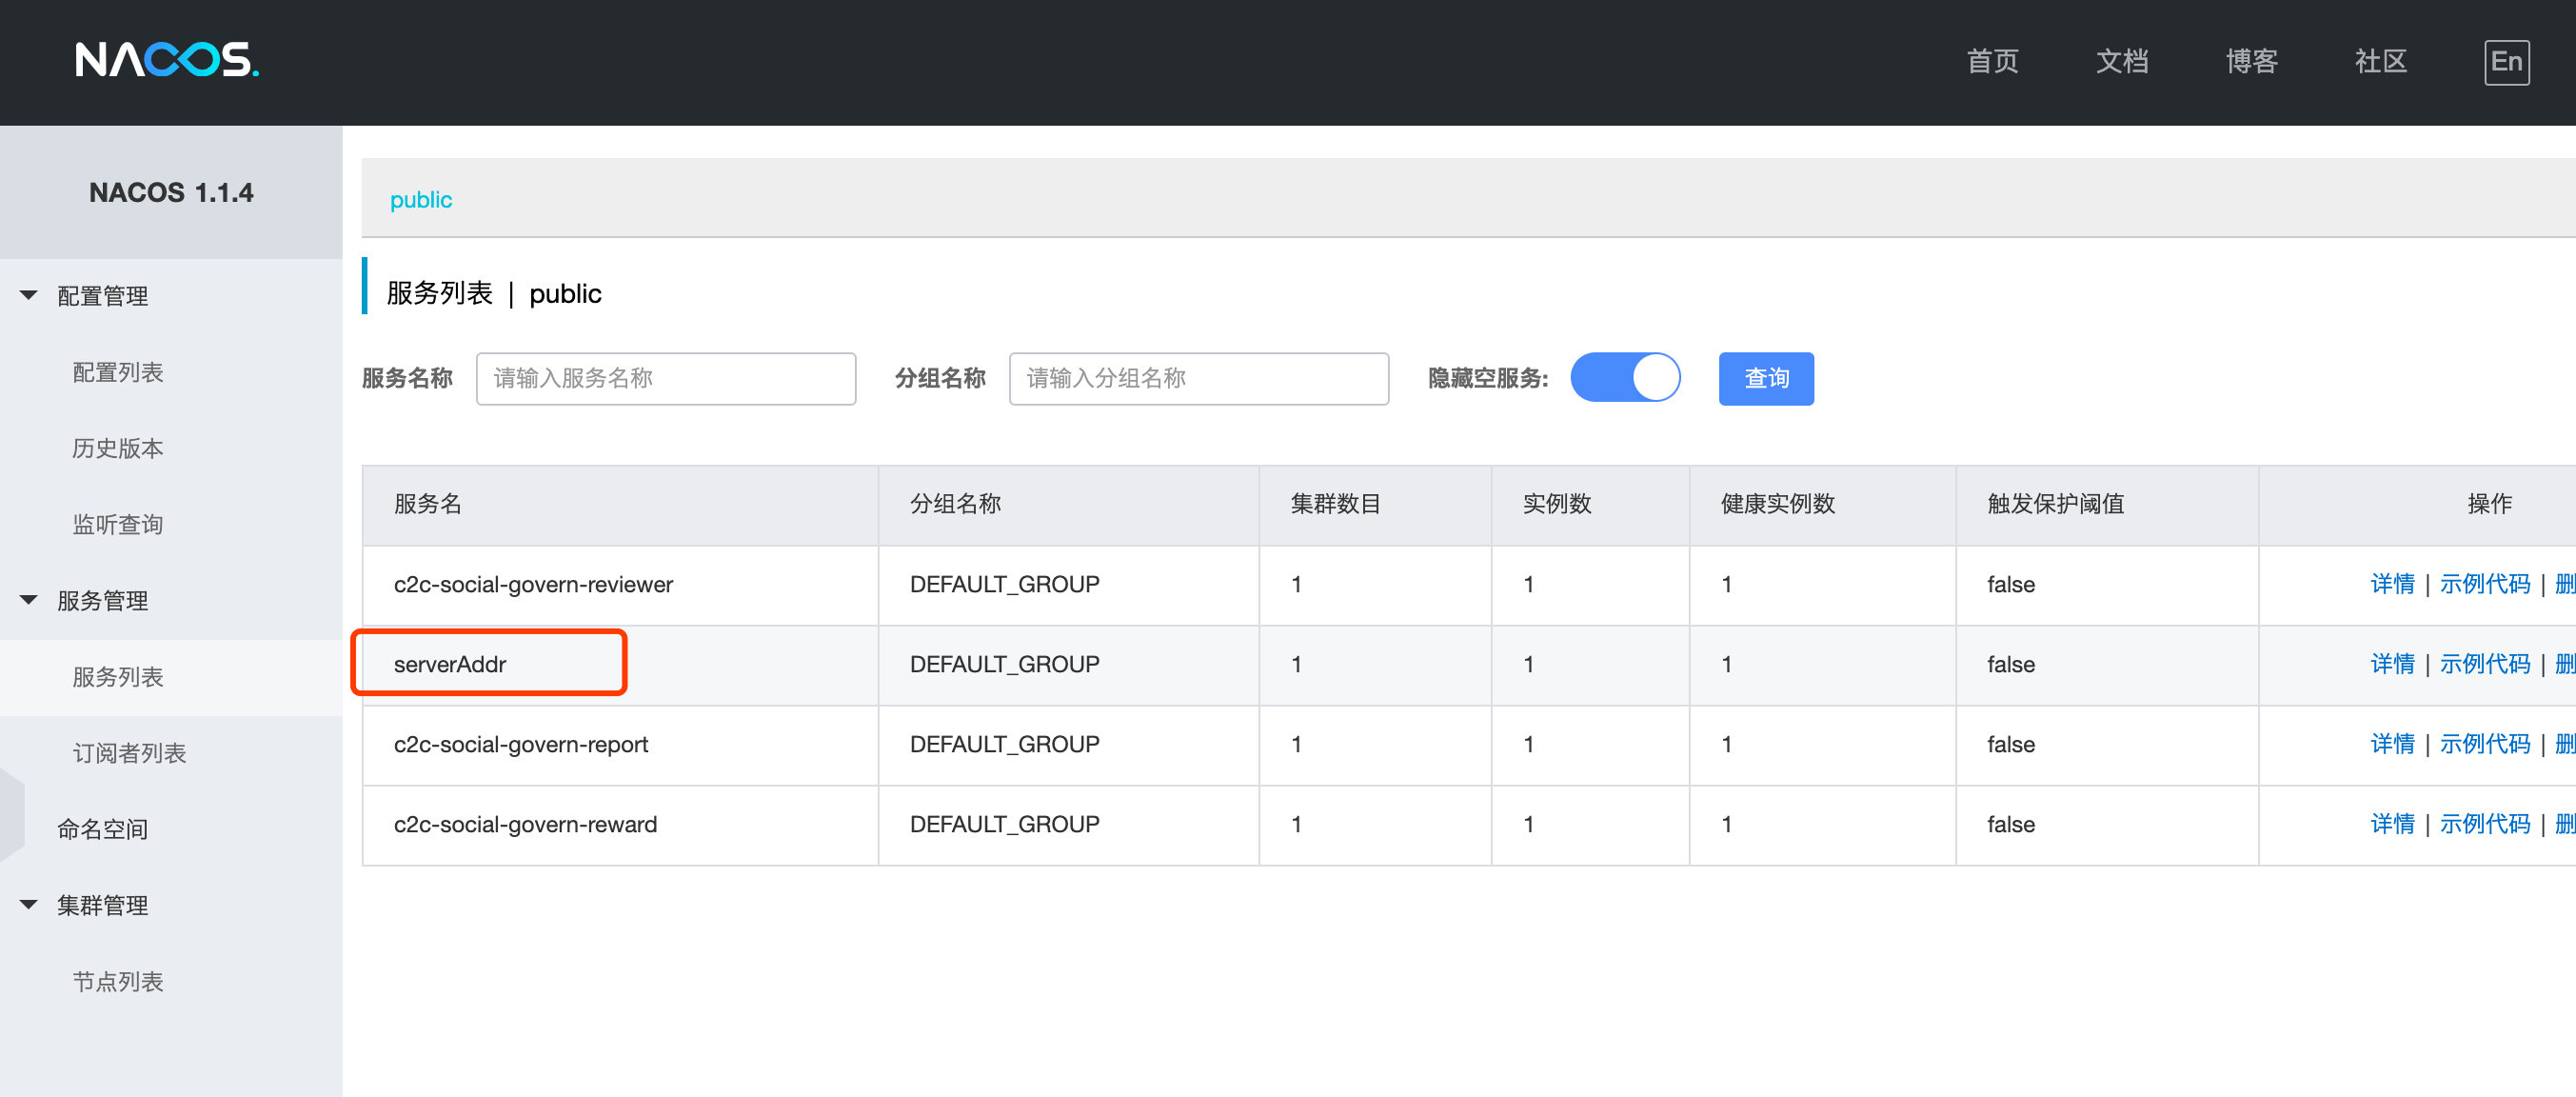
我出现过登陆时用户名密码不对的情况,后来重新配置了JDK环境变量解决了.
1.3 项目搭建
- 接下来就是项目了,项目方面就不多描述了,直接看我的项目示例怎么配置就行了.
重点的是看application.properties中关于seata的配置,以及两个配置文件file.conf,registry.conf
另外除了使用全局事务注解@GlobalTransactional(name = "createReport",rollbackFor = Exception.class)外,还需要配置数据源,否则全局事务不会生效
package com.mmc.reward.config;

import com.alibaba.druid.pool.DruidDataSource;
import io.seata.rm.datasource.DataSourceProxy;
import org.apache.commons.lang3.StringUtils;
import org.mybatis.spring.SqlSessionFactoryBean;
import org.mybatis.spring.boot.autoconfigure.MybatisProperties;
import org.springframework.boot.context.properties.ConfigurationProperties;
import org.springframework.boot.context.properties.EnableConfigurationProperties;
import org.springframework.context.annotation.Bean;
import org.springframework.context.annotation.Configuration;
import org.springframework.core.io.Resource;
import org.springframework.core.io.support.PathMatchingResourcePatternResolver;
import org.springframework.core.io.support.ResourcePatternResolver;

import javax.sql.DataSource;
import java.io.IOException;

/**
 * Description:
 * author: yu.hb
 * Date: 2019-11-01
 */
@Configuration
@EnableConfigurationProperties({MybatisProperties.class})
public class DataSourceConfiguration {


    @Bean
    @ConfigurationProperties(prefix = "spring.datasource")
    public DataSource dataSource() {
        return new DruidDataSource();
    }

    @Bean
    public DataSourceProxy dataSourceProxy(DataSource dataSource) {
        return new DataSourceProxy(dataSource);
    }

    @Bean
    public SqlSessionFactoryBean sqlSessionFactoryBean(DataSourceProxy dataSourceProxy,
                                                       MybatisProperties mybatisProperties) {
        SqlSessionFactoryBean bean = new SqlSessionFactoryBean();
        bean.setDataSource(dataSourceProxy);

        ResourcePatternResolver resolver = new PathMatchingResourcePatternResolver();
        try {
            Resource[] mapperLocaltions = resolver.getResources(mybatisProperties.getMapperLocations()[0]);
            bean.setMapperLocations(mapperLocaltions);

            if (StringUtils.isNotBlank(mybatisProperties.getConfigLocation())) {
                Resource[] resources = resolver.getResources(mybatisProperties.getConfigLocation());
                bean.setConfigLocation(resources[0]);
            }
        } catch (IOException e) {
            e.printStackTrace();
        }

        return bean;
    }
}
注意: 分布式事务分组名是对应的,3个地方都要配一样的,我这里配的是xiangjiao_tx_group
seata/conf/file.conf中的配置
vgroup_mapping.my_test_tx_group = "xiangjiao_tx_group"
程序工程里的application.properties中的配置
spring.cloud.alibaba.seata.tx-service-group=xiangjiao_tx_group
程序工程里的file.conf文件中的配置
vgroup_mapping.xiangjiao_tx_group = "default"