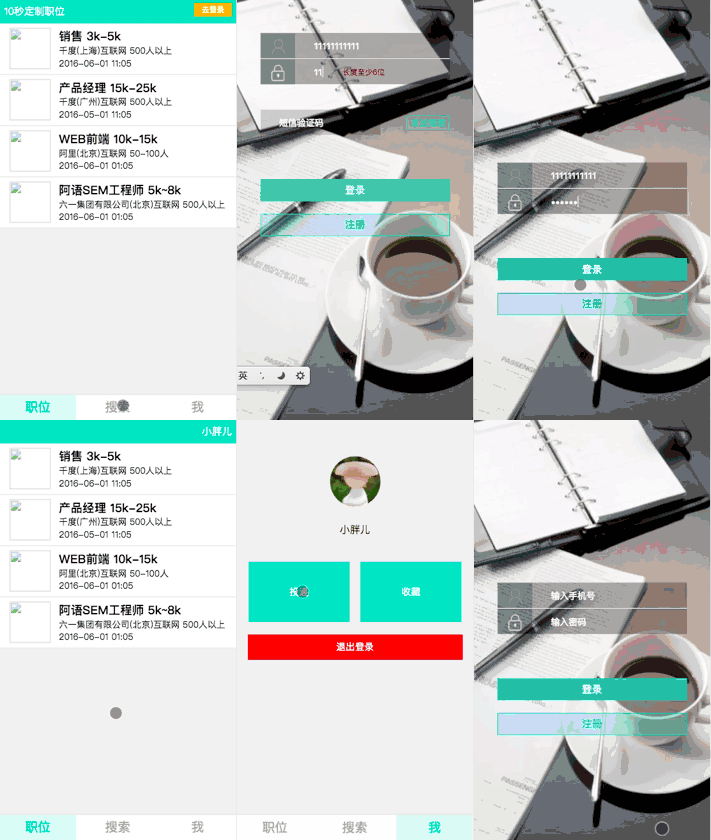
进行到这里,我们应用开发已经接近尾声,我这里基本就是应用开发的记录过程,讲解的东西很少,有问题可以在评论区讨论呦。下面进入最后调整的阶段。
预览我们的应用,会发现首页的职位列表,也会显示收藏的星星图标,这里我们不需要它:

我们先来进行调整职位列表的组件模块:
positionlist.html:
<span ng-click="$event.stopPropagation();select(item)" ng-if="isFavorite" class="p-a icon {{item.select?'star-active':'star'}}"></span>
这里把是否显示小星星的条件由是否登录改成由其父控制器来控制,打开positionlist.js文件:
'use strict';
angular.module('app').directive('appPositionList',['$http', function($http){
    return {
        restrict:'A',
        replace:true,
        templateUrl:'view/template/positionlist.html',
        scope:{
            data:'=',
            filterObj:'=',
            isFavorite:'='
        },
        link:function($scope){
            $scope.select = function(item){
                $http.post('data/favorite.json',{
                    id:item.id,
                    select: !item.select
                }).success(function(resp){
                    item.select = !item.select;
                });
            };
        }
    };
}]);
这时,首页的职位列表的收藏图标已经消失了,但是我的收藏的小星星也不见了,而我们在收藏列表里是需要它的:

打开favorite.html文件:
<div app-position-list data="list" is-favorite="true"></div>
现在我们的收藏图标就出现了:

还有首页的头部有一个去登录的按钮和定位的提示语,这是不合逻辑的,当我们是登录状态的时候,应显示用户名称,而在非登录状态显示这两部分,打开head组件部分,head.html:
<div class="head">
    <span class="text" ng-hide="name">10秒定制职位</span>
    <button class="custom f-r" ng-hide="name" ui-sref="login">去登录</button>
    <span class="f-r text" ng-bind="'您好,'+name"></span>
</div>
修改对应的head.js文件:
'use strict';
angular.module('app').directive('appHead',['cache', function(cache){
    return{
        restrict:'A',
        replace:true,
        templateUrl:'view/template/head.html',
        link:function($scope){
            $scope.name = cache.get('name') || '';
        }
    }
}]);
修改后的效果:

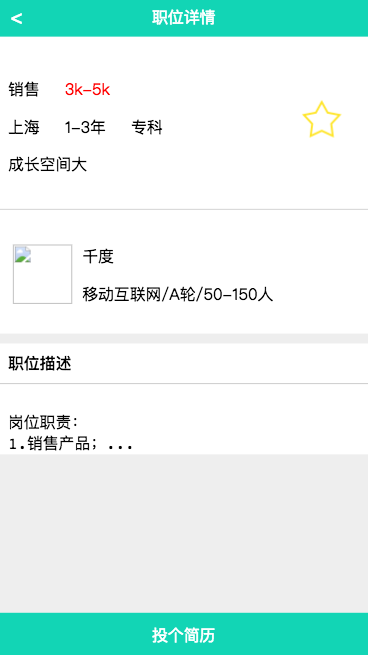
现在进入职位详情页看一下:

我们现在是登录状态,底部显示去登录这不科学,打开positionCtrl.js文件:
'use strict';
angular.module('app')
    .controller('positionCtrl', ['$q', '$http', '$state', '$scope','cache', function($q, $http, $state, $scope, cache) {
        $scope.isLogin = !!cache.get('name');
此时页面效果如下:

我们想要的页面效果是出来了,但是收藏图标现在还不好使,来处理一下小星星,打开positioninfo.html,给小星星添加一个点击事件:
<img ng-show="isLogin" ng-src="{{imagePath}}" class="p-a" ng-click="favorite();">
然后打开它对应的指令文件positioninfo.js文件:
'use stict';
angular.module('app').directive('appPositionInfo', ['$http', function($http) {
    return {
        restrict: 'A',
        replace: true,
        templateUrl: 'view/template/positioninfo.html',
        scope: {
            isActive: '=',
            isLogin: '=',
            pos: '='
        },
        link: function($scope) {
            $scope.$watch('pos', function(newValue) {
                if(newValue){
                    $scope.pos.select = $scope.pos.select || false;
                    $scope.imagePath = $scope.pos.select ? 'image/star-active.png' : 'image/star.png';
                }
            });
            $scope.favorite = function() {
                $http.post('data/favorite.json', {
                    id: $scope.pos.id,
                    select: !$scope.pos.select
                }).success(function(resp){
                    $scope.pos.select = !$scope.pos.select;
                    $scope.imagePath = $scope.pos.select ? 'image/star-active.png' : 'image/star.png';
                });
            };
        }
    }
}]);
现在我们来完成「投个简历」部分的操作:
打开position.html文件,给底部按钮添加一个点击事件:
<button class="bottom-btn c-w" ng-bind="message" ng-click="go();"></button>
然后打开positionCtrl.js文件来完善逻辑:
'use strict';
angular.module('app')
    .controller('positionCtrl', ['$log', '$q', '$http', '$state', '$scope', 'cache', function($log, $q, $http, $state, $scope, cache) {
        $scope.isLogin = !!cache.get('name');
        $scope.message = $scope.isLogin ? '投个简历' : '去登录';

        function getPosition() {
            var def = $q.defer();
            $http.get('/data/position.json?id=' + $state.params.id).success(function(resp) {
                $scope.position = resp;
                if (resp.posted) {
                    $scope.message = '已投递';
                }
                def.resolve(resp);
            }).error(function(err) {
                def.reject(err);
            });
            return def.promise;
        };

        function getCompany(id) {
            $http.get('/data/company.json?id=' + id).success(function(resp) {
                $scope.company = resp;
            })
        }
        getPosition().then(function(obj) {
            getCompany(obj.companyId);
        });
        $scope.go = function() {
            if ($scope.message != '已投递') {
                if ($scope.isLogin) {
                    $http.post('data/handle.json', {
                        id: $scope.position.id
                    }).success(function(resp) {
                        $log.info(resp);
                        $scope.message = '已投递';
                    })
                } else {
                    state.go('login');
                }

            }

        };
    }]);
现在,应用已经修改完毕啦,我们来快速预览一下吧~
