下载 WordPress
https://cn.wordpress.org/download/#download-install
直接解压出来
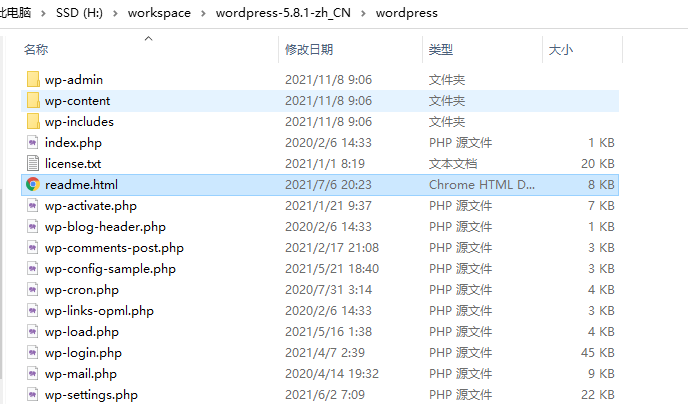
打开 readme.html 有简单指引。
浏览器打开 wp-admin/install.php ,指的是通过 web 服务器 打开。浏览器直接打开是源代码。
web 浏览器本身也不支持 .php ,本次使用 Nginx 配合调用 php 程序 解析。
https://www.nginx.com/resources/wiki/start/topics/examples/phpfastcgionwindows/
下载 MySQL、PHP
MySQL https://dev.mysql.com/downloads/windows/installer/
选择 custom 自定义安装,安装 server 和 workbench(可以连接查看、操作数据库),只安装 server 也可
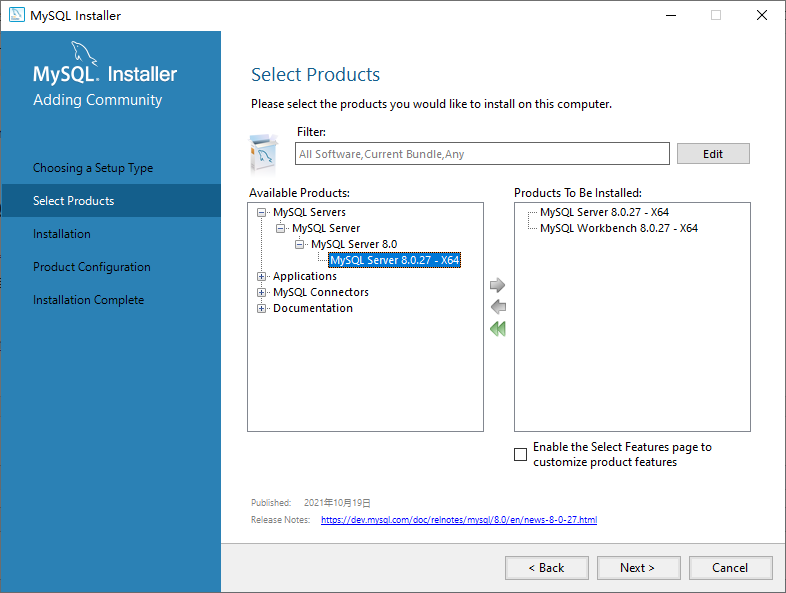
默认用户 root ,设置一下密码就好。完成登录一次,记住密码。
如果有其他考虑,最好为 WordPress 专门创建一个用户。WordPress 配置的时候需要填写数据库账号密码。
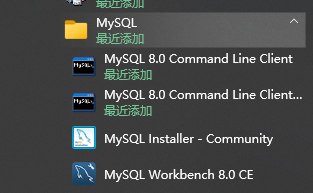
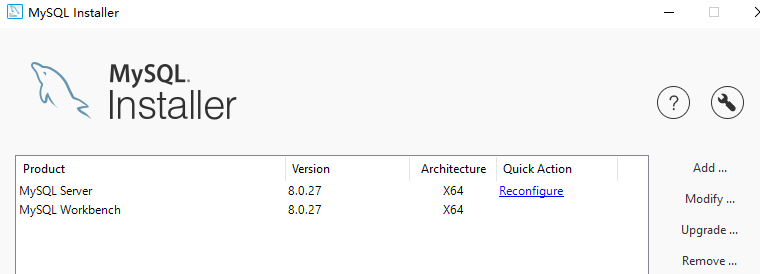
安装好后可通过 管理器重新配置
MySQL Installer - Community
PHP https://windows.php.net/download/
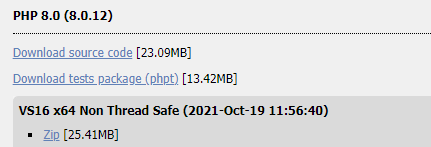
本次下载8.0 NTS, .zip ,解压出来既是免安装文件,*.exe 可直接配置使用。
下载 RunHiddenConsole
https://redmine.lighttpd.net/attachments/660/RunHiddenConsole.zip
直接下载解压到想放置的目录。功能:隐藏命令行窗口,后台运行服务。
配置
Nginx 目录添加文件
start-php-fcgi.bat
@ECHO OFF
ECHO Starting PHP FastCGI...
set PATH=h:PHP;%PATH%
h:RunHiddenConsoleRunHiddenConsole.exe h:PHPphp-cgi.exe -b 127.0.0.1:9123
Nginx 参数
nginx.conf ,添加内容:访问***.php 时,通过端口 9123 去处理
location ~ .php$ {
    fastcgi_pass   127.0.0.1:9123;
    fastcgi_index  index.php;
    fastcgi_param  SCRIPT_FILENAME
    $document_root$fastcgi_script_name;
    include        fastcgi_params;
}
静态文件安置
将wordpress中的所有文件复制到 Nginx 配置的根文件夹内
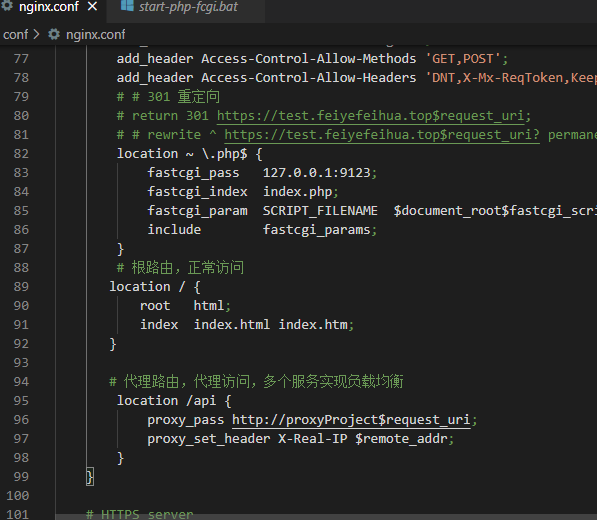
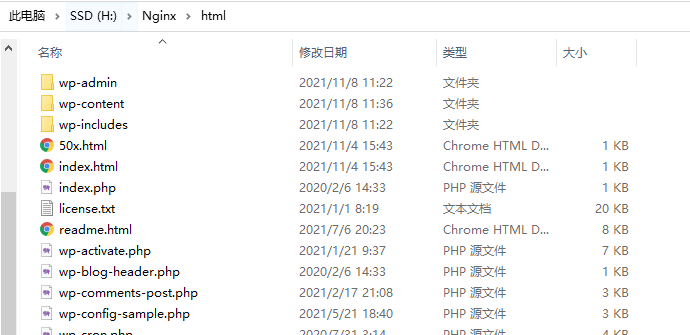
双击运行 start-php-fcgi.bat (看情况添加为开机启动),即可通过 网页访问、开始配置 WordPress
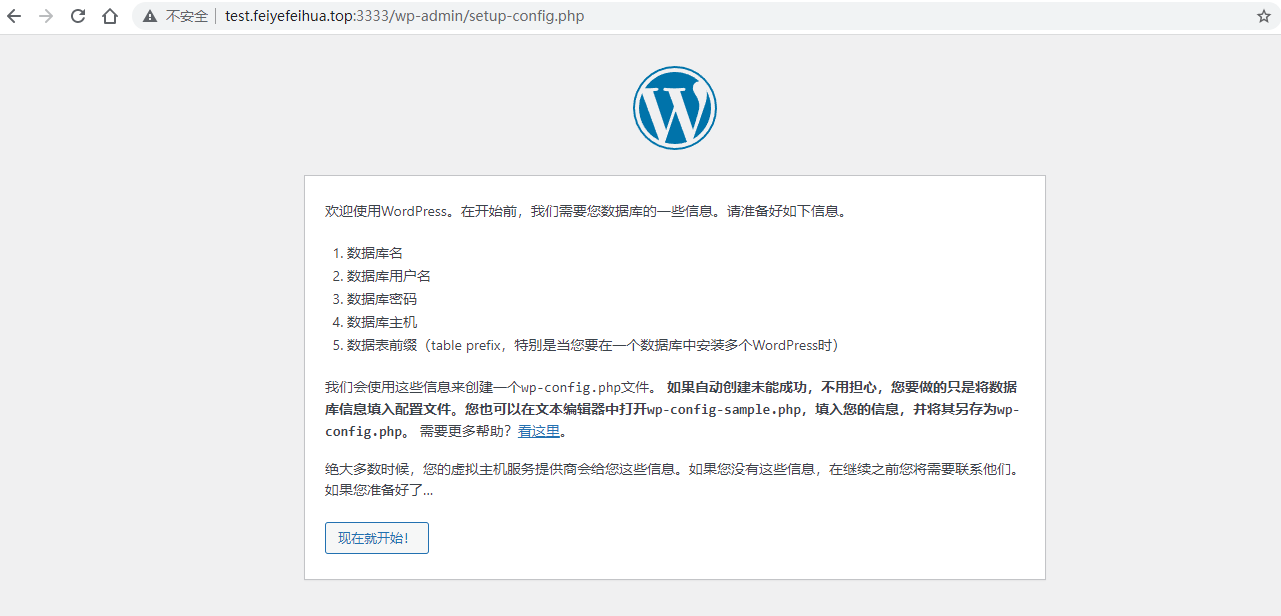
输入 账号密码尝试时报错
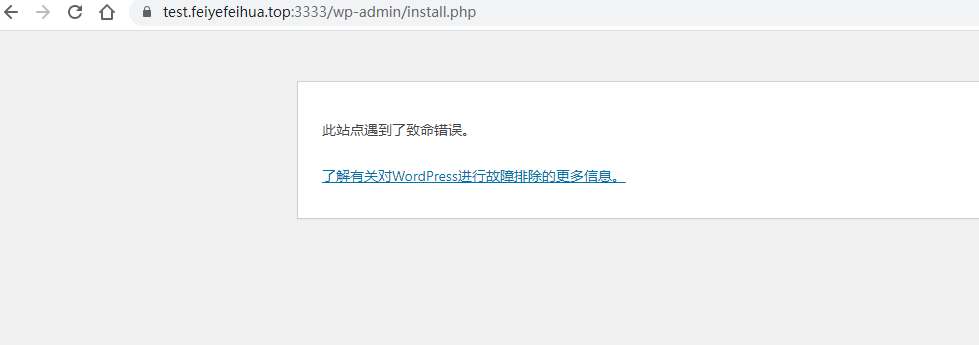
直接 修改 wp-config.php 文件填写账号密码,报同样的错误
再次 wp-config.php 修改添加错误报告(解决问题过后再改回去)
// define( 'WP_DEBUG', false );
define( 'WP_DEBUG', true );
define( 'WP_DEBUG_LOG', true);
// 显示errors and warnings
define( 'WP_DEBUG_DISPLAY', true);
@ini_set( 'display_errors', 'On');
错误路径 wp-content/debug.log
[08-Nov-2021 05:28:45 UTC] PHP Fatal error:  Uncaught Error: Call to undefined function mysql_connect() in H:Nginxhtmlwp-includeswp-db.php:1685
Stack trace:
#0 H:Nginxhtmlwp-includeswp-db.php(632): wpdb->db_connect()
#1 H:Nginxhtmlwp-includesload.php(558): wpdb->__construct('root', 'Mwfynms5418.', 'wordpress', 'localhost')
#2 H:Nginxhtmlwp-settings.php(124): require_wp_db()
#3 H:Nginxhtmlwp-config.php(99): require_once('H:\Nginx\html\w...')
#4 H:Nginxhtmlwp-load.php(50): require_once('H:\Nginx\html\w...')
#5 H:Nginxhtmlwp-admininstall.php(36): require_once('H:\Nginx\html\w...')
#6 {main}
  thrown in H:Nginxhtmlwp-includeswp-db.php on line 1685
查询,原因是 mysql_connect() 过期弃用了,应该调用 mysqli_connect()。
本次下载的最新的 WordPress 和 PHP ,按道理不应该出问题。
搜索配置了一下 PHP
复制一份 php.ini-development 为 php.ini
设置添加 PHP 扩展
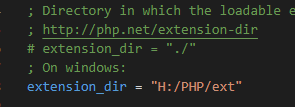
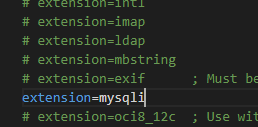
刷新页面,还是不成,折腾了一会儿,
报错文件源代码查看

看意思应该是如果存在就会用 mysqli_connect()
搜索查询扩展命令:php . est.php
<pre>
// test.php
<?php print_r(get_loaded_extensions()); ?>
</pre>

扩展是有的,折腾好一会儿,重启了一下 php-cgi ,问题解决。
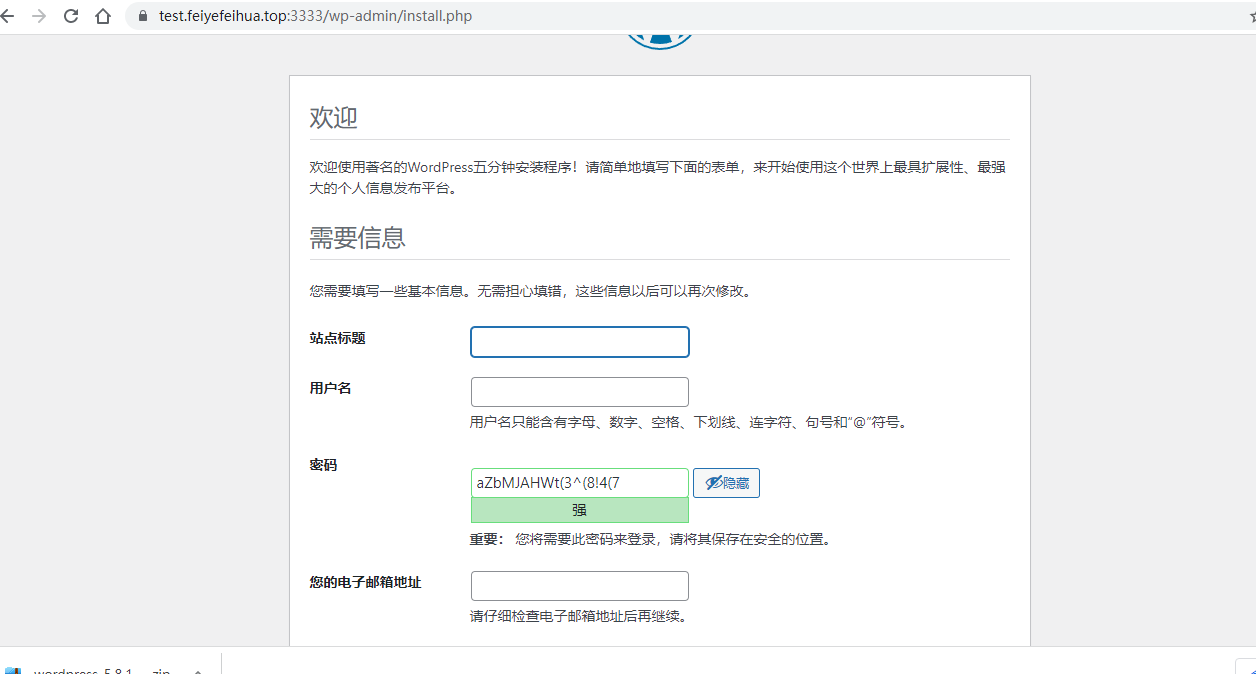
PS:看来可以把 php-cgi 启动脚本和 Nginx 绑到一起。或者修改PHP相关,记着重启一下。
设置安装 、登录,报错403

看里面有个 index.php ,默认应该访问 index.php ,但没有
修改 Nginx 配置 index 添加 index.php

nginx -s reload 重新登陆,OK。(正常部署,应该删掉 html ,不然主页会访问到index.html)
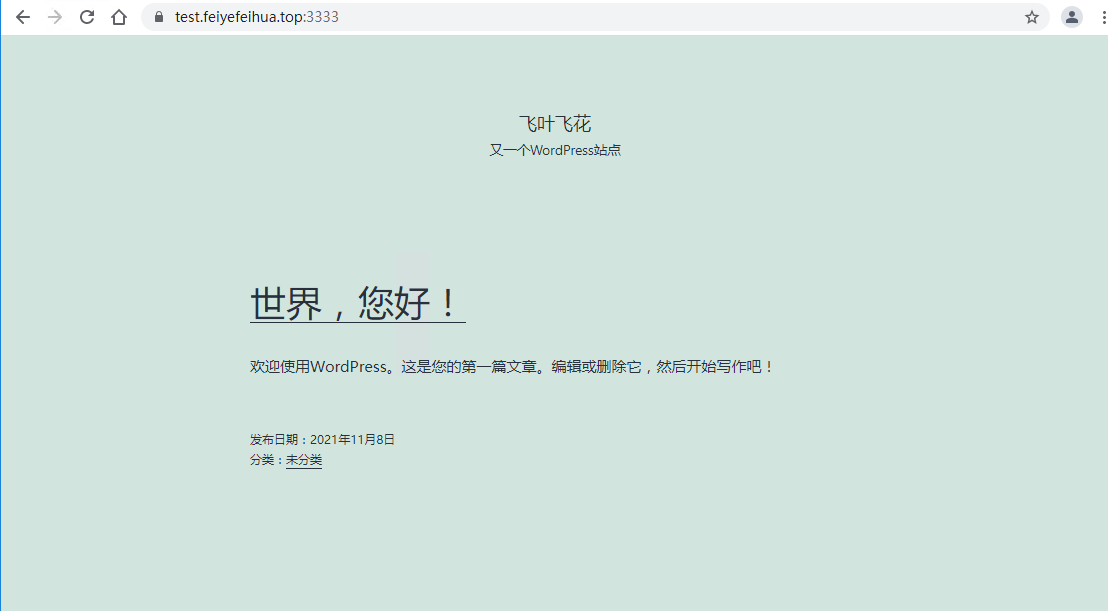
添加浏览器标签栏 favicon 小图标
制作 favicon.ico https://tool.lu/favicon/
主题目录:*wp-content hemes
找到启用的主题,添加图标位置
编辑主题文件header.php,在<head>和</head>之间添加以下代码:
<link rel="shortcut icon" href="https://***/favicon.ico" type="image/x-icon" />
<link rel="Bookmark" href="https://***/favicon.ico" />
保存更新文件文件,清除浏览器缓存即可看到效果。
可以添加动态 favicon 图标:
先挑一张喜欢的gif动态图片,调整成16×16大小,重新命名为favicon.gif。
在<head>和</head>之间添加以下代码:
<link rel="icon" href="https://***/favicon.gif" type="image/gif" >
保存更新文件文件,清除浏览器缓存即可看到效果。
php-cgi 进程守护
发现每天 php-cgi 进程老是会自己挂掉,导致页面打不开 502 Bad Gateway
windows下的进程守护 xxfpmW https://github.com/jying000/xxfpmW
linux 下有个老版本 xxfpm https://github.com/78/xxfpm
固定链接格式
改了过后 404
修改 nginx 配置 并重启 nginx
location / {
            root html;
            index index.php;
            if (-f $request_filename/index.html) {
                rewrite (.*) $1/index.html break;
            }
            if (-f $request_filename/index.php) {
                rewrite (.*) $1/index.php;
            }
            if (!-f $request_filename) {
                rewrite (.*) /index.php;
            }

        }