参考:http://shumeipai.nxez.com/2013/10/03/raspberry-pi-temperature-sensor-monitors.html
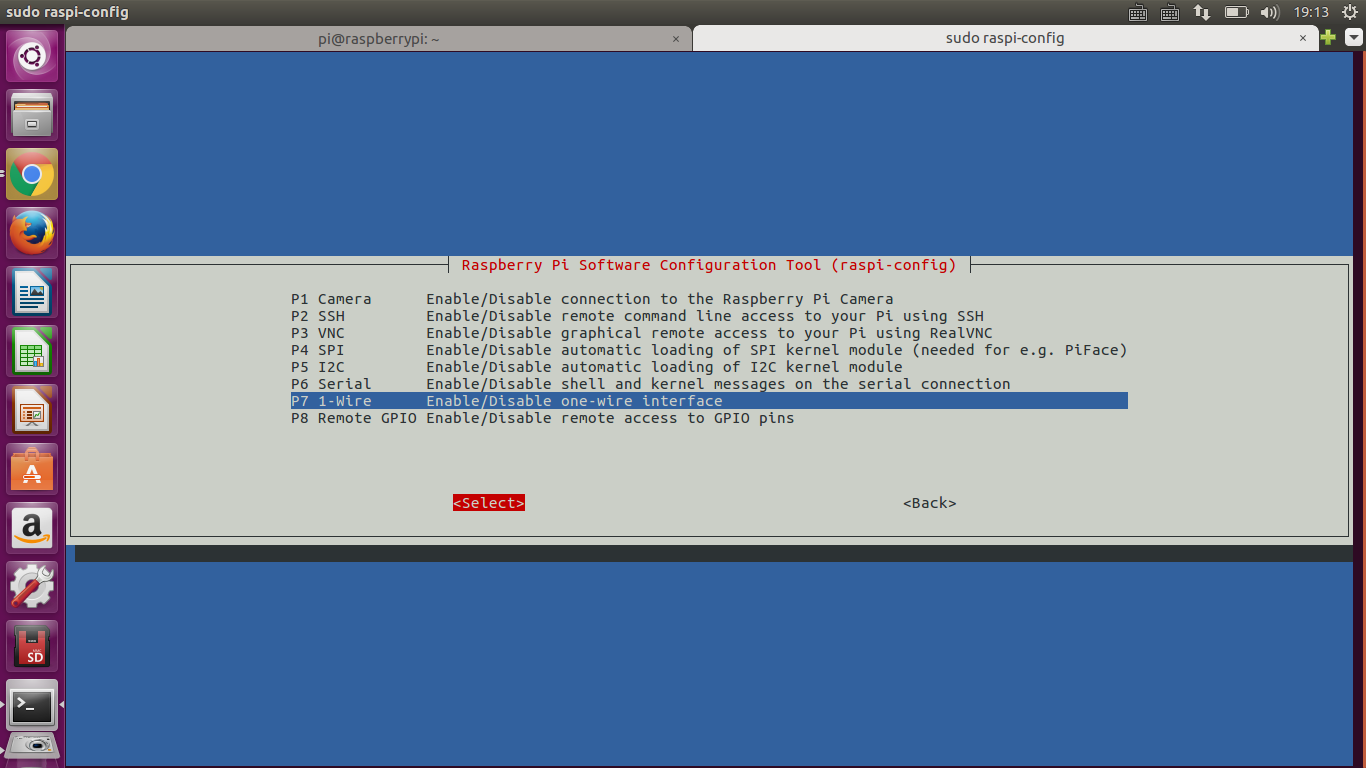
第一步,允许单总线接口
sudo raspi-config进入interfacingoptions
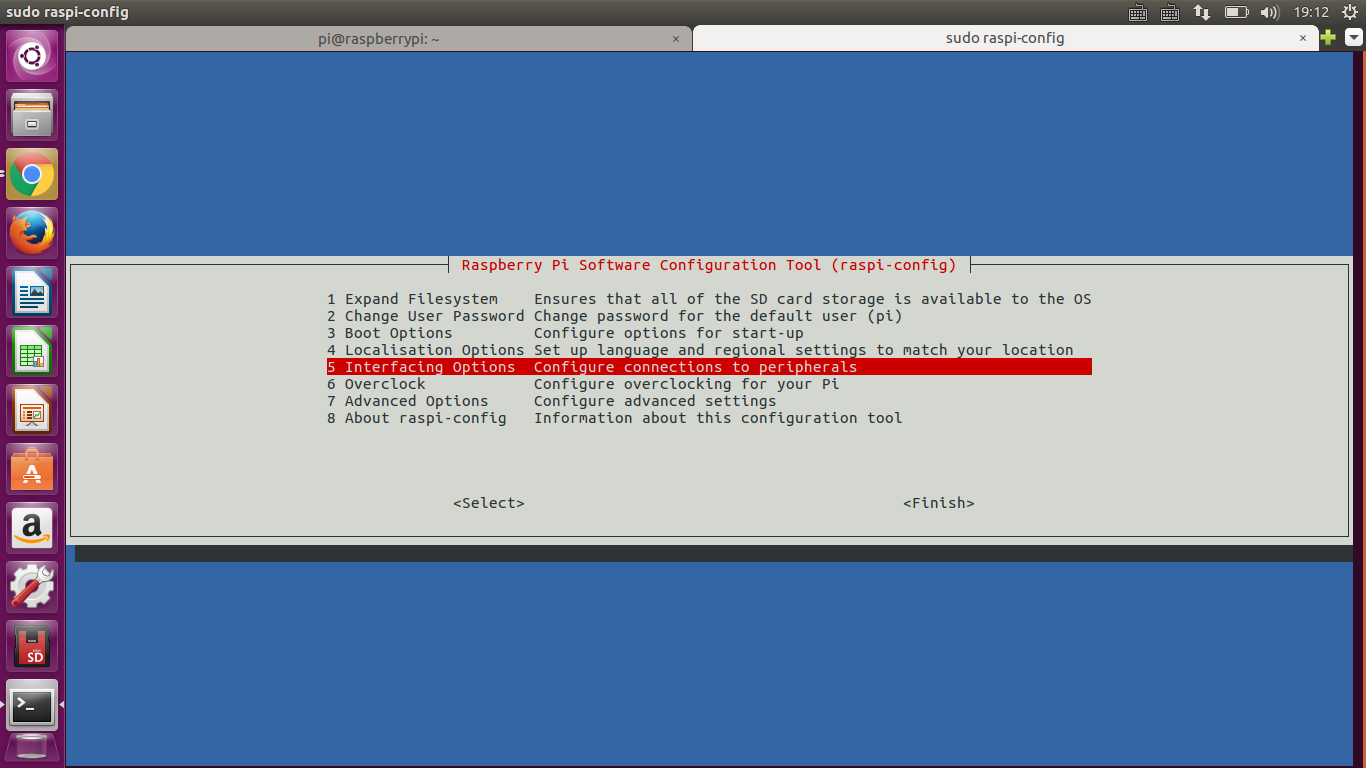
enable 1-wire interface
第二步,接线

接BCM编码为4即图上物理引脚7
第三步,升级内核
sudo apt-get update
sudo apt-get upgrade
pi@raspberrypi:~$ cd /sys/bus/w1/devices/
pi@raspberrypi:/sys/bus/w1/devices$ ls
28-00000xxxxxx w1_bus_master1
第四步,查看当前温度
cd 28-00000xxxxxx cat w1_slave
显示:
46 01 4b 46 7f ff 0c 10 2f : crc=2f YES
46 01 4b 46 7f ff 0c 10 2f t=20375
第二行的t=20375就是当前的温度值,要换算成摄氏度,除以1000,即当前温度为20
python
 1 #!/usr/bin/python3
 2 import os,time
 3
 4 device_file ='/sys/bus/w1/devices/28-031681e171ff/w1_slave'
 5
 6 def read_temp_raw():
 7     f = open(device_file,'r')
 8     lines = f.readlines()
 9     f.close()
10     return lines
11
12 def read_temp():
13     lines = read_temp_raw()
14     while lines[0].strip()[-3:] != 'YES':
15         time.sleep(0.2)
16         lines = read_temp_raw()
17     equals_pos = lines[1].find('t=')
18     if equals_pos != -1:
19         temp_string = lines[1][equals_pos+2:]
20         temp_c = float(temp_string)/1000.0
21     return temp_c
22
23 while True:
24     print('temp C = %f'%read_temp())
25     time.sleep(1)
打印结果:
1 pi@raspberrypi:~/myPython $ ./temp_ds18b20.py
2 temp C = 20.687000
3 temp C = 20.687000
4 temp C = 20.687000
5 temp C = 20.750000
6 temp C = 20.750000
7 temp C = 20.750000
C语言代码:
1 #include <stdio.h> 2 #include <stdlib.h> 3 #include <string.h> 4 #include <dirent.h> 5 #include <unistd.h> 6 #include <sys/types.h> 7 #include <sys/stat.h> 8 #include <fcntl.h> 9 #include <hiredis/hiredis.h> 10 11 12 int Open_send(char *base){ //打开发送数据 13 int fd, size; 14 char buffer[1024]; 15 fd = open(base,O_RDONLY); 16 lseek(fd,69,SEEK_SET); 17 size = read(fd,buffer,sizeof(buffer)); 18 close(fd); 19 printf("temp C = %f ",(float)atoi(buffer)/1000.0); 20 return 0; 21 } 22 23 int readFileList(char *basePath) //文件查找 24 { 25 DIR *dir; 26 struct dirent *ptr; 27 char base[1024]; 28 29 if ((dir=opendir(basePath)) == NULL){ 30 perror("Open dir error..."); 31 exit(1); 32 } 33 while ((ptr=readdir(dir)) != NULL) 34 { 35 if(strcmp(ptr->d_name,".")==0 || strcmp(ptr->d_name,"..")==0) ///current dir OR parrent dir 36 continue; 37 else if(ptr->d_type == 10){ 38 memset(base,'�',sizeof(base)); 39 sprintf(base,"%s",ptr->d_name); 40 if((strcmp("27",base)<0)&&(strcmp("29",base)>0)){ 41 sprintf(base,"%s/%s/w1_slave",basePath,ptr->d_name); 42 //printf("%s ",base); 43 while(1) 44 Open_send(base); 45 } 46 } 47 } 48 closedir(dir); 49 return 1; 50 } 51 52 int main(void) 53 { 54 DIR *dir; 55 char basePath[1024]; 56 memset(basePath,'�',sizeof(basePath)); 57 strcpy(basePath,"/sys/bus/w1/devices"); 58 readFileList(basePath); 59 return 0; 60 }
=======================================华丽的分割线=======================================
由于根据官方的说法,在2015-02-16之后的Raspbain版本,为了防止GPIO的冲突,使用了新的dt策略,更改了原来单总线gpio的配置方法,需要在配置文件中添加gpiopin=8,配置单总线的gpio引脚。
修改配置:
sudo vim /boot/config.txt
在最后一行手动添加这个,保存并重启树莓派。
dtoverlay=w1-gpio-pullup,gpiopin=8
在通过配置sudo raspi-config进入interfacingoptions配置单总线时,系统会在/boot/config.txt文件添加dtoverlay=w1-gpio-pullupz,只需要在后面通过gpiopin指定引脚。