使用Spring Cloud Bus自动刷新配置
1. 简介
上一章已经实现了使用服务配置中心集中管理配置文件,并可/actuator/refresh手动刷新配置而不需重启。但如果所有微服务节点的配置都需要手动刷新,工作量也很大。所以本文将使用Spring Cloud Bus实现配置的自动刷新。
Spring Cloud Bus使用轻量级的消息代理(RabbitMQ、Kafka等)连接分布式系统节点,这样当其中一个节点的状态更改时可以自动广播到其他节点。
2. Spring Cloud Bus
2.1 实现自动刷新
-
在配置中心scl-config-server和客户端scl-eureka-client-consumer中添加如下
spring-cloud-starter-bus-amqp依赖。<dependency> <groupId>org.springframework.cloud</groupId> <artifactId>spring-cloud-starter-bus-amqp</artifactId> </dependency> -
在两个项目的配置文件application.yml中都添加RabbitMQ相关配置,并在actuator中暴露bus-refresh端点
spring: rabbitmq: host: 127.0.0.1 port: 5672 username: guest password: guest endpoints: web: exposure: include: bus-refresh -
在配置中心scl-config-server中添加WebSecurityConfig配置类,关闭CSRF。否则刷新时无法通过校验
@EnableWebSecurity public class WebSecurityConfig extends WebSecurityConfigurerAdapter { @Override protected void configure(HttpSecurity http) throws Exception { http.csrf().disable(); super.configure(http); } } -
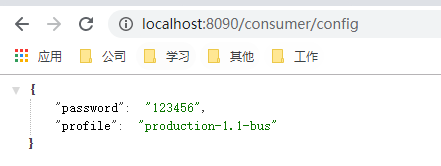
重启两个项目,然后访问http://localhost:8090/consumer/config
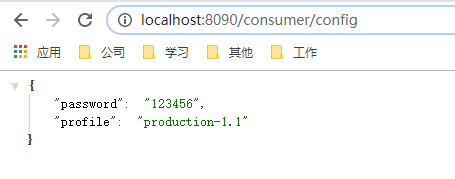
-
修改配置文件并提交到Git仓库
profile: production-1.1-bus -
在Postman中使用Post请求访问http://localhost:8600/actuator/bus-refresh,并选择Basic校验,返回204 No Content,再次访问http://localhost:8090/consumer/config,可以看到配置已刷新
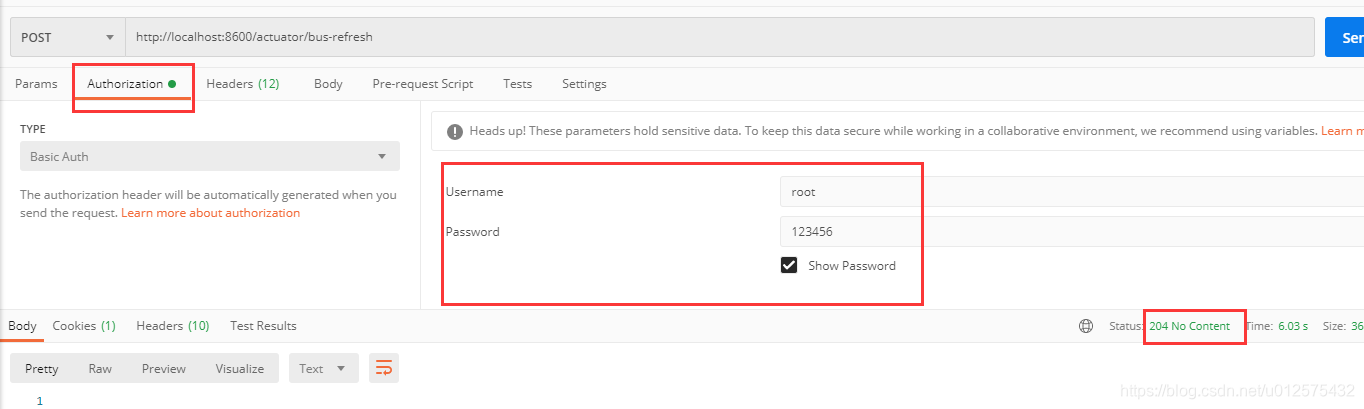
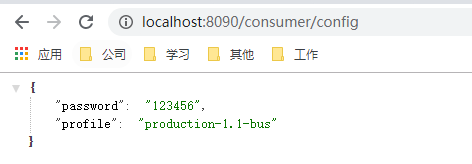
-
借助Git仓库的WebHooks,就可以实现配置的自动刷新。
2.2 问题
若使用
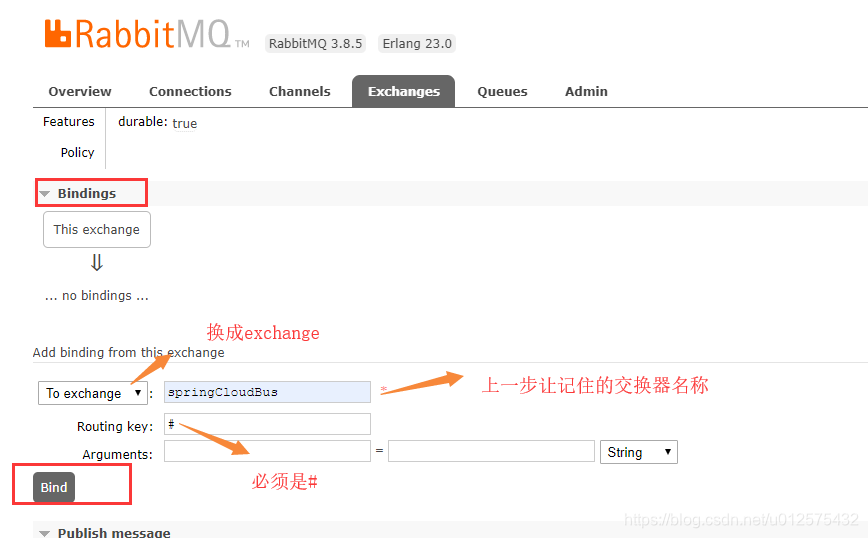
/actuator/bus-refresh端点刷新后,没有通知其他节点;导致只有本节点配置更新,其他节点配置无更新。则可能跟Turbine聚合监控问题一样,都是因为交换器的问题。
- 检查RabbitMQ的交互器
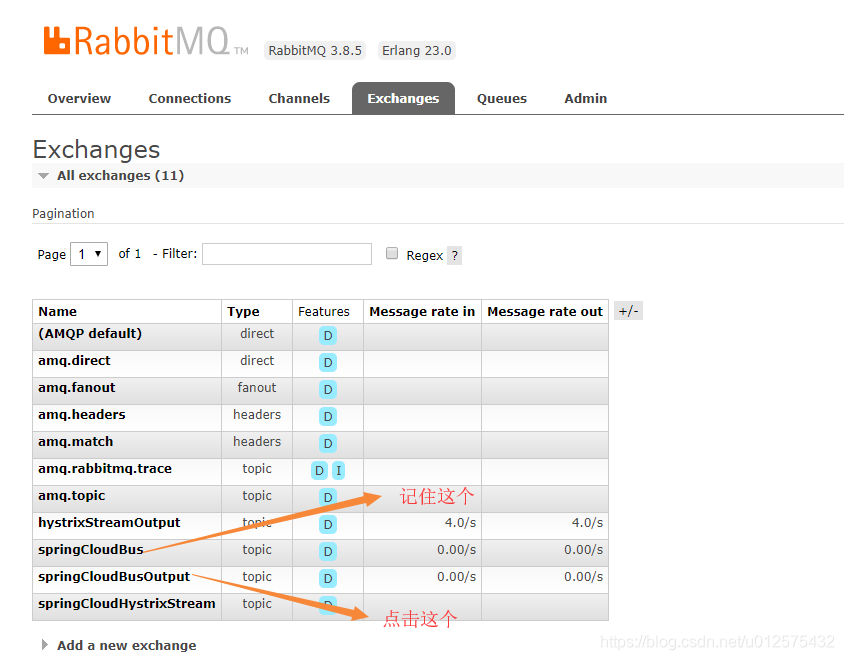
- 将两个交换器进行绑定即可
3. 局部刷新
在某些场景下(如灰度发布),若指向刷新部分微服务的配置,可通过/actuator/bus-refresh/{destination}中的destination定位要刷新的应用范围
destination值为{spring.application.name}:{server.port}
-
将客户端scl-eureka-client-consumer修改一个端口为8091再次启动,此时有两个客户端,端口分别为8090和8090
-
修改配置文件并提交到Git仓库
profile: production-1.1-bus-update -
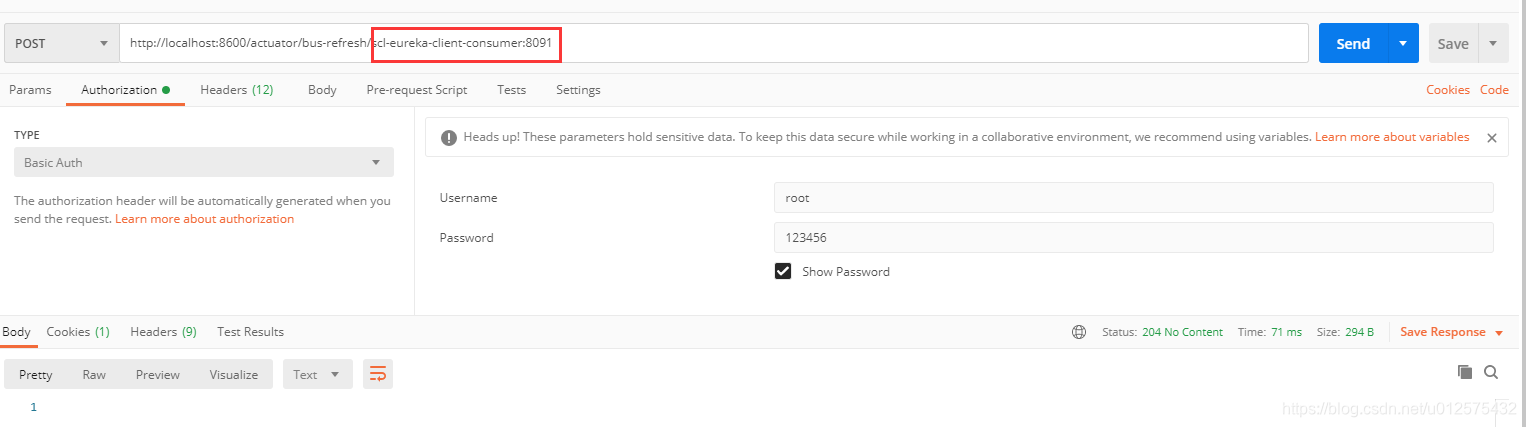
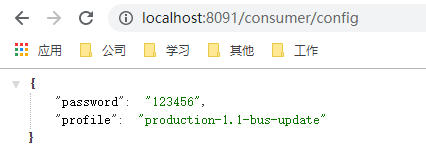
在Postman中使用Post请求访问http://localhost:8600/actuator/bus-refresh/scl-eureka-client-consumer:8091,并选择Basic校验,返回204 No Content,再次访问http://localhost:8090/consumer/config和http://localhost:8091/consumer/config,可以看到8091对应的配置已更新,但8090的未更新。局部更新成功
4. Spring Cloud Config与Eureka配合使用
前文中是在客户端中指定Config Server地址,这种方式无法利用服务发现组件的优势
-
在配置中心scl-config-server中添加
spring-cloud-starter-netflix-eureka-client依赖<dependency> <groupId>org.springframework.cloud</groupId> <artifactId>spring-cloud-starter-netflix-eureka-client</artifactId> <exclusions> <exclusion> <groupId>com.fasterxml.jackson.dataformat</groupId> <artifactId>jackson-dataformat-xml</artifactId> </exclusion> </exclusions> </dependency> -
修改配置中心的配置文件application.yml,将其注册到服务注册中心
eureka: client: fetch-registry: false service-url: defaultZone: http://root:123456@test1:8100/eureka-server1/eureka,http://root:123456@test2:8200/eureka-server2/eureka,http://root:123456@test3:8300/eureka-server3/eureka # 服务注册中心地址 -
修改客户端scl-eureka-client-consumer的配置文件bootstrap.yml内容,并移除application.yml中eureka的配置
spring: cloud: config: profile: prod label: master username: root password: 123456 discovery: enabled: true # 使用服务注册中心中的Config Server,默认false service-id: scl-config-server # 指定Config Server在服务注册中心的名称,默认是configserver eureka: # 因为bootstrap.yml在application.yml之前加载,若将eureka配置放在application.yml里,启动时会从默认的服务注册中心抓取服务信息,导致失败 client: register-with-eureka: true # 是否注册到服务注册中心 fetch-registry: true # 是否从注册中心抓取信息,若不存在服务调用设置为false即可,反之则设置为true registry-fetch-interval-seconds: 5 # 每5秒刷新一下本地缓存 service-url: defaultZone: http://root:123456@test1:8100/eureka-server1/eureka,http://root:123456@test2:8200/eureka-server2/eureka,http://root:123456@test3:8300/eureka-server3/eureka # 服务注册中心地址 -
重启两个项目,测试发现一切正常。