spring boot 系列学习记录:http://www.cnblogs.com/jinxiaohang/p/8111057.html
码云源码地址:https://gitee.com/jinxiaohang/springboot
一、Spring Initializr 使用教程 (IntelliJ IDEA)
具体步骤:
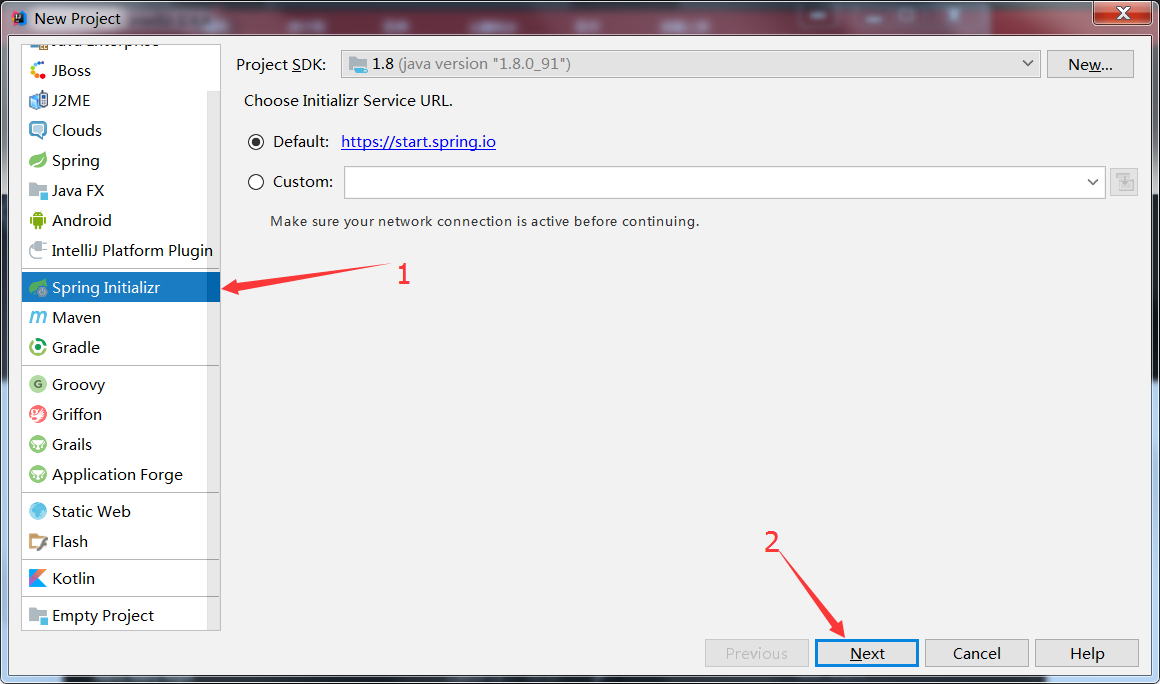
1、打开IDEA ,Create New Project 或者 File -> New - > Project。
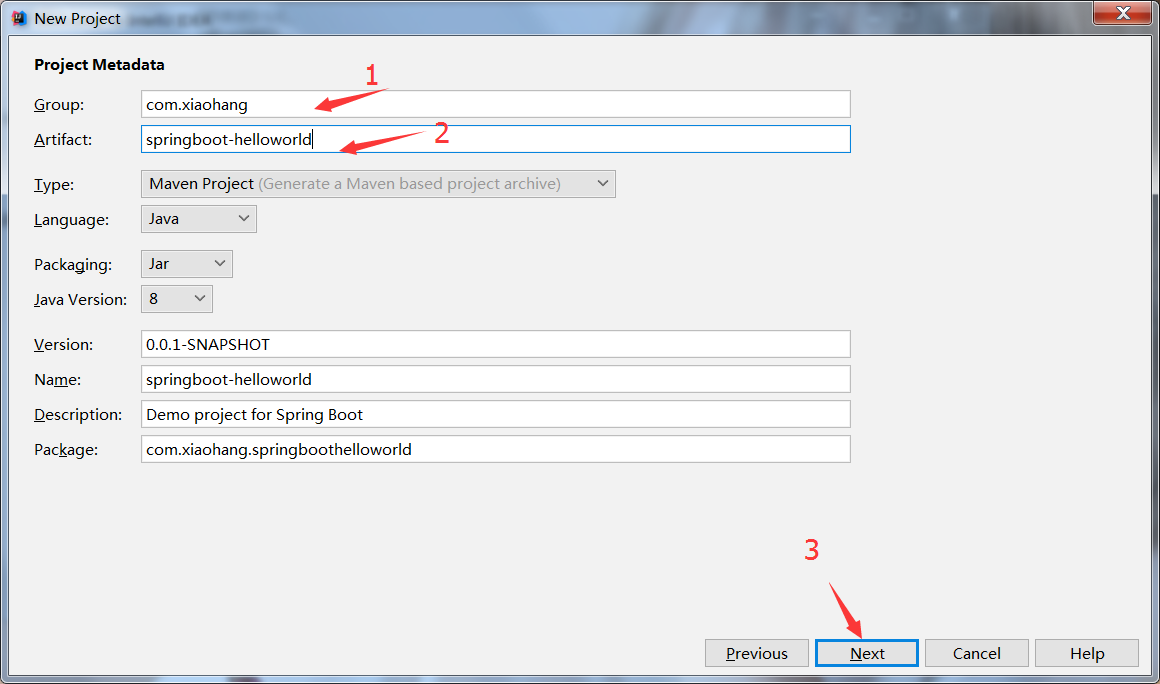
2、填写组织信息,工程名称,打包类型选择Jar。
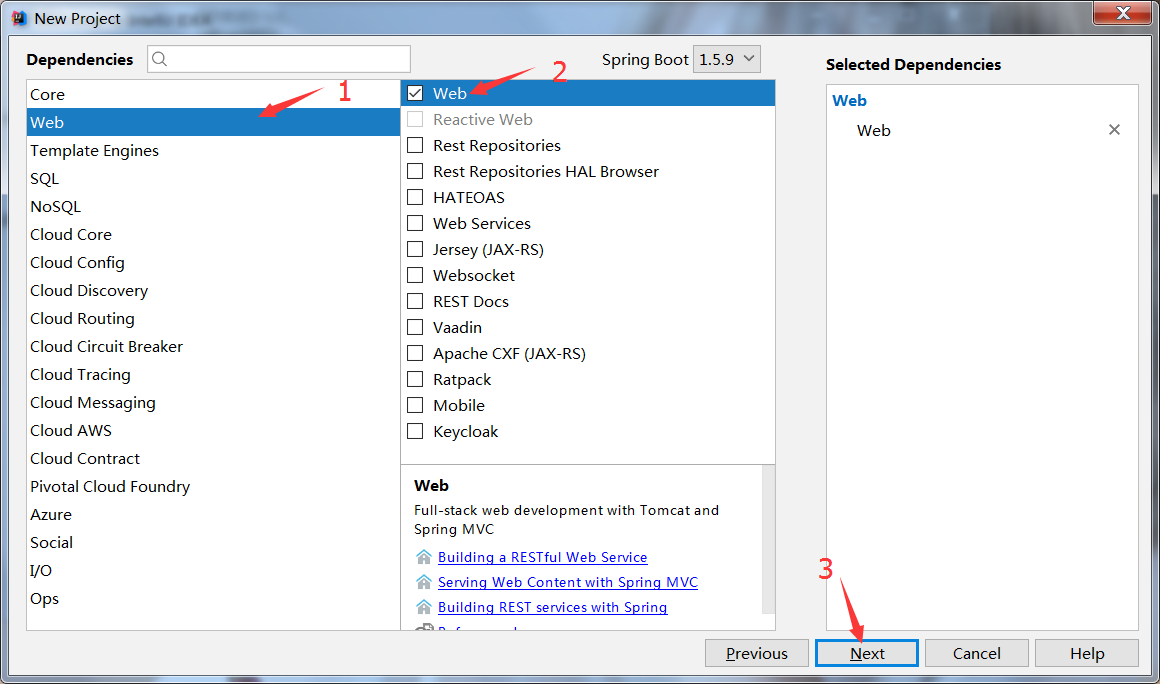
3、选取依赖,这里我们选择Web依赖。
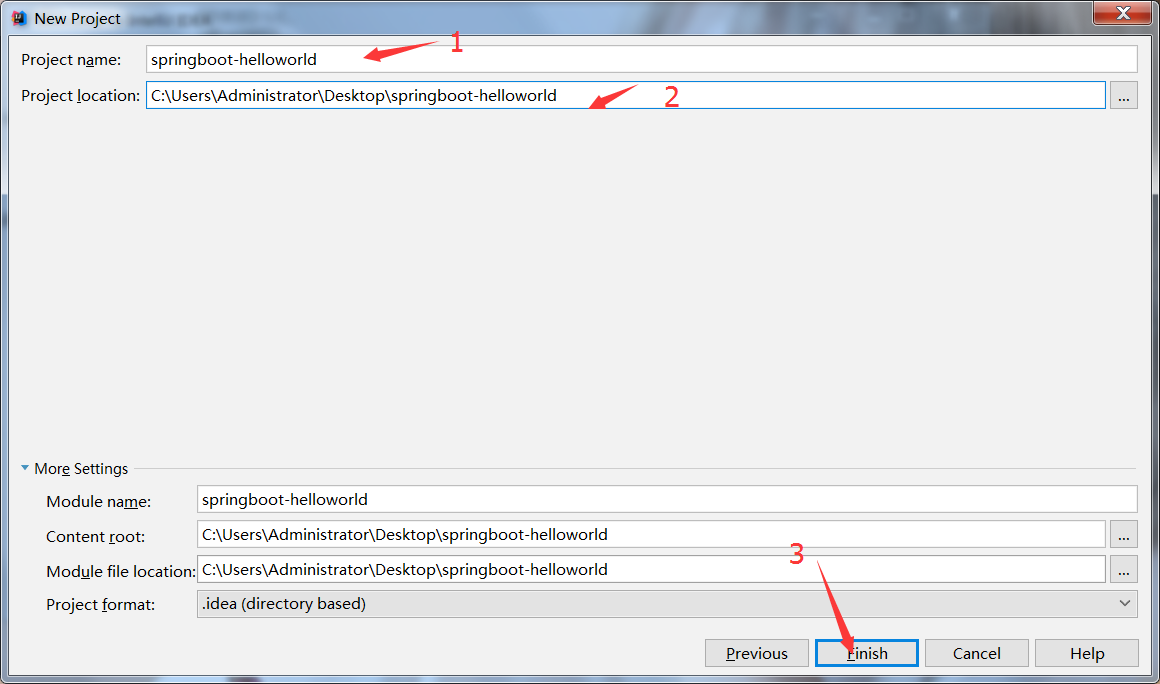
4、核对工程名称和工程路径,默认不变
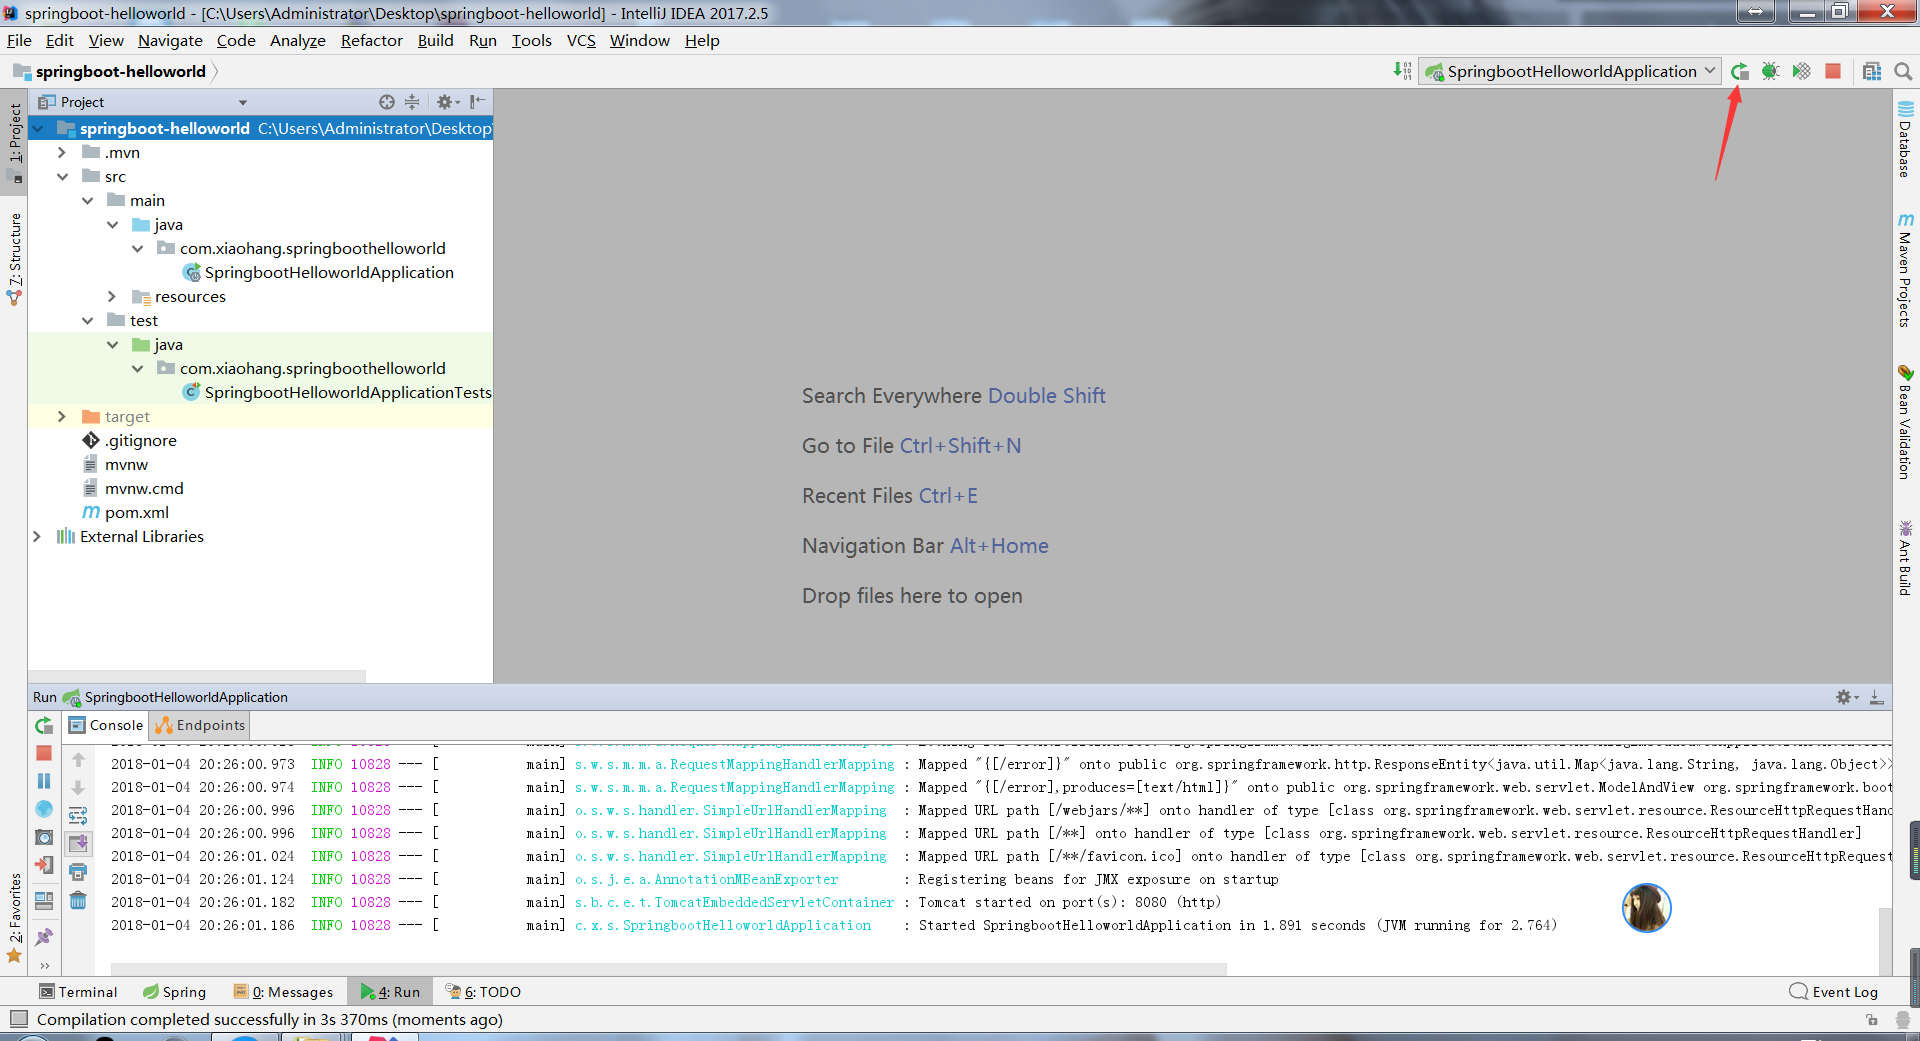
5、测试程序能否正常运行
二、Spring Initializr 使用教程 ( Eclipse )
具体步骤:
步骤1 : 使用浏览器打开: http://start.spring.io
步骤2 : 填写项目相关信息,选取依赖,然后生成项目。
步骤3 : 解压项目,在Eclipse导入Maven工程。

二、实现helloworld
1、编辑SpringbootHelloworldApplication类
package com.xiaohang.springboothelloworld;

import org.springframework.boot.SpringApplication;
import org.springframework.boot.autoconfigure.SpringBootApplication;
import org.springframework.stereotype.Controller;
import org.springframework.web.bind.annotation.GetMapping;
import org.springframework.web.bind.annotation.ResponseBody;

@SpringBootApplication
@Controller
public class SpringbootHelloworldApplication {

    @GetMapping("/")
    @ResponseBody
    public String index() {
        return "Hello World!";
    }

    public static void main(String[] args) {
        SpringApplication.run(SpringbootHelloworldApplication.class, args);
    }
}
2、启动项目,访问localhost:8080
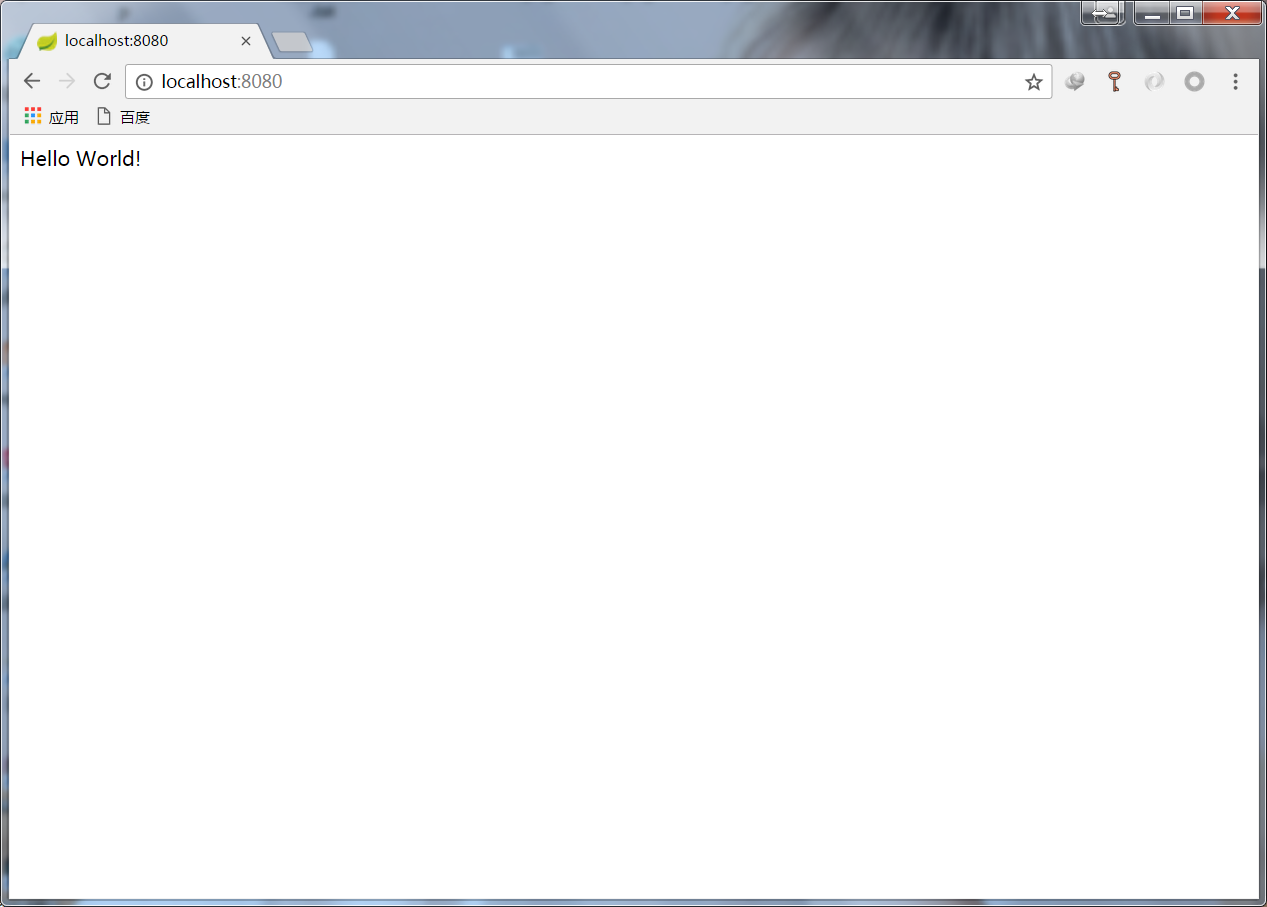
效果如上。