参考地址:https://blog.csdn.net/weixin_34824510/article/details/112326383
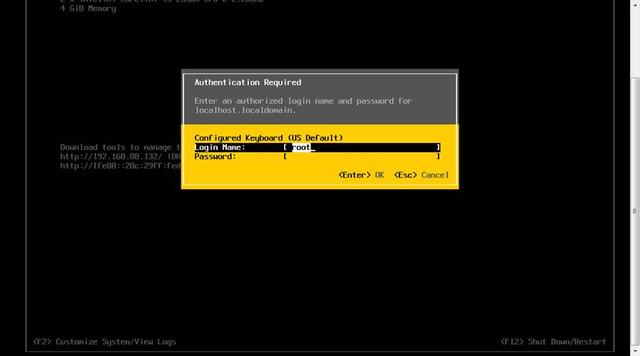
1:输入密码回车登录进去
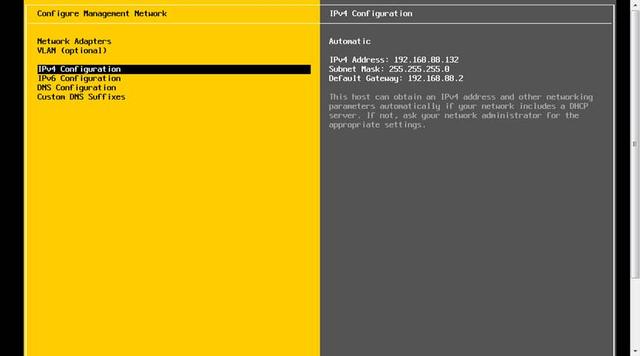
2:里面的配置说明

3:选择ipv4来配置ip段
4:开始配置静态ipv4地址,必须配置在同一网段里面
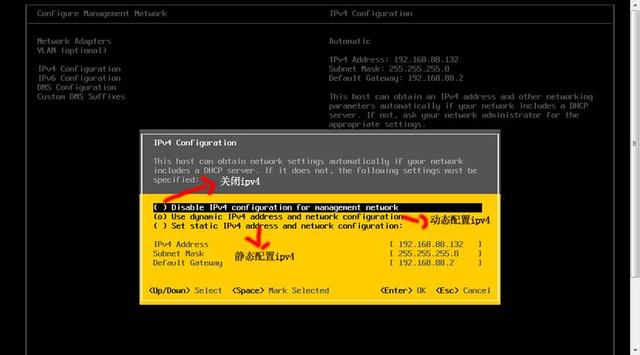
5:如果是虚拟机使用的话就用动态ipv4地址,要是服务器安装esxi6.5的话就需要配置为静态ip地址

6:配置双王卡绑定
点击network Adapters
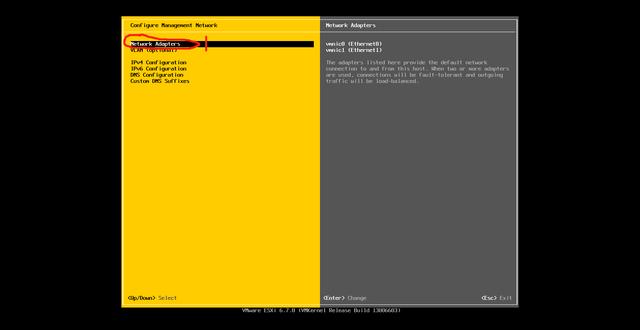
7:里面有4块网卡
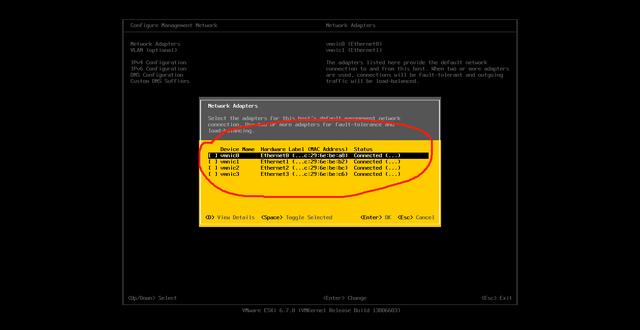
8:使用空格选择其中2块网卡,做双绑定
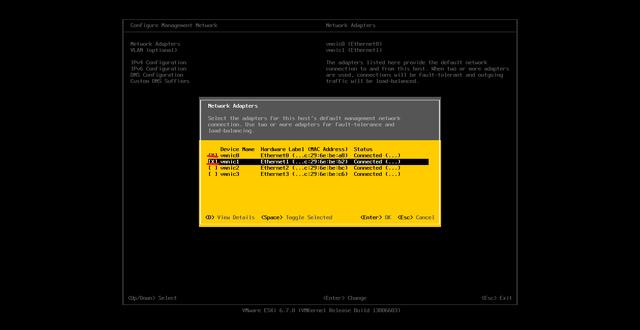
然后安enter键保存配置
9:选择vlan,来配置vlan ID号
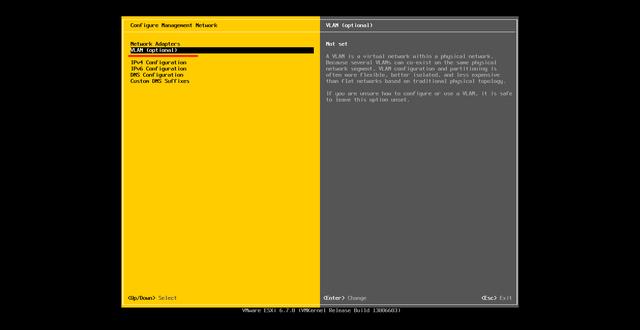
10:空格点击输入vlan ID号
(1)TRUNK模式:可以bai允许多个VLAN通过,可以接收和发送多个VLAN 报文,一般用于交换机与交换机相关的接口
(2)ACCESS模式:可以允许多个VLAN通过,可以接收和发送多个VLAN 报文,可以用于交换机的间连接也可以用于连接用户计算机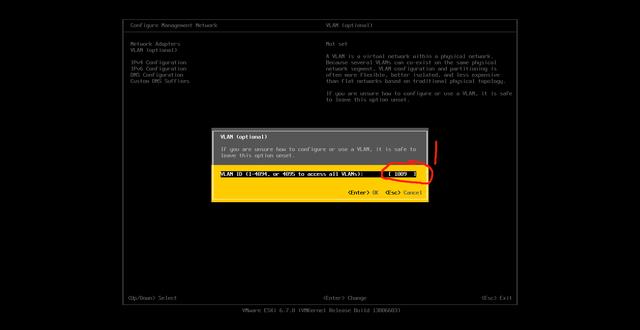
11:配置esxi主机名
空格点击dns选项
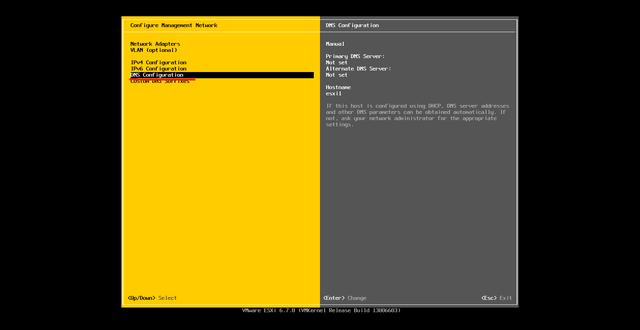
输入自定义主机名字,然后按回车键
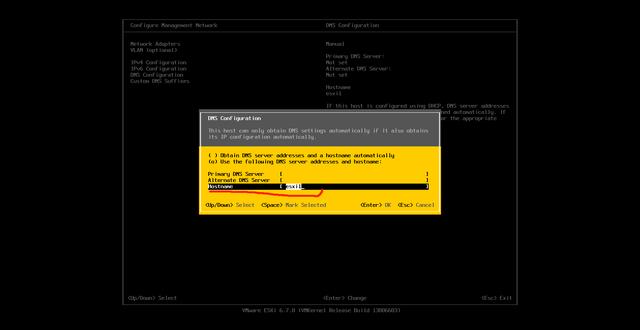
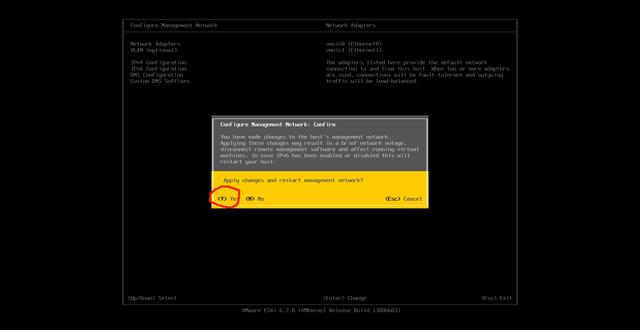
退出这个界面按ESC
然后按Y保存配置
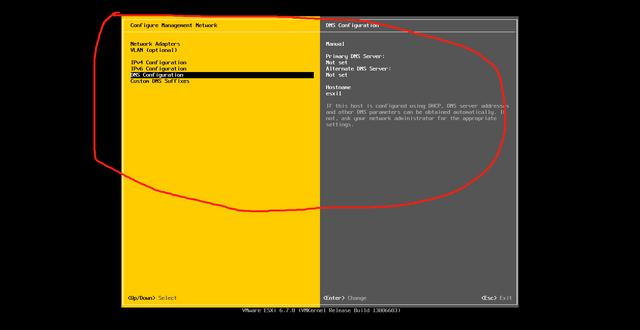
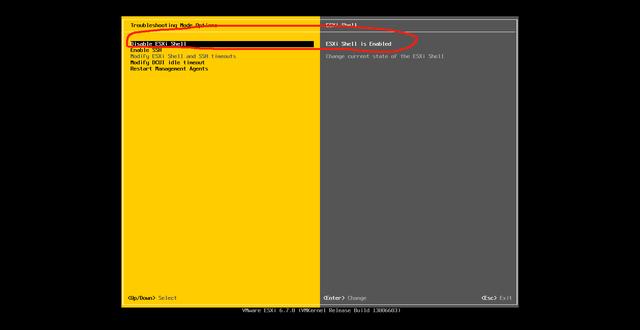
12:打开ssh和shell方便后期esxi主机远程进行配置
空格选择画红线地方

选择第一项,然后点击键盘的回车键

修改后为ensble
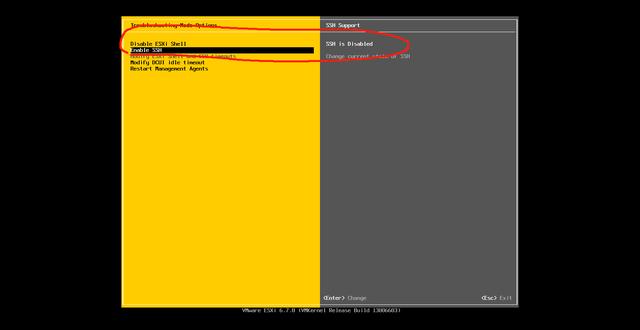
打开ssh
修改前
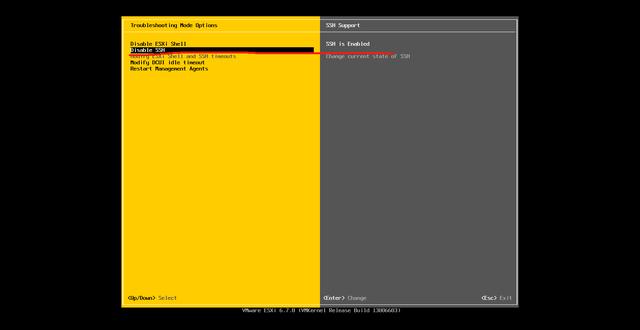
修改后
13:然后ping网关检测网络是否通信
回车点击Test Managemnet Network
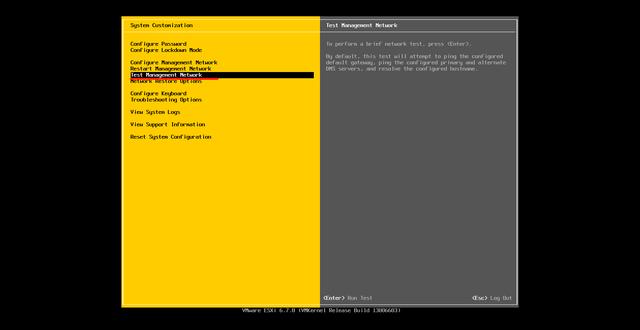
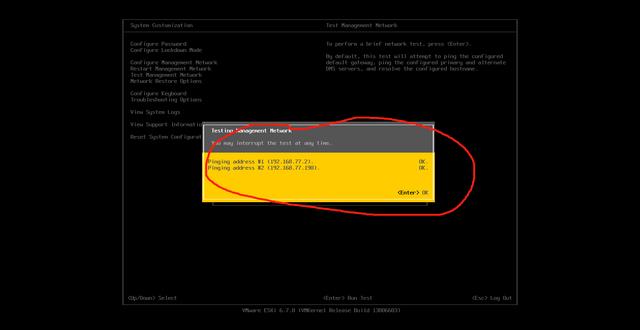
然后回车检测是否可以ping通网络

测试可以ping通
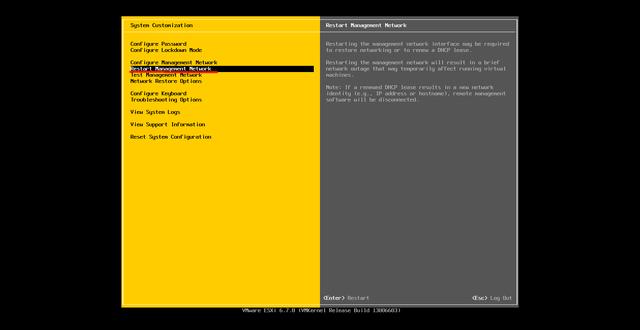
14:这个选项是重启网络
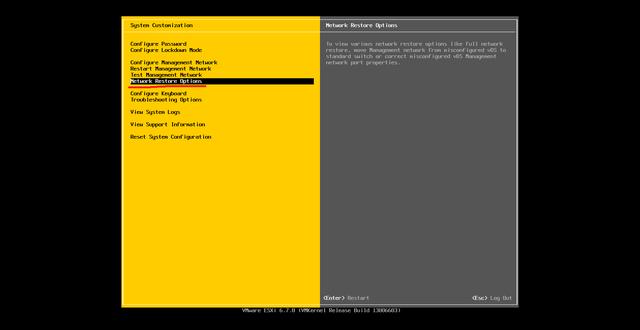
15:这个选项是还原网络
16:Esxi6.0包括6.0以下可以使用客户端登录,6.5到6.7采用web端界面登录
如下图
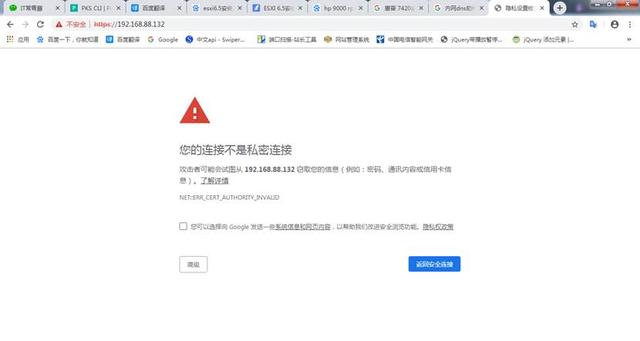
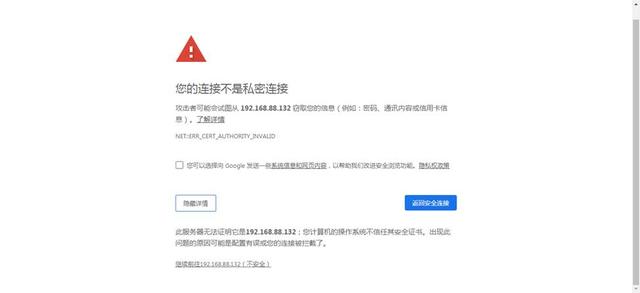
17:单击高级下面的继续前往这个地址
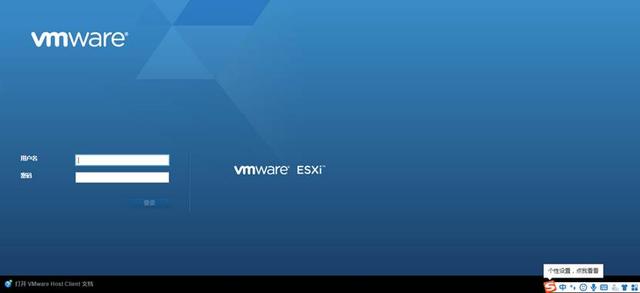
18:输入用户名,密码单击登录
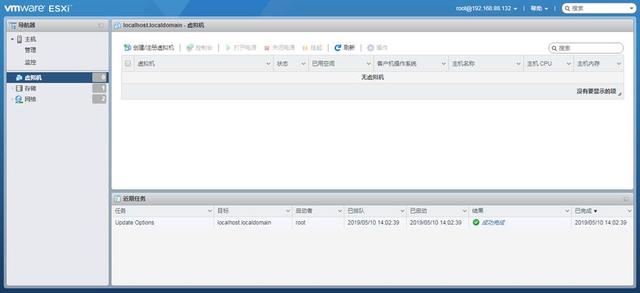
19:这是首页界面

20:单击右侧的虚拟机

21:单击创建虚拟机
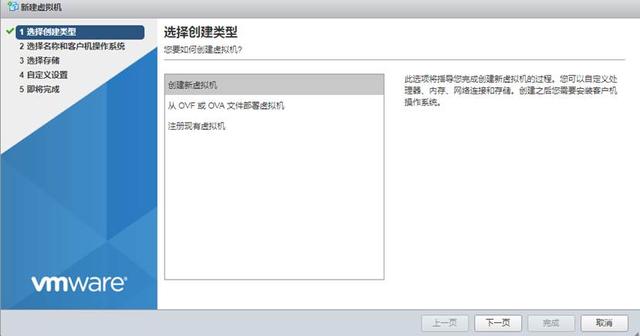
22:有三种方式创建 第二个是导入 第三是注册现有的虚拟机,单击下一页
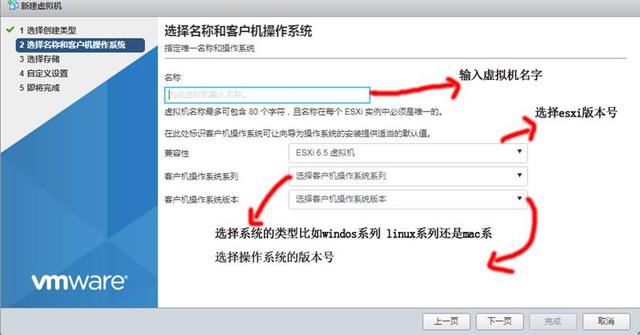
23:输入虚拟机名字 esxi版本号 操作系统 操作系统版本 单击下一页
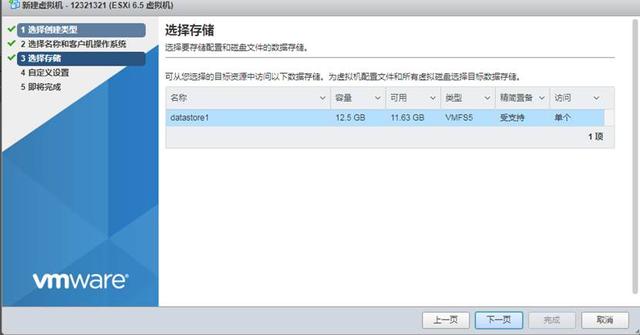
24:选择放在服务器本地磁盘还是储存那块硬盘 单击下一页
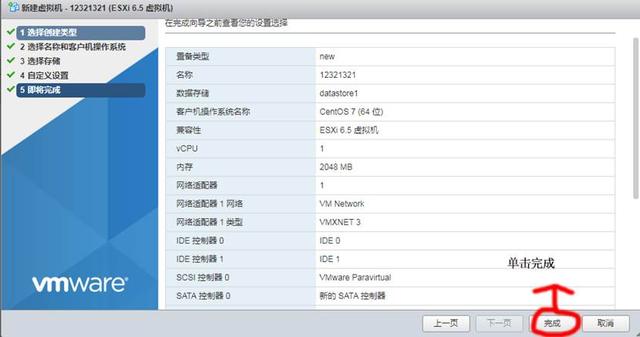
25:根据图片指示操作

26:查看数据是否正确,单击完成创建虚拟机