Selenium学习总结
一、 Selenium功能介绍:
框架底层使用JavaScript模拟真实用户对浏览器进行操作。测试脚本执行时,浏览器自动按照脚本代码做出点击,输入,打开,验证等操作,就像真实用户所做的一样,从终端用户的角度测试应用程序。支持录制方式:selenium ide;及多种语言脚本,如python,ruby,java,c#,php,perl,javascript等
二、 Selenium+java主要流程:
- 环境准备
1) java环境(参考:http://www.cnblogs.com/iceb/p/7561752.html)
a) 官网下载或直接安装(jdk-8u111-windows-x64.exe)
http://www.oracle.com/technetwork/java/javase/downloads/index.html
b) 按照步骤,一步一步安装
c) 配置环境变量
d) 查看版本,检验安装是否成功。
2) 集成环境
a) Eclipse(eclipse_v4.5.0.exe)
b) Idea(推荐)
ideaIC:开源版,功能有限制(ideaIC-2017.1.4.exe)
ideaIU:商业版,需要破解(ideaIU-2017.1.exe)
按照步骤一步步安装即可。ideaU激活地址:
http://idea.iteblog.com/key.php
3) Selenium server(selenium-server-standalone-3.9.1.jar)
a) 保存到本地即可
4) 浏览器插件
a) Firefox插件:geckodriver.exe
b) Chrome插件:chromedriver.exe
保存到本地即可
备注:firefox较新版本(48及之后),仅可支持Selenium3.0之后的版本;Selenium2.X启动firefox不需要安装额外的插件,Selenium3.X启动firefox,需要安装geckdriver.exe插件。
5) Maven:(参考:http://www.cnblogs.com/iceb/p/7097850.html)
a) 下载到本地,解压缩(apache-maven-3.3.9-bin.zip)
b) 配置环境变量
c) 查看版本,验证是否安装成功
d) 提换settings.xml文件(目录:C:Userswufeng.m2)
- 搭建框架
1) java+selenium+junit
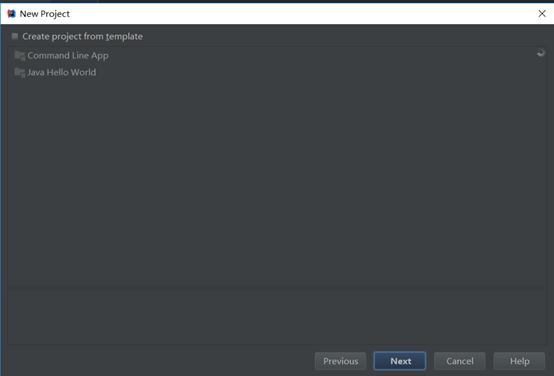
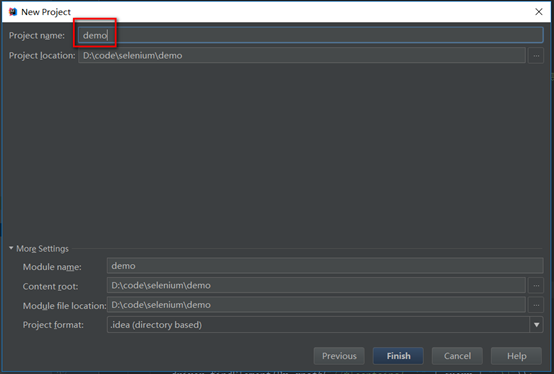
新建java项目
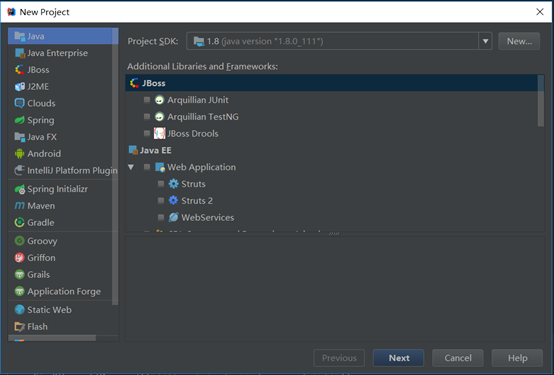
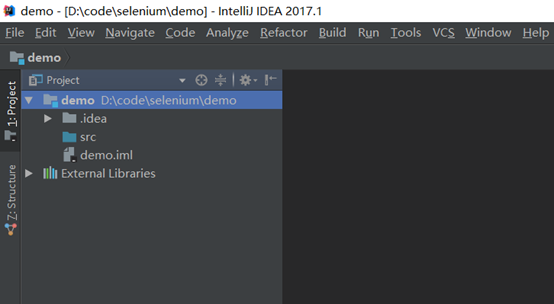
添加junit、selenium依赖


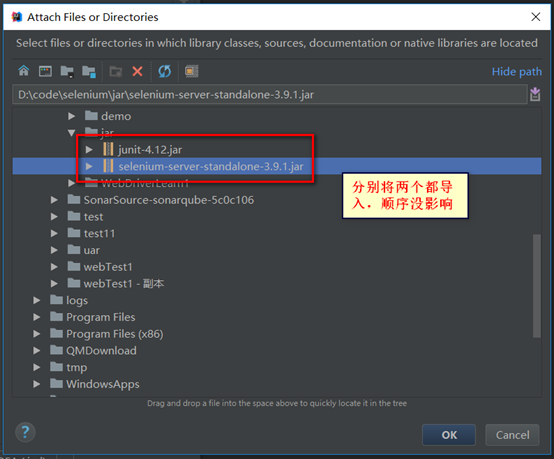
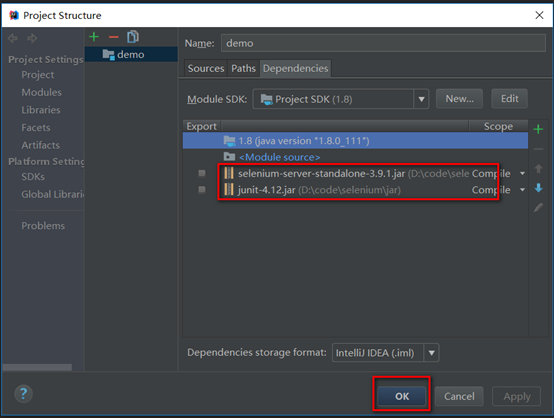
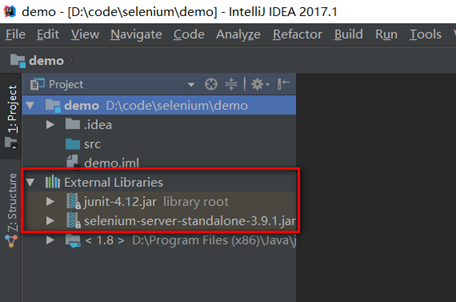
java+Selenium+junit框架搭建完毕
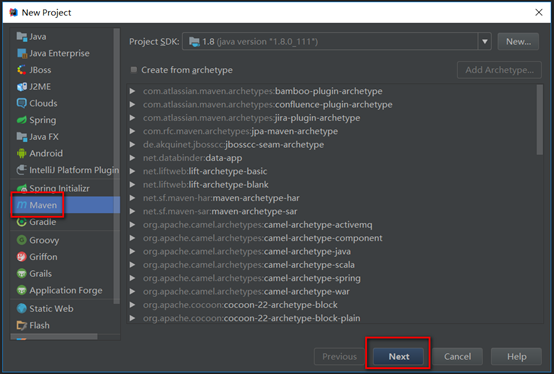
2) java+selenium+maven+testing
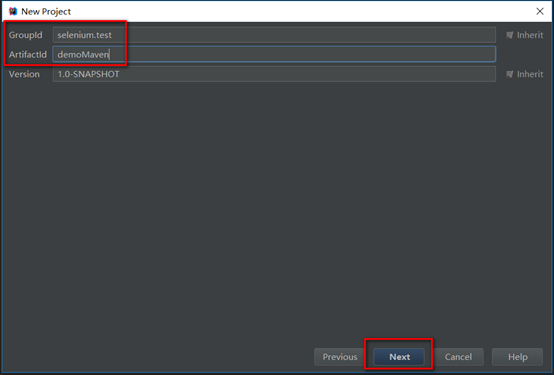
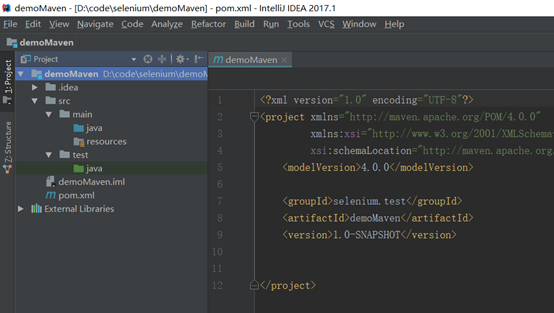
新建一个maven项目

Pom.xml添加selenium及testng的依赖
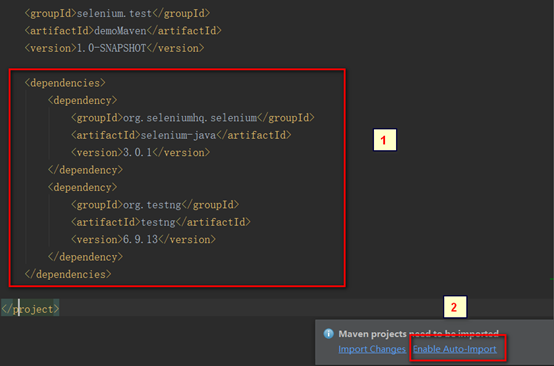
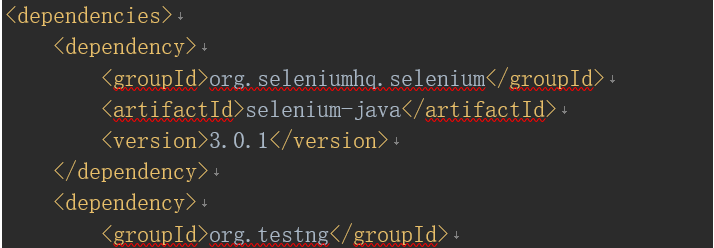
<dependencies>
<dependency>
<groupId>org.seleniumhq.selenium</groupId>
<artifactId>selenium-java</artifactId>
<version>3.0.1</version>
</dependency>
<dependency>
<groupId>org.testng</groupId>
<artifactId>testng</artifactId>
<version>6.9.13</version>
</dependency>
</dependencies>
创建testng.xml配置文件
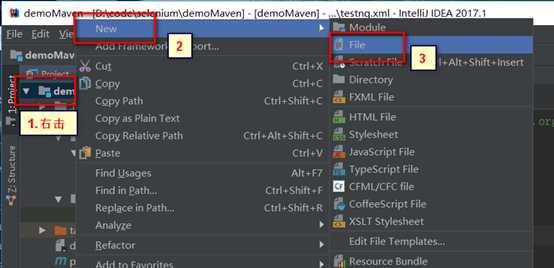
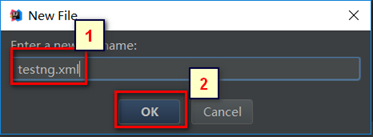
Testing.xml位置没有影响,建议放在项目根目录
Testng.xml文件添加:
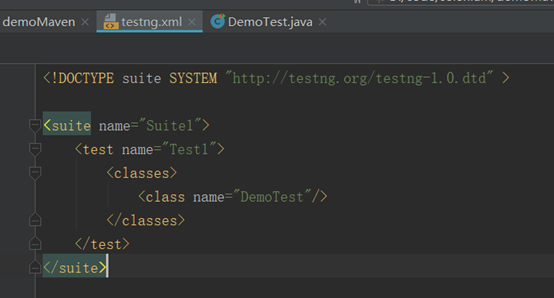
<!DOCTYPE suite SYSTEM "http://testng.org/testng-1.0.dtd" >

<suite name="Suite1">

    <test name="Test1">

        <classes>

            <class name="DemoTest"/>

        </classes>

    </test>

</suite>
Pom.xml中添加testng配置
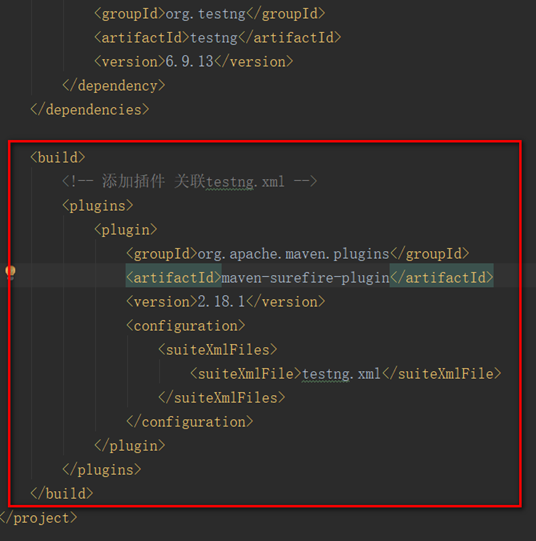
<build>

    <!-- 添加插件 关联testng.xml -->

    <plugins>

        <plugin>

            <groupId>org.apache.maven.plugins</groupId>

            <artifactId>maven-surefire-plugin</artifactId>

            <version>2.18.1</version>

            <configuration>

                <suiteXmlFiles>

                    <suiteXmlFile>testng.xml</suiteXmlFile>

                </suiteXmlFiles>

            </configuration>

        </plugin>

    </plugins>

</build>
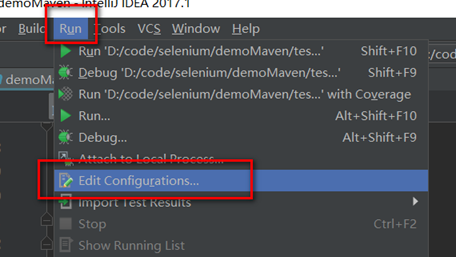
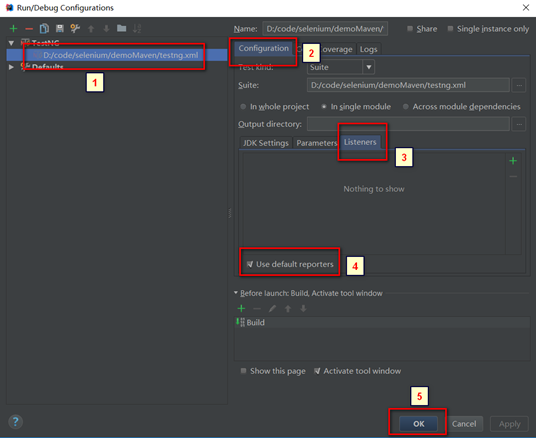
Testing报告配置
Java+selenium+maven+testng搭建完毕
- 编写脚本:
a) 初始化浏览器
b) 访问链接
c) 获取页面元素
d) 元素控件操作
e) 校验结果
f) 关闭浏览器
g) 调试,修改脚本
- Selenium+java
- Selenium元素定位
https://www.cnblogs.com/qingchunjun/p/4208159.html
- Selenium对页面控件的操作
https://blog.csdn.net/u013998857/article/details/70313171
列表、多选、单选
https://blog.csdn.net/qiaotong1/article/details/50843662
- 调试过程:
1) 获取页面元素方法:如Chrome/Firefox浏览器,Fn键+F12键,开大开发者工具, 图标,获取页面元素
2) 元素XPath信息获取:开发者工具模式下,右键复制,XPath。
3) 常见控件操作:
a) 浏览器访问:
driver.get("http://baidu.com");
b) 文本框录入:
driver.findElement(By.name(“search-input”)).sendKeys(“美国”);
c) 链接/按钮点击:
driver.findElement(By.linkText(“收藏”)).click
driver.findElement(By.className(“search-btn”)).click;
d) 获取元素上文字:
driver.findElement(By.xpath("//*[@class='tc-15-btn btn-follow2 weak attention']")).getText();
e) 获取元素属性值:
driver.findElement(By.id(“kw”)). getAttribute(“style”);
f) 模拟键盘操作:
driver.findElement(By.id("su")).sendKeys(Keys.chord(Keys.CONTROL, "a"));
- 实例-百度搜索:
import org.junit.Assert;
import org.junit.Test;
import org.openqa.selenium.By;
import org.openqa.selenium.NoSuchElementException;
import org.openqa.selenium.WebDriver;
import org.openqa.selenium.firefox.FirefoxDriver;
public class TestSearch {
@Test
public void testSearch() throws InterruptedException {
//初始化
System.setProperty("webdriver.gecko.driver", "C:\Program Files (x86)\Mozilla Firefox\geckodriver.exe");
WebDriver driver = new FirefoxDriver();
driver.manage().window().maximize();
//模拟页面操作
String query = "selenium";
driver.get("http://baidu.com");
driver.findElement(By.id("kw")).sendKeys(query);
driver.findElement(By.id("su")).click();
Thread.sleep(1000);
//结果校验
boolean status;
try {
driver.findElement(By.xpath("//*[contains(.,'" + query + "')]"));
System.out.println(query + ",查询到结果");
status = true;
} catch (NoSuchElementException e) {
status = false;
System.out.println(query + ",未查询到结果");
}
Assert.assertTrue(status);
//浏览器关闭
driver.quit();
}
}