在C#中使用OpenCV(使用GOCW)
1、什么是GOCW
为了解决在Csharp下编写OpenCV程序的问题,我做过比较深入的研究,并且实现了高效可用的方法GreenOpenCsharpWrapper(GOCW)。通过这种方法,能够分离界面和算法业务,高效率完成算法调用,而且非常方便进行算法维护。应该说是我在多年项目实践中不断总结提炼出来的一点东西。
GOCW的发布地址为:https://gitee.com/jsxyhelu2020/gocw
2、GOCW有什么特点
- 分离界面和算法业务
- 图像数据直接通过内存传值,高效率完成算法调用
- 直接编写C++语法程序,方便维护改进
- 在C#中可以通过CLR方式引用,提供函数级别接口
- 开放源代码
3、GOCW在VS中的环境配置
下载gocw_master,解压后获得两个目录文件。

其中,GOCW是类库文件,而WINFORM_DEMO是引用范例。
使用VS2017或者更高版本打开WINFORM_DEMO.sln(或新建winform程序),在“引用”处添加GOCW的引用。
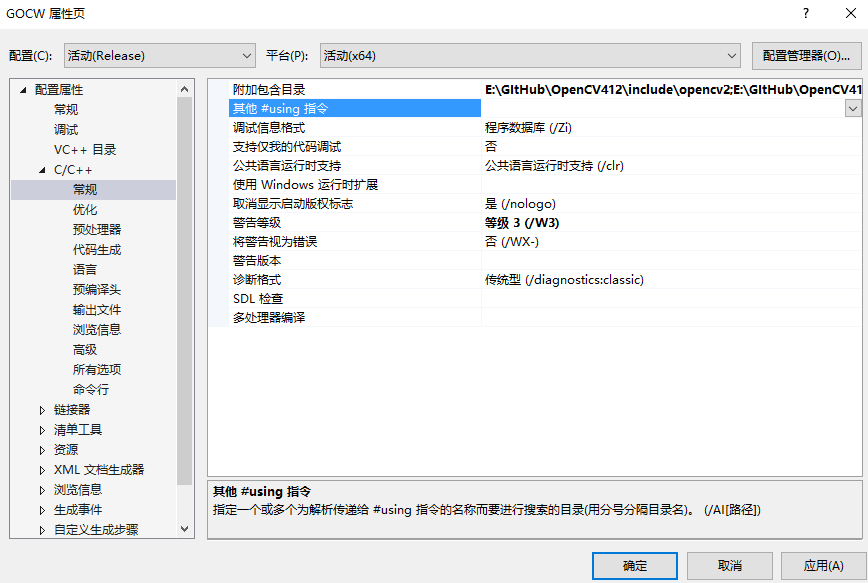
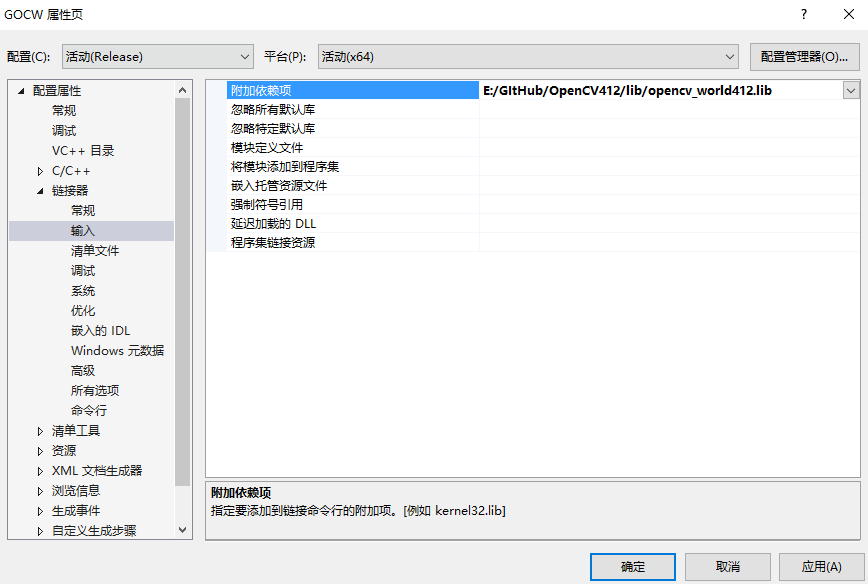
特别需要注意,正确编译GOCW需要OpenCV的正确配置,所以需要正确设置include和lib,并且保证对应版本的dll文件能够被正确访问。
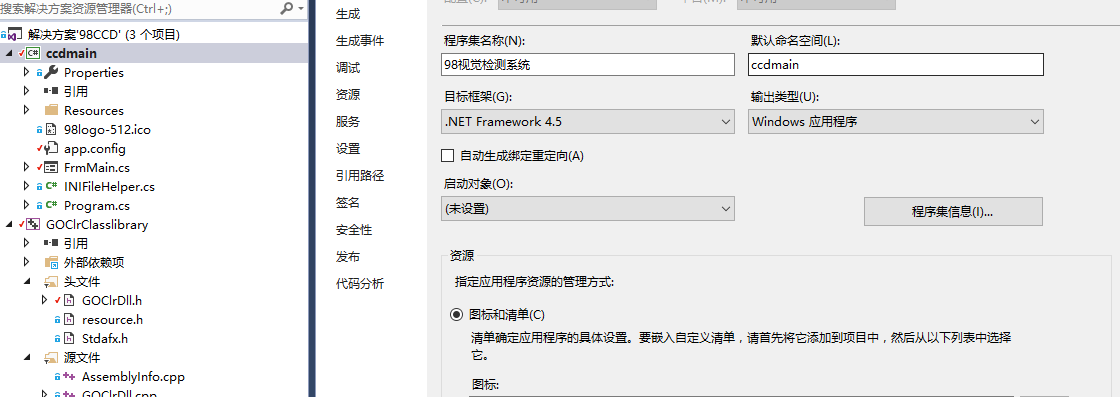
特别需要注意1:保证dll和csharp程序的.net目标框架是一致的
特别需要注意2:保证dll和csharp程序的.net目标框架是一致的
配置管理器中,所有项目版本全部使用64位
4、测试代码
可以直接参考 WINFROM_DEMO
添加GOCW的头文件
using GOCW;
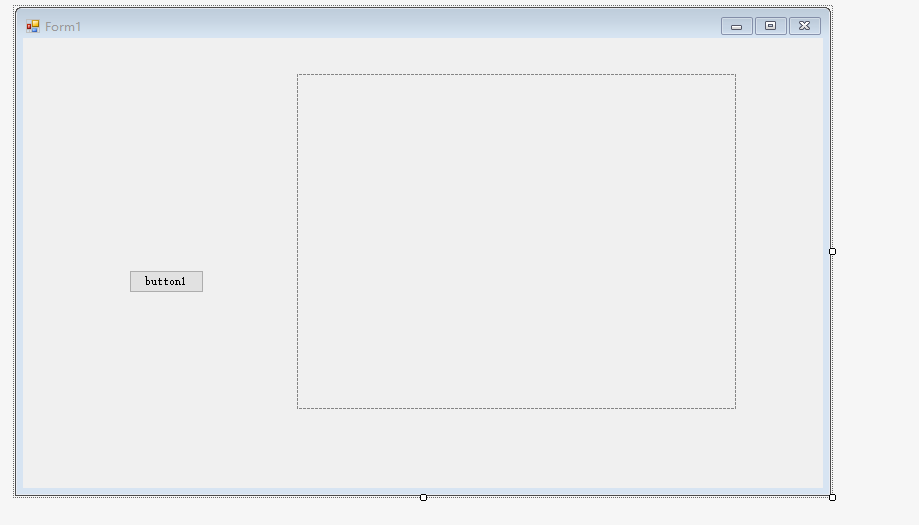
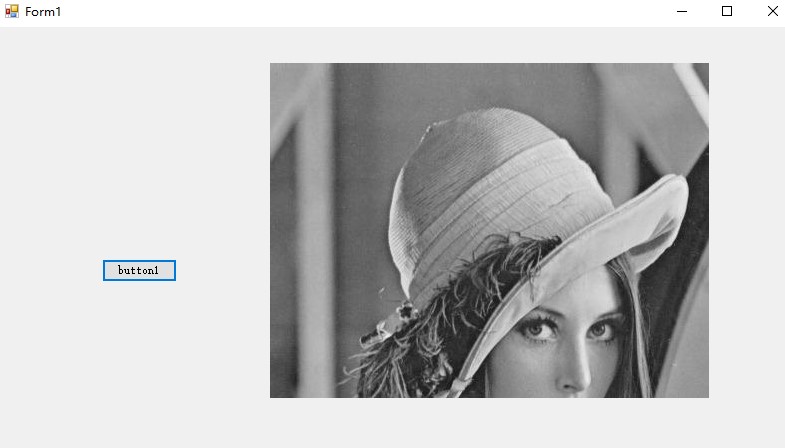
编写GOCW调用代码,你也可以根据需要吧Client的定义放在Form中。你实际使用过程中需要修改lena的地址。
private void button1_Click(object sender, EventArgs e)
{
Bitmap bmp = (Bitmap)Bitmap.FromFile("e:/template/lena.jpg");
GOCWClass client = new GOCWClass();
//调用图像处理算法
MemoryStream ms = new MemoryStream();
bmp.Save(ms, System.Drawing.Imaging.ImageFormat.Jpeg);
byte[] bytes = ms.GetBuffer();
Bitmap bitmap = client.testMethod(bytes);
pictureBox1.Image = bitmap;
}
可以看到,实现了“灰度”变化。
5、原理简介
GOCW是通过CLR的方式进行调用,关于CLR的原理这里不展开。重点将一下你在哪里添加图像处理算法,打开 GOCW.h文件
#pragma once
#include "opencv.hpp"
#using <system.drawing.dll>
using namespace System;
using namespace System::Data;
using namespace System::IO;
using namespace System::Drawing;
using namespace System::Drawing::Imaging;
using namespace std;
namespace GOCW {
public ref class GOCWClass
{
public:
/////例子函数//////
//1.传递图像
/* MemoryStream ms = new MemoryStream();
b.Save(ms, System.Drawing.Imaging.ImageFormat.Jpeg);
byte[] bytes = ms.GetBuffer();
Bitmap bitmap = client.testMethod(bytes);*/
Bitmap^ GOCWClass::testMethod(cli::array<unsigned char>^ pCBuf1);
//2.引用传递int
/*unsafe
{
int* value = stackalloc int[1];
value[0] = 0;
int iret = client.allTest(2, 3, value);
}*/
int GOCWClass::allTest(int a, int b, int* c);
//3.引用传递字符串
System::String^ GOCWClass::allTestStr(System::String^ inputStr);
/////业务函数//////
/*unsafe
{
int* value = stackalloc int[1];//返回代码
value[0] = 0;
bitmap = client.fetchresult(bytes, value);//调用来自GOClrClasslibrary图像处理算法
if (value[0] == 0)//0真1假
{
res = true;
}
else
{
res = false;
}
}*/
Bitmap^ GOCWClass::fetchresult(cli::array<unsigned char>^ pCBuf1, int* errorCode);
};
}
这里以“三明治”的方法将各种实现的方法进行了申明,具体的实现在GOCW.cpp中,比如我们举一个例子。
//1.传递图像
Bitmap^ GOCWClass::testMethod(cli::array<unsigned char>^ pCBuf1)
{
////////////////////////////////将输入cli::array<unsigned char>转换为cv::Mat/////////////////////////
pin_ptr<System::Byte> p1 = &pCBuf1[0];
unsigned char* pby1 = p1;
cv::Mat img_data1(pCBuf1->Length, 1, CV_8U, pby1);
cv::Mat img_object = cv::imdecode(img_data1, cv::IMREAD_UNCHANGED);
if (!img_object.data)
return nullptr;
////////////////////////////////////////////OpenCV的算法处理过程////////////////////////////////////
Mat draw = img_object.clone();
cvtColor(draw, draw, COLOR_BGR2GRAY);
cvtColor(draw, draw, COLOR_GRAY2BGR);
/////////////////////////将cv::Mat转换为Bitmap(只能传输cv_8u3格式数据)///////////////////////////////
if (!draw.data)
return nullptr;
Bitmap^ bitmap = MatToBitmap(draw);
return bitmap;
}
在这段代码中
Mat draw = img_object.clone();
cvtColor(draw, draw, COLOR_BGR2GRAY);
cvtColor(draw, draw, COLOR_GRAY2BGR);
cvtColor(draw, draw, COLOR_BGR2GRAY);
cvtColor(draw, draw, COLOR_GRAY2BGR);
是具体业务函数,可以根据实际算法要求进行修改。关于参数的传入传出,在其他几个函数中都有说明。
6、初步小结
虽然GOCW相比较OpenCVSharp复杂一点,但是它能够和现有系统更紧密结合,优势也非常明显。如果你首先是图像处理开发者,需要为算法寻找一个可以运行的平台,那么GOCW基于CLR的封装形式,肯定更适合你!
感谢阅读至此,希望有所帮助!

