一:搭建项目
1.框架
在原有的基础上
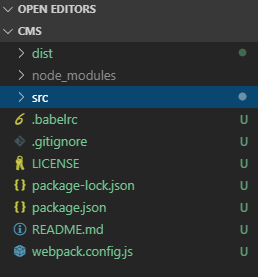
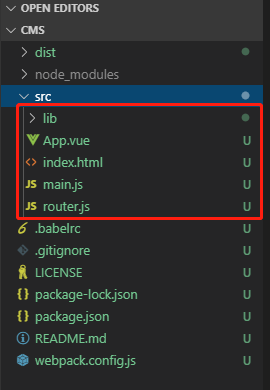
src:
2.index.html
<!DOCTYPE html>
<html lang="en">
<head>
    <meta charset="UTF-8">
    <meta name="viewport" content="width=device-width, initial-scale=1.0">
    <meta http-equiv="X-UA-Compatible" content="ie=edge">
    <title>Document</title>
</head>
<body>
    <div id="app">
        <p>222</p>
    </div>

</body>
</html>
3.main.js
// js的主要入口
console.log("ok")

//导入vue
import Vue from 'vue'

//引入App.vue
import app from './App.vue'

//按需导入mint-mi下的Hearer
import { Header } from 'mint-ui';
Vue.component(Header.name, Header);

//导入mui的样式
import './lib/mui/css/mui.min.css'

//Vue实例新建
var vue = new Vue({
    el:'#app',
    render:c=>c(app)
})
4.App.js
<template>
  <div class="app-container">
    <!-- 顶部 Header 区域 -->
    <!-- 使用mint-ui -->
    <mt-header fixed title="程序员的项目"></mt-header>

    <!-- 中间的 路由 router-view 区域 -->

    <!-- 底部 Tabbar 区域 -->
    <nav class="mui-bar mui-bar-tab">
      <a class="mui-tab-item mui-active" href="#tabbar">
        <span class="mui-icon mui-icon-home"></span>
        <span class="mui-tab-label">首页</span>
      </a>
      <a class="mui-tab-item" href="#tabbar-with-chat">
        <span class="mui-icon mui-icon-email">
          <span class="mui-badge">9</span>
        </span>
        <span class="mui-tab-label">消息</span>
      </a>
      <a class="mui-tab-item" href="#tabbar-with-contact">
        <span class="mui-icon mui-icon-contact"></span>
        <span class="mui-tab-label">通讯录</span>
      </a>
      <a class="mui-tab-item" href="#tabbar-with-map">
        <span class="mui-icon mui-icon-gear"></span>
        <span class="mui-tab-label">设置</span>
      </a>
    </nav>
  </div>
</template>

<script>
</script>


<style lang="scss" scoped>
.app-container {
  padding-top: 40px;
  overflow-x: hidden;
}
</style>
5.效果
二:修改框架的其他部分
1..gitignore
node_modules
.idea
.vscode
.git
2.README.md
# 这是一个测试的项目
## vue项目
### CJ
3.拷贝一个Lincese
三:Git
1.初始化
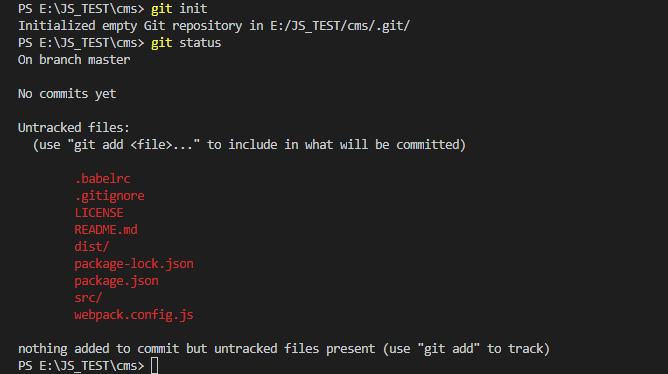
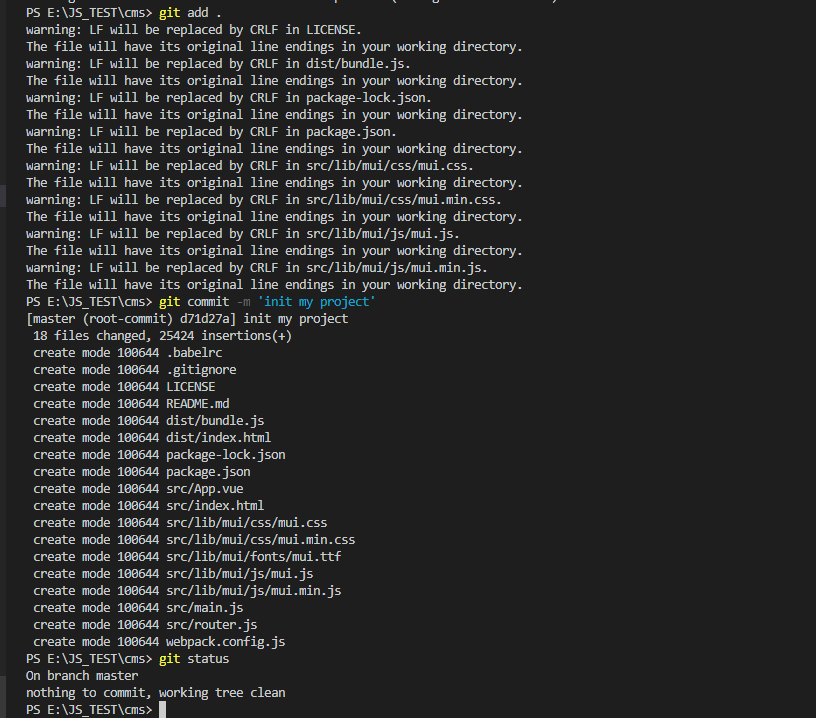
2.添加项目
提交在本地了
3.