在开发的过程中 有时根据业务需求提交的表单内容分区分块 内容繁多 业务控制相对复杂的时候 我们应该将页面内容分成若干个组件 这样方便后期维护查找问题 不然时间长了后期维护找问题头都大了
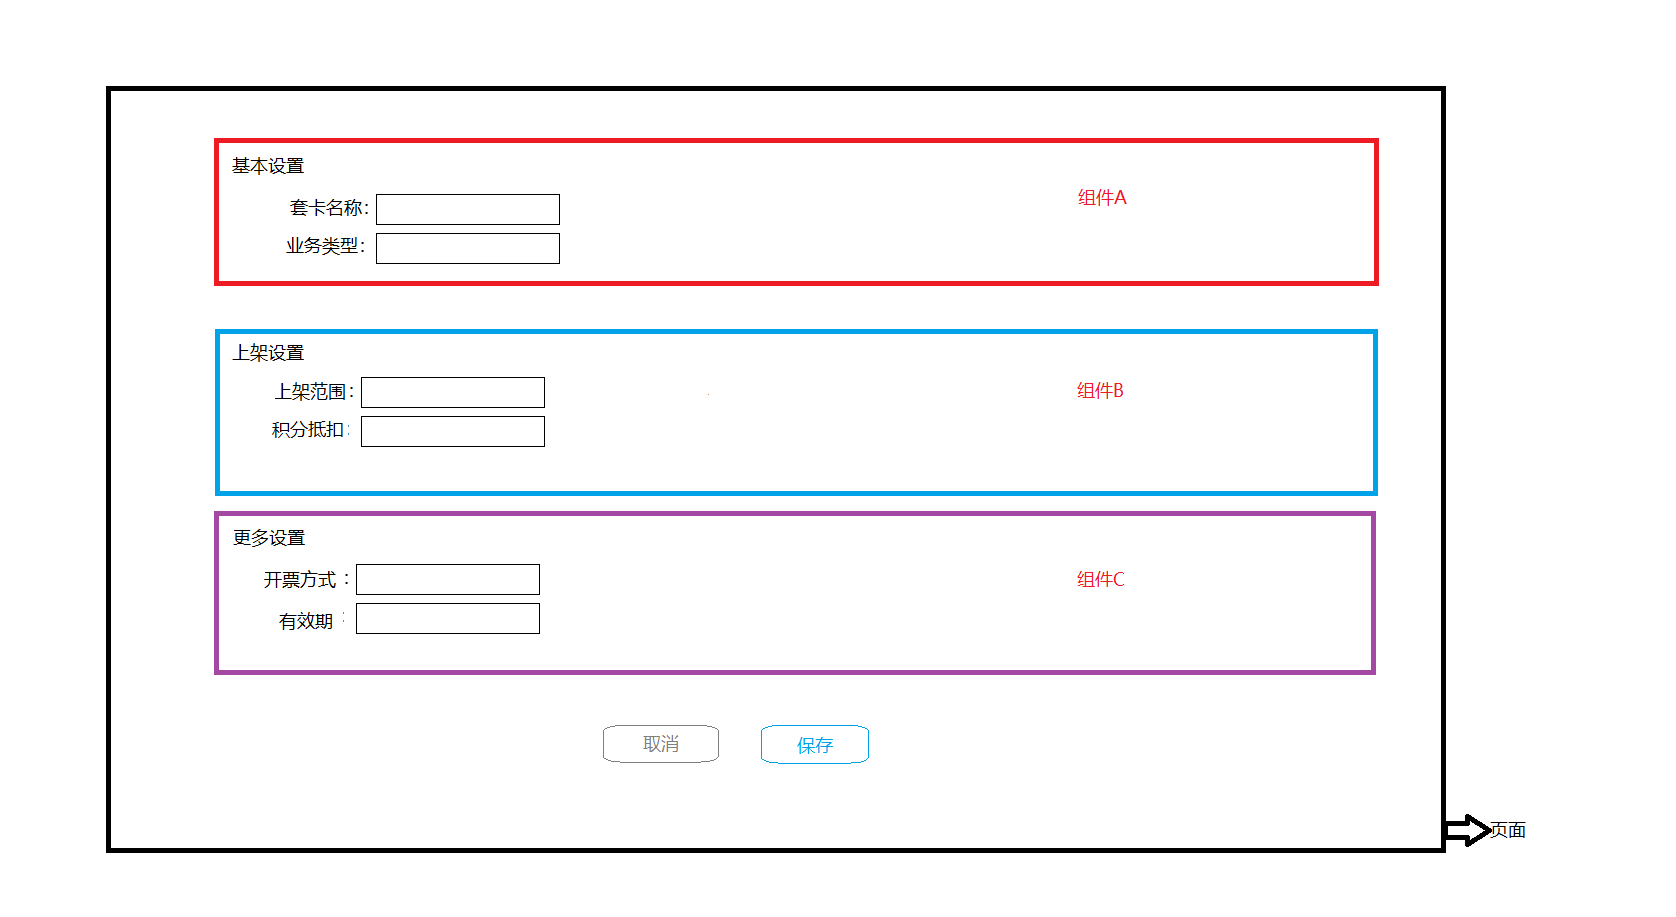
如上图所示 页面表单分为基本设置,上架设置,更多设置3大块 分别将3大块写到3个组件(A,B,C) 提交表单的时候我们要进行表单验证
思路:利用ES6 Promise异步控制
代码如下
组件A
<el-form :model="ruleForm" :rules="rules" ref="ruleForm" label-width="100px" class="demo-ruleForm">
     <el-form-item label="套卡名称" prop="name">
    <el-input v-model="ruleForm.name"></el-input>
  </el-form-item>
</el-form>
组件B
<el-form :model="ruleForm" :rules="rules" ref="ruleForm" label-width="100px" class="demo-ruleForm">
     <el-form-item label="上架范围" prop="name">
    <el-input v-model="ruleForm.name"></el-input>
  </el-form-item>
</el-form>
组件C
<el-form :model="ruleForm" :rules="rules" ref="ruleForm" label-width="100px" class="demo-ruleForm">
     <el-form-item label="开票" prop="name">
    <el-input v-model="ruleForm.name"></el-input>
  </el-form-item>
</el-form>
HTML代码如下
<template>
  <div class="product-card-page">
    <!-- basic -->
    <basic
      ref="basic"
      :data="basicInfo"
      :disabled="disabled"
      @deductAmountTypeChange="deductAmountTypeChange" />
    <!-- onshelf -->
    <on-shelf
      ref="onshelf"
      :discount="discount"
      :data="onshelfInfo"
      :tag="tags"
      :disabled="disabled" />
    <!-- more -->
    <more
      ref="more"
      :data="moreInfo"
      :disabled="disabled" />
    <!-- submit -->
    <div
      v-show="!disabled"
      class="btns_row tc mt60 mb50">
      <el-button
        round
        size="mini"
        style="78px;"
        @click="$router.push('/product/card')">
        取消
      </el-button>
      <el-button
        round
        type="primary"
        size="mini"
        style="78px;"
        @click="submit">
        保存
      </el-button>
    </div>
  </div>
</template>
JS代码如下:
import OnShelf from './components/OnShelf'
import Basic from './components/Basic'
import More from './components/More'
submit(){
const p1=new Promise((resolve,reject)=>{
this.$refs['basic'].$refs['ruleForm'].validate(valid=>{
        if(valid) resolve()
    })
})

const p2=new Promise((resolve,reject)=>{
    this.$refs['onshelf'].$refs['ruleForm'].validate(valid=>{
        if(valid) resolve()
    })
})


const p3=new Promise((resolve,reject)=>{
    this.$refs['more'].$refs['ruleForm'].validate(valid=>{
        if(valid) resolve()
    })
})

Promise.all([p1,p2,p3]).then(()=>{
   console.log('验证通过,提交表单')

})
}
欢迎大家学习讨论更好的方法