http://blog.csdn.net/fengzhou0920/article/details/52119039
1. 测试环境
服务器:Linux X64;tomcat 7.0;jdk 1.7;jprofiler_linux_9_2.sh
客户端:Windows10;jprofiler_windows-x64_9_2.exe
2. JProfiler软件下载地址:http://www.ej-technologies.com/download/jprofiler/files
3. 客户端 JProfiler 安装 略
4. 服务器端 JProfiler 安装:
把 jprofiler_linux_9_2.sh 上传到到服务器,假设路径为 /home/devweb/soft
# cd/home/devweb/soft
# chmod +x jprofiler_linux_9_2.sh
# ./ jprofiler_linux_9_2.sh -c
注意,这里的 -c 意思是用字符方式来安装,如果机器上没有X,则加上该参数
提示:
(1) 下载的服务器和客户端版本必须符合操作系统的类型,jprofiler支持操作系统类型为windows、MAC os、linux、Solaris、Aix、FreeBSD、HP-UX;
(2) 客户端需要licence,可以通过在http://www.ej-technologies.com网站上输入用户名和邮箱来获取试用版licence,服务器端不需要licence;
(3) 客户端和服务器端的版本号要一致,此例中均为9.2。
5. 客户端连接配置:
(1) 运行 Jprofiler,使用向导配置,或者选择Session->Integration Wizard->New Remote Integratation;

(2) 选择服务器操作系统内容:

(3) 选择JDK信息:

选择启动模式:

(5) 输入服务器IP地址

输入服务器中

输入服务器中

(8) 最后生成一个配置说明(这个很重要!!!):

按照以上配置说明的含义是:
首先,在配置结束后将客户端自动生成的配置文件(一般win10在C:Users[用户名].jprofiler9路径下)拷贝至以上第六步中输入的服务器端jprofiler配置文件所放位置;
其次,将生成的启动项参数加入服务器端的启动文件中(tomcat是catalina.sh或startup.sh)
JAVA_OPTS="$JAVA_OPTS -agentlib:jprofilerti=port=8849,nowait,id=118,config=/home/devweb/jprofiler9/config/config.xml -Xbootclasspath/a:/home/devweb/jprofiler9/bin/agent.jar "
其中id=118为config.xml中生成的id
再次,添加jprofiler相关环境变量
修改环境变量配置文件.bash_profile
JPROFILER_HOME=/home/devweb/jprofiler9
export LD_LIBRARY_PATH=$JPROFILER_HOME/bin/linux-x64
source .bash_profile 使之生效
提示:
(1) 如果以上所有步骤都完成之后,启动这个session监控,报连接失败的错误,一般情况下需要检查服务器端jprofiler相关环境变量配置是否已经配置,或者是否即时生效了;另外一种情况有可能是添加jprofiler的启动项参数不正确;
(2) 如果报JProfiler> Could not find session with id: 128的提示,说明运行java程序时,VM参数-agentlib:jprofilerti=port=8849,nowait,id=128,中最后指定的ID有误。将其修改为与config.Xml中指定的<session id="XX" name="XX" ....>...</session>相匹配的ID;
(3) 如果出现License Key Not Valid的情况,则找到正确的Key,将其写入到config.xml中即可。不过这个key与windows版本破解时得到的key不同,可以考虑去jprofiler的官网上申请试用版的key。
6. 全部配置完成之后,可以启动客户端的jprofiler,选择session>start center>Open Session
Available session configurations中列出了刚才配置的连接,选中使用就OK了!!
启动时服务器端日志输出包括以下内容:
JProfiler> Protocol version 27
JProfiler> Using JVMTI
JProfiler> 32-bit library
JProfiler> Don't wait for frontend to connect.
JProfiler> Using config file /zpool1/gpdb_m/crmtest/menglr_18092/jprofiler5/config/config.xml (id: 105)
JProfiler> Listening on port: 8849.
JProfiler> Native library initialized
JProfiler> VM initialized
JProfiler> Using dynamic instrumentation
JProfiler> Time measurement: elapsed time
JProfiler> CPU profiling enabled
JProfiler> Hotspot compiler enabled
JProfiler> Starting org/apache/catalina/startup/Bootstrap ...
当jprofiler终端监控时,会出现:
JProfiler> Disconnected. Waiting for reconnection.
JProfiler> Listening on port: 8849
==============================================================
开发过程中本地 idea 配置jprofile
1,安装插件,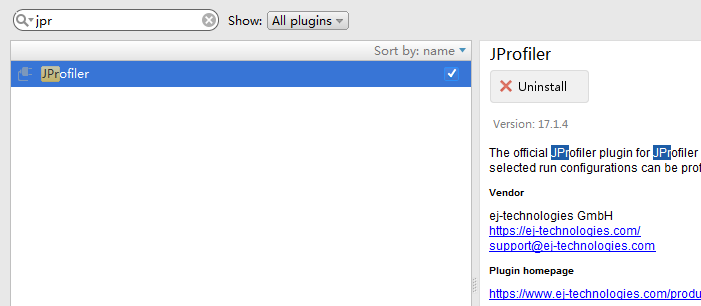
2,安装客户端,
3,制定到客户端,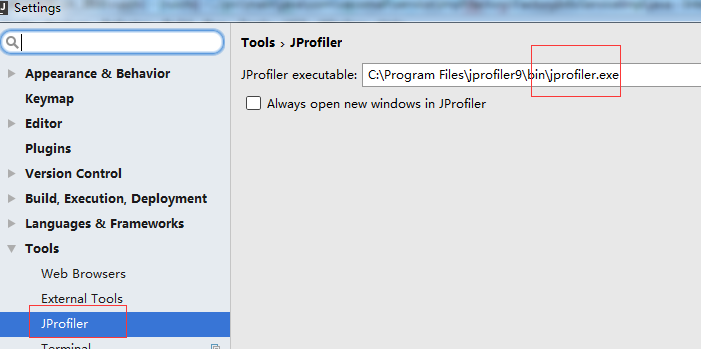
4,
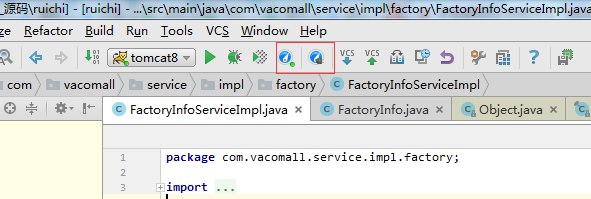
ok,可以了,直接启动图标就可以了,会先启动jprofile,然后会自动启动tomcat