Spring Cloud Config提供了分布式系统中配置功能的服务端与客户端支持。对于不同环境的应用程序它的服务端提供了一种中心化的配置管理方式。并且其不仅适用于Spring的应用程序,其它语言开发的程序同样能够使用(这点很重要)。
环境要求
- 首先需要安装JDK1.8或以上版本
- IDE可以选用Spring Tool Suite(STS)或者IntelliJ IDEA,本文选用STS作为例子
服务端
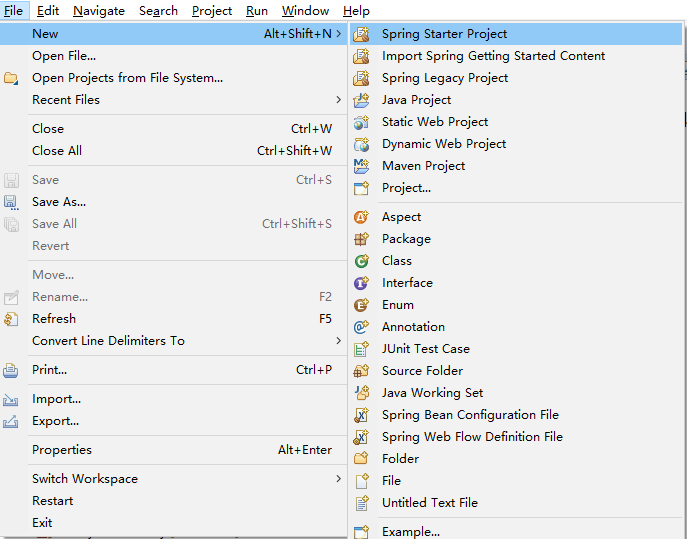
在文件菜单,点击新建Spring Starter Project。
在输入工程名(这里是configuration-service)后选择下一步(Next),在依赖项中选中Config Server。
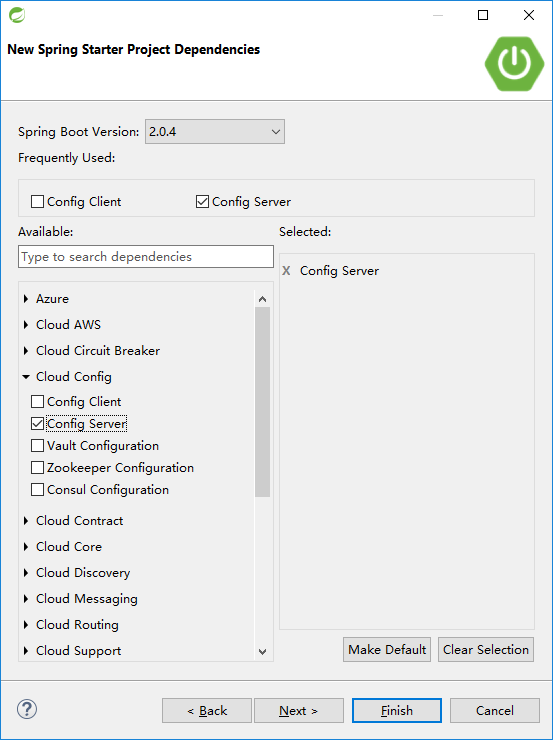
之后,点击Finish,即可完成工程的创建。
接着,在ConfigurationServiceApplication类上添加@EnableConfigServer注解。
package com.example.demo;

import org.springframework.boot.SpringApplication;
import org.springframework.boot.autoconfigure.SpringBootApplication;
import org.springframework.cloud.config.server.EnableConfigServer;

@EnableConfigServer
@SpringBootApplication
public class ConfigurationServiceApplication {

	public static void main(String[] args) {
		SpringApplication.run(ConfigurationServiceApplication.class, args);
	}
}
最后一步,在application.properties文件里配置可用的端口及用于保存服务端配置的仓库地址。
server.port=9555

#spring.profiles.active=native
#spring.cloud.config.server.native.searchLocations=file:///${USERPROFILE}/Desktop/config
spring.cloud.config.server.git.uri=file:///${USERPROFILE}/Desktop/config
Spring Cloud Config中最常用的是git仓库,这种场景下通过对spring.cloud.config.server.git.uri指定具体路径即可达成配置目的。
当然也可以不用git仓库,比如使用单纯的文件管理。
这时就需要同时使用spring.profiles.active=native及spring.cloud.config.server.native.searchLocations={配置文件目录路径}这两条配置项。
做为例子,在file:///${USERPROFILE}/Desktop/config目录下建立了一个application.properties文件,里面加入一条配置message=Hello World!。
启动这个应用,一个Spring Cloud Server便产生了。
测试下其是否正常工作,可以在浏览器中输入http://localhost:9555/application/dev地址查看。如果是类似下列的结果,说明是正常的。
{"name":"application","profiles":["dev"],"label":null,"version":"c0f022755482d4a98f66dc19c8c4e0af512dc4f2","state":null,"propertySources":[{"name":"file:///C:\Users\Ken/Desktop/config/application.properties","source":{"message":"Hello World!"}}]}
客户端
同样是选择新建Spring Starter Project。但这次在依赖项中选择Config Client。

完成创建后,再在pom.xml中追加两个依赖。
<dependency>
  <groupId>org.springframework.boot</groupId>
  <artifactId>spring-boot-starter-web</artifactId>
</dependency>
<dependency>
  <groupId>org.springframework.boot</groupId>
  <artifactId>spring-boot-starter-actuator</artifactId>
</dependency>
接着在ConfigurationClientApplication文件里加入一个Controller。
package com.example.demo;

import org.springframework.beans.factory.annotation.Value;
import org.springframework.boot.SpringApplication;
import org.springframework.boot.autoconfigure.SpringBootApplication;
import org.springframework.cloud.context.config.annotation.RefreshScope;
import org.springframework.web.bind.annotation.RequestMapping;
import org.springframework.web.bind.annotation.RestController;

@SpringBootApplication
public class ConfigurationClientApplication {

	public static void main(String[] args) {
		SpringApplication.run(ConfigurationClientApplication.class, args);
	}
}

@RefreshScope
@RestController
class MessageRestController {

    @Value("${message:Hello default}")
    private String message;

    @RequestMapping("/message")
    String getMessage() {
        return this.message;
    }
}
如果此时没有运行Config Server而是单独运行Config Client的话,可以看到以下的结果:
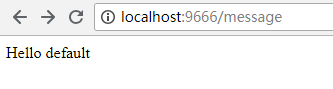
说明程序中获取的是代码里默认的配置项。
下面,开始打通与Config Server的连接。
在Config Client的application.properties文件配置应用程序启动端口server.port=9666。
再在相同resources目录下新建一个bootstrap.propertiess文件,加入与Config Server关联配置。
spring.cloud.config.uri=http://localhost:9555
然后,先启动Config Server应用程序,再启动Config Client应用程序。
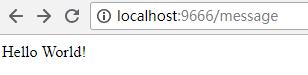
结果说明Config Client成功从Config Server获得配置内容。
接下来,尝试将配置仓库目录下application.properties文件内的配置项改成message=Hello World, Spring Cloud!。
刷新http://localhost:9666/message页面。结果未做变化。这是因为默认场景下,Config Client只在启动时向Config Server获取一次配置。
先把message配置改回message=Hello World!。
在Config Client的application.properties中添加management.endpoints.web.exposure.include=*配置。
重新启动Config Client。
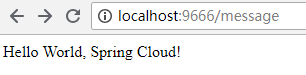
再次将message配置改成message=Hello World, Spring Cloud!。
然后在命令行中执行curl localhost:9666/actuator/refresh -d {} -H "Content-Type: application/json"更新配置。
刷新页面后可以看到预期的结果: