前言
Java框架实在是太多了,因为是初学乍练,所以,只好以百度为标准选择框架了。
Java的框架文章太难写了,因为他引用了太多框架,而每一个框架都有很繁琐的配置,把每个框架都写一遍,就等于写书了;所以本文只能大体上介绍,但大体上介绍,感觉读起来又没有生气,总之非常难写。
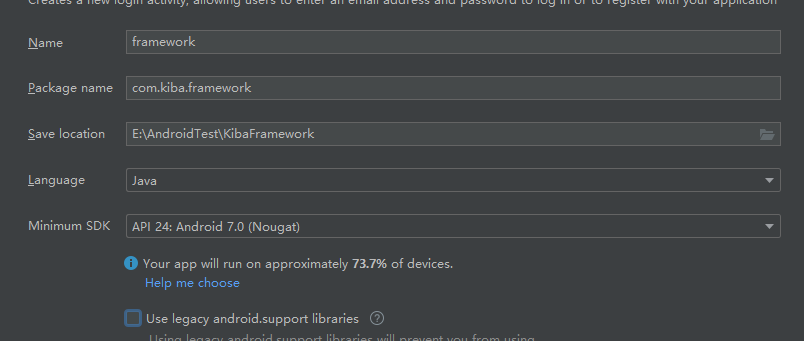
新建项目
首先新建项目KibaFramework,不要勾选use legacy android.support libraries。
项目结构
数据库:xUtils3,这里只使用xutils3来管理sqlite数据库。
页面元素获取:butterknife,dataBinding,主要使用butterknife;dataBinding只是提供一种额外的元素获取模式。
UI框架:XUI、XPage,这个框架的模式非常好,因为是一个人写的,比一个团队写的组合功能更合理,还有demo可以参考。
辅助语言:Kotlin,我觉得Kotlin中的很多语法很好用,很简便,比如定义实体就非常好用,在大方向使用Java的情况下,辅助使用Kotlin定义一些单独的文件,很方便。
项目配置
build.gradle—Project
// Top-level build file where you can add configuration options common to all sub-projects/modules.
buildscript {
ext.kotlin_version = "1.5.0"
ext.anko_version = "0.10.8"
repositories {
google()
mavenCentral()
jcenter()
maven { url "https://jitpack.io"}
}
dependencies {
classpath "com.android.tools.build:gradle:4.2.1"
classpath "org.jetbrains.kotlin:kotlin-gradle-plugin:$kotlin_version"
classpath 'com.jakewharton:butterknife-gradle-plugin:10.2.3'
// NOTE: Do not place your application dependencies here; they belong
// in the individual module build.gradle files
}
}
allprojects {
repositories {
google()
mavenCentral()
jcenter() // Warning: this repository is going to shut down soon
maven { url 'https://jitpack.io' }
}
}
task clean(type: Delete) {
delete rootProject.buildDir
}
build.gradl—App
plugins {
id 'com.android.application'
id 'kotlin-android'
id 'kotlin-android-extensions'
}
android {
compileSdkVersion 30
buildToolsVersion "30.0.3"
defaultConfig {
applicationId "com.vanpeng.kibaframework"
minSdkVersion 24
targetSdkVersion 30
versionCode 1
versionName "1.0"
multiDexEnabled true
testInstrumentationRunner "androidx.test.runner.AndroidJUnitRunner"
ndk{
abiFilters "armeabi-v7a"
}
}
buildTypes {
release {
minifyEnabled false
proguardFiles getDefaultProguardFile('proguard-android-optimize.txt'), 'proguard-rules.pro'
}
}
compileOptions {
sourceCompatibility JavaVersion.VERSION_1_8
targetCompatibility JavaVersion.VERSION_1_8
}
kotlinOptions {
jvmTarget = '1.8'
}
buildFeatures {
viewBinding true
}
}
dependencies {
implementation "org.jetbrains.kotlin:kotlin-stdlib:$kotlin_version"
implementation 'androidx.core:core-ktx:1.3.1'
implementation 'androidx.appcompat:appcompat:1.2.0'
implementation 'com.google.android.material:material:1.2.1'
implementation 'androidx.annotation:annotation:1.1.0'
implementation 'androidx.constraintlayout:constraintlayout:2.0.1'
implementation 'androidx.lifecycle:lifecycle-livedata-ktx:2.2.0'
implementation 'androidx.lifecycle:lifecycle-viewmodel-ktx:2.2.0'
implementation 'androidx.navigation:navigation-fragment-ktx:2.3.0'
implementation 'androidx.navigation:navigation-ui-ktx:2.3.0'
implementation 'de.gerdi-project:GSON:6.0.6'
implementation 'androidx.navigation:navigation-fragment:2.3.0'
implementation 'androidx.navigation:navigation-ui:2.3.0'
testImplementation 'junit:junit:4.+'
androidTestImplementation 'androidx.test.ext:junit:1.1.2'
androidTestImplementation 'androidx.test.espresso:espresso-core:3.3.0'
implementation "org.jetbrains.anko:anko-commons:$anko_version" // Anko Commons
implementation "org.jetbrains.anko:anko-sdk25:$anko_version" // Anko Layouts sdk15, sdk19, sdk21, sdk23 are also available
implementation "org.jetbrains.anko:anko-sdk25-coroutines:$anko_version" // Coroutine listeners for Anko Layouts
implementation "org.jetbrains.anko:anko-sqlite:$anko_version" // Anko SQLite
implementation 'org.xutils:xutils:3.3.36'
implementation "com.squareup.okhttp3:okhttp:4.9.0"
implementation 'com.google.code.gson:gson:2.8.6'
//解决超过65546代码的问题
implementation 'com.android.support:multidex:1.0.2'
implementation "com.github.CymChad:BaseRecyclerViewAdapterHelper:3.0.4"
implementation 'com.jakewharton:butterknife:10.2.3'
//ButterKnife
annotationProcessor 'com.jakewharton:butterknife-compiler:10.2.3'
//XUI框架
implementation 'com.github.xuexiangjys:XUI:1.1.8'
implementation 'androidx.recyclerview:recyclerview:1.1.0'
implementation 'com.google.android.material:material:1.1.0'
implementation 'com.github.bumptech.glide:glide:4.11.0'
//工具类
implementation 'com.github.xuexiangjys.XUtil:xutil-core:2.0.0'
implementation 'com.github.xuexiangjys.XUtil:xutil-sub:2.0.0'
//侧边栏菜单
implementation 'com.yarolegovich:sliding-root-nav:1.1.1'
//下拉刷新
implementation 'com.scwang.smart:refresh-layout-kernel:2.0.3' //核心必须依赖
implementation 'com.github.xuexiangjys.SmartRefreshLayout:refresh-header:1.1.5'
implementation 'com.github.xuexiangjys.SmartRefreshLayout:refresh-layout:1.1.5'
//预加载占位控件
implementation 'me.samlss:broccoli:1.0.0'
//XPage页面框架
implementation 'com.github.xuexiangjys.XPage:xpage-lib:3.1.1'
annotationProcessor 'com.github.xuexiangjys.XPage:xpage-compiler:3.3.0'
//如果是androidx项目,使用1.1.0版本及以上
implementation 'com.github.xuexiangjys.XAOP:xaop-runtime:1.1.0'
}
gradle.properties
org.gradle.jvmargs=-Xmx2048m -Dfile.encoding=UTF-8
android.useAndroidX=true
kotlin.code.style=official
android.enableJetifier=true
项目编写
首先编写BaseActivity和BaseFragment,分别继承XUI和XPage下的XPageActivity和XPageFragment。
然后编写一些常用的函数在,比如弹出对话框。
然后编写MyApplication,在MyApplication里注入Xui和xUnit。
XUI.init(this); //初始化UI框架
XUI.debug(true);  //开启UI框架调试日志
x.Ext.init(this);
x.Ext.setDebug(BuildConfig.DEBUG); // 开启debug会影响性能
然后在配置一些静态属性,比如要请求的Api的网址。
最后封装一些常用的工具类,就可以开发编写Activity了。
SplashActivity:初始启动页面,进行一个渐变的动画展示,然后通过xUint初始化数据库,然后跳转到登录页面。
LoginActivity:登录页面,通过Http通讯发送登录请求。
MainActivity:首页,实现一个左侧滑动菜单,和一个fragment的切换内容页。
编写完Activity后,在manifest里增加权限,并且手动加Activity,因为要设置它的launchMode和其他属性。
manifest如下:
<?xml version="1.0" encoding="utf-8"?>
<manifest xmlns:android="http://schemas.android.com/apk/res/android"
package="com.kiba.framework">
<uses-permission android:name="android.permission.INTERNET" />
<uses-permission android:name="android.permission.ACCESS_NETWORK_STATE" />
<uses-permission android:name="android.permission.WRITE_EXTERNAL_STORAGE" />
<uses-permission android:name="android.permission.CHANGE_NETWORK_STATE" />
<uses-permission android:name="android.permission.READ_EXTERNAL_STORAGE" />
<uses-permission android:name="android.permission.CAMERA" />
<uses-permission android:name="android.permission.BLUETOOTH" />
<uses-permission android:name="android.permission.BLUETOOTH_ADMIN" />
<application
android:name=".MyApplication"
android:allowBackup="true"
android:icon="@mipmap/ic_launcher"
android:label="@string/app_name"
android:roundIcon="@mipmap/ic_launcher_round"
android:supportsRtl="true"
android:theme="@style/Theme.Framework">
<activity
android:name=".activity.main.MainActivity"
android:label="主页"
android:screenOrientation="landscape"
android:launchMode="singleTask"
android:theme="@style/Theme.Framework.NoActionBar"></activity>
<activity
android:name=".activity.protocol.ProtocolActivity"
android:label="协议内容"
android:screenOrientation="landscape"
android:launchMode="singleTask" />
<activity
android:name=".activity.login.LoginActivity"
android:label="登录"
android:screenOrientation="landscape"
android:launchMode="singleTask"
android:theme="@style/Theme.Framework.NoActionBar" />
<activity
android:name=".SplashActivity"
android:label="@string/app_name"
android:screenOrientation="landscape"
android:launchMode="singleTask"
android:theme="@style/Theme.Framework.NoActionBar">
<intent-filter>
<action android:name="android.intent.action.MAIN" />
<category android:name="android.intent.category.LAUNCHER" />
</intent-filter>
</activity>
</application>
</manifest>
修改themes.xml,注意要让Theme.Framework继承XUITheme.Phone,不然将无法解析XUI框架里自定义属性的默认值。
<resources xmlns:tools="http://schemas.android.com/tools">
<!-- Base application theme. -->
<style name="Theme.Framework" parent="XUITheme.Phone">
<!-- Primary brand color. -->
<item name="colorPrimary">@color/colorPrimary</item>
<item name="colorPrimaryVariant">@color/movebule</item>
<item name="colorOnPrimary">@color/white</item>
<!-- Secondary brand color. -->
<item name="colorSecondary">@color/teal_200</item>
<item name="colorSecondaryVariant">@color/teal_700</item>
<item name="colorOnSecondary">@color/black</item>
<!-- Status bar color. -->
<item name="android:statusBarColor" tools:targetApi="l">?attr/colorPrimaryVariant</item>
<!-- Customize your theme here. -->
<item name="colorPrimaryDark">@color/colorPrimaryDark</item>
<item name="colorAccent">@color/colorAccent</item>
</style>
<style name="Theme.Framework.NoActionBar">
<item name="windowActionBar">false</item>
<item name="windowNoTitle">true</item>
</style>
<style name="Theme.Framework.AppBarOverlay" parent="ThemeOverlay.AppCompat.Dark.ActionBar" />
<style name="Theme.Framework.PopupOverlay" parent="ThemeOverlay.AppCompat.Light" />
</resources>
关于页面样式
页面样式我也不擅长,所以这里基本上以复制开源项目的样式为主。
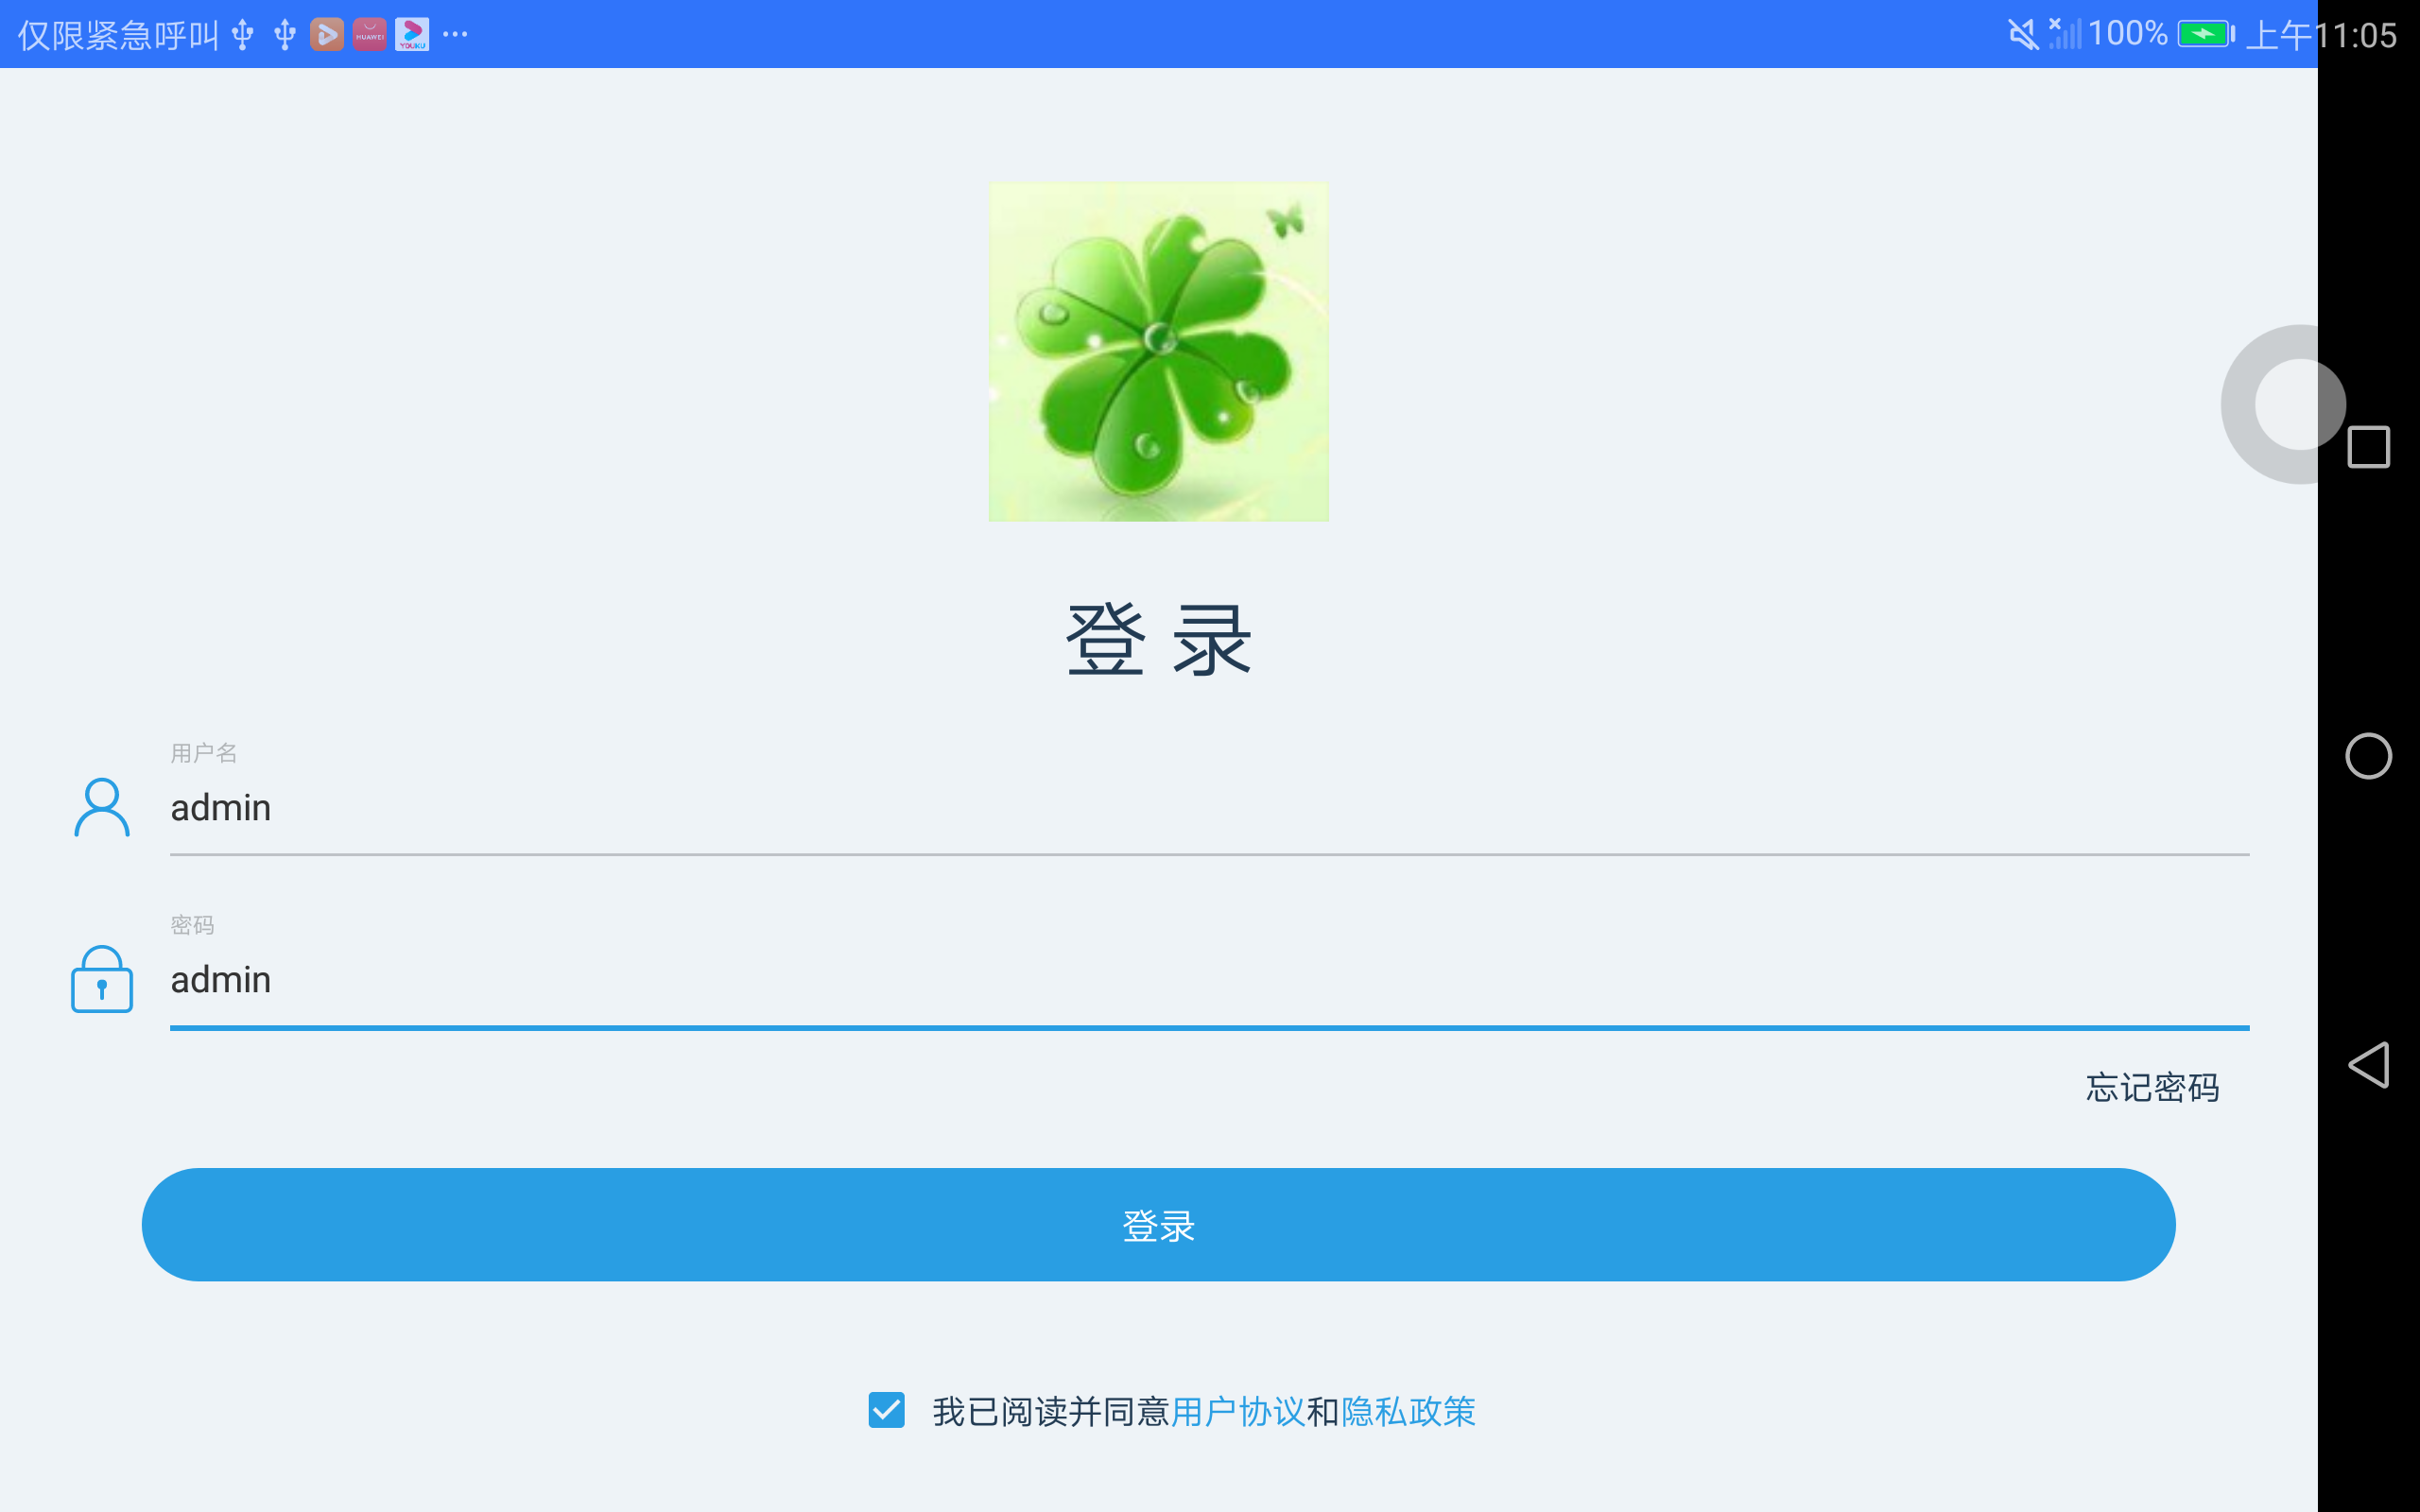
登录界面效果:
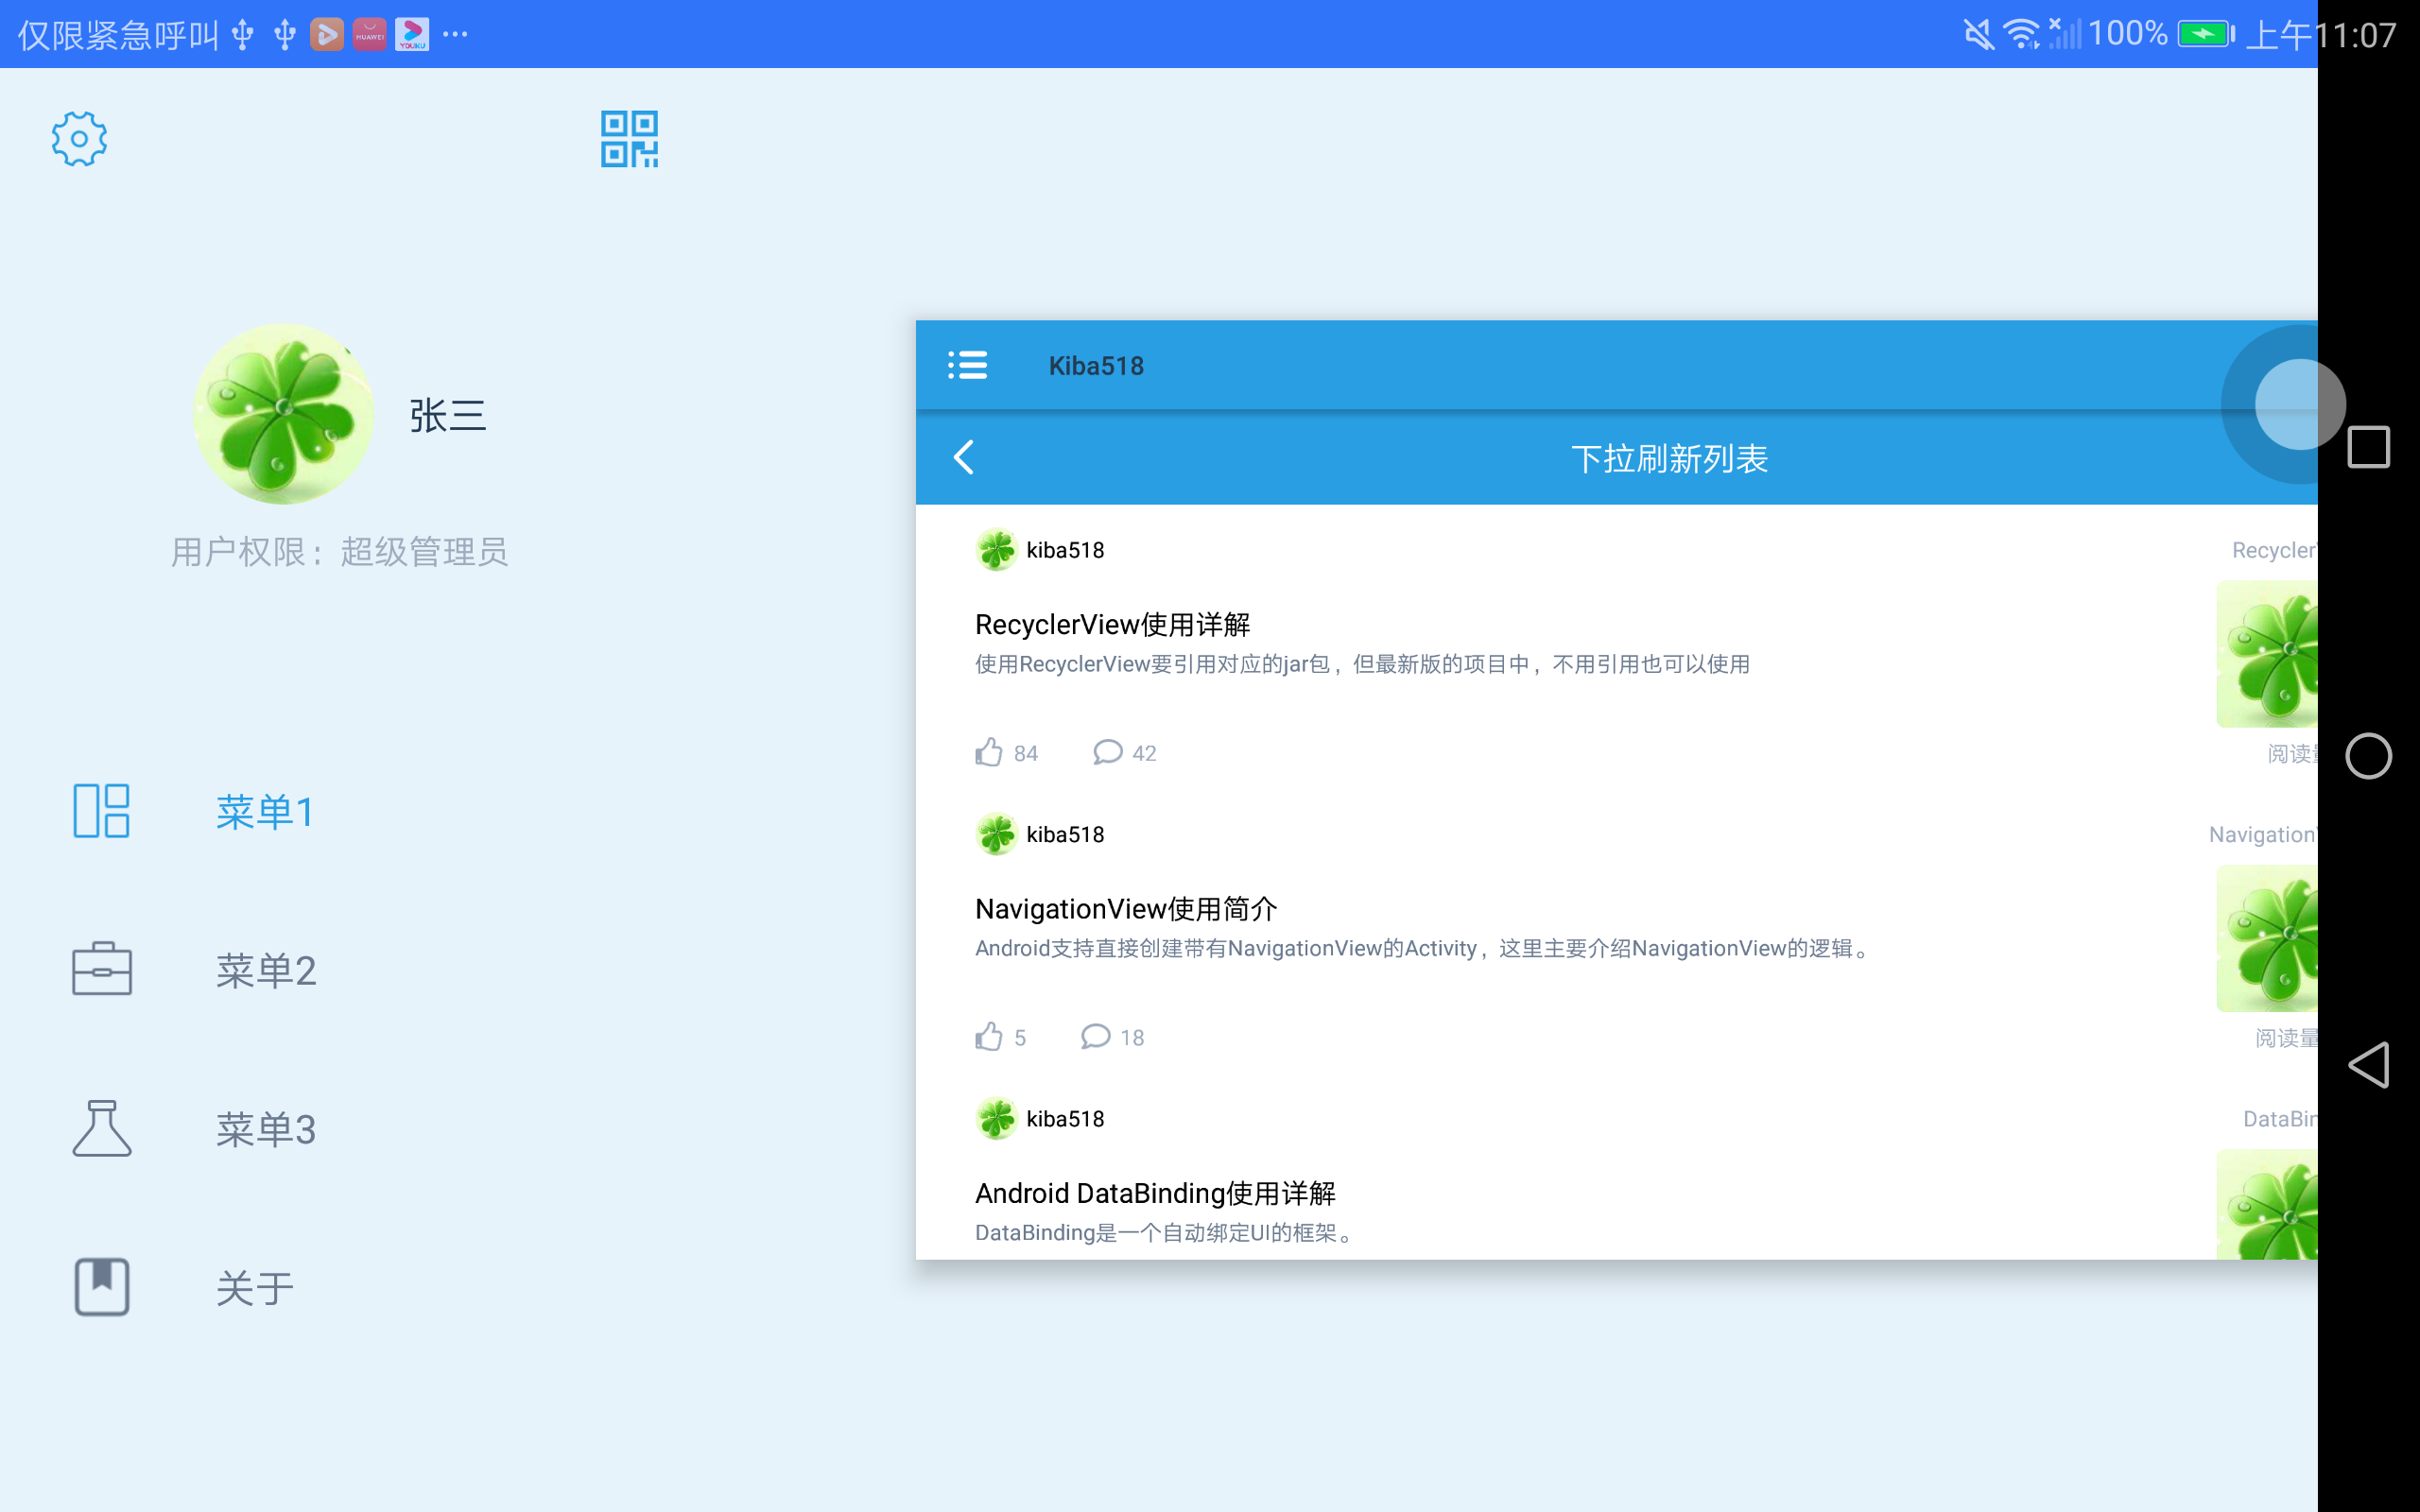
主页面效果图
XUI简单介绍
XUI是一个非常好用的框架,他重新封装了Activity和Fragment,让整体的代码逻辑更合理了。
使用时,我们可以让BaseActivity和BaseFragment继承XPageActivity和XPageFragment,需要注意的是BaseActivity和BaseFragment需要为抽象类,代码如下:
BaseActivity
public class BaseActivity extends XPageActivity {
//返回值【/storage/emulated/0/Android/data/com.kiba.framework/files】
public String FilesPath_External;
//返回值【/storage/emulated/0】
public String FilesPath_Internal;
public Context baseContext;
public DbManager.DaoConfig daoConfig;
@Override
protected void onCreate(Bundle savedInstanceState) {
FilesPath_External = getExternalFilesDir("").getAbsolutePath();
FilesPath_Internal = Environment.getExternalStorageDirectory().getPath();
super.onCreate(savedInstanceState);
baseContext = this;
MyApplication.activityList.add(this);
}
}
BaseFragment
public abstract class BaseFragment extends XPageFragment {
//返回值【/storage/emulated/0/Android/data/com.kiba.framework/files】
public String FilesPath_External;
//返回值【/storage/emulated/0】
public String FilesPath_Internal;
@Override
protected void initPage() {
FilesPath_External = this.getActivity().getExternalFilesDir("").getAbsolutePath();
FilesPath_Internal = Environment.getExternalStorageDirectory().getPath();
}
}
继承的Activity需要继承getLayoutId和onCreate,代码如下:
public class LoginActivity extends BaseActivity {
//XUI的绑定页面的模式
@Override
protected int getLayoutId() {
return R.layout.activity_login;
}
@Override
public void onCreate(Bundle savedInstanceState) {
super.onCreate(savedInstanceState);
ButterKnife.bind(this);
}
}
继承的Fragment需要重载getLayoutId和initViews,需要在类上加@Page注解,代码如下:
@Page(name = "其他")
public class OtherFragment extends BaseFragment {
@Override
protected int getLayoutId() {
return R.layout.fragment_other;
}
@Override
protected void initViews() {
TitleBar titleBar = super.initTitle();
}
}
我们也可以不重载getLayoutId,自己在onCreate或中initViews中找视图填充。
final View view = View.inflate(this, R.layout.activity_splash, null);
setContentView(view);
结语
Java的框架真的实在是太多了,而且每一个的内容真都很多,这真的是一个需要大量时间熟悉和学习的语言。
需要学习Java基础的可以参考一下我的Java短篇文章
本文主要代码来自于开源框架XUI的Demo。
https://github.com/xuexiangjys/XUI
----------------------------------------------------------------------------------------------------
到此,使Android框架就已经介绍完了。
代码已经传到Github上了,欢迎大家下载。
Github地址:https://github.com/kiba518/AndroidFramework
----------------------------------------------------------------------------------------------------
----------------------------------------------------------------------------------------------------
注:此文章为原创,任何形式的转载都请联系作者获得授权并注明出处!
若您觉得这篇文章还不错,请点击下方的【推荐】,非常感谢!
https://www.cnblogs.com/kiba/p/15480140.html