一,LAMP+zabbix环境安装
官网: https://www.zabbix.com/download
rpm -ivh https://mirrors.aliyun.com/zabbix/zabbix/4.0/rhel/7/x86_64/zabbix-release-4.0-1.el7.noarch.rpm
服务端安装配置zabbix rpm包
安装环境
yum install zabbix-server-mysql zabbix-web-mysql mariadb-server
跑完了 就ok 完成
配置字符集:
yum -y install wqy-microhei-fonts
cp /usr/share/fonts/wqy-microhei/wqy-microhei.ttc /usr/share/fonts/dejavu/DejaVuSans.ttf
创建zabbix用户

配置连接数据库
sed -i '126a DBPassword=zabbix' /etc/zabbix/zabbix_server.conf
授权导入zabbix数据
create database zabbix
grant all privileges on zabbix.* to 'zabbix'@'localhost' identified by 'zabbix' with grant option;
zcat /usr/share/doc/zabbix-server-mysql-4.0.0/create.sql.gz |mysql -uzabbix -pzabbix zabbix

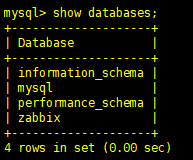
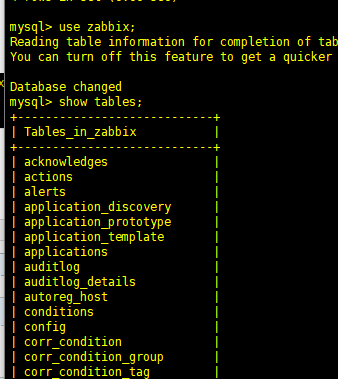
查看数据是否导入
修改时区:
ln -sf /usr/share/zoneinfo/Asia/Shanghai /etc/localtime
vim /etc/php.ini
date.timezone = Asia/Shanghai
vim /etc/httpd/conf.d/zabbix.conf
php_value date.timezone Asia/Shanghai
启动zabbix
systemctl start zabbix-server
systemctl start httpd
加入开机自启
chmod +x /etc/rc.d/rc.local
cat >>/etc/rc.d/rc.local<<EOF
systemctl start mariadb.service
systemctl start httpd
systemctl start zabbix-server
EOF
测试是否成功
http://10.0.0.71/zabbix/
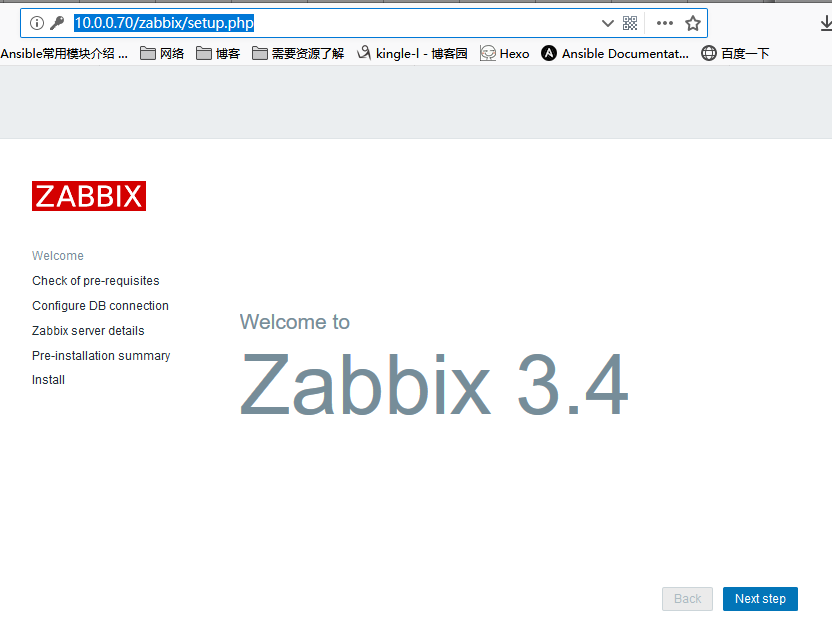
点击下一步
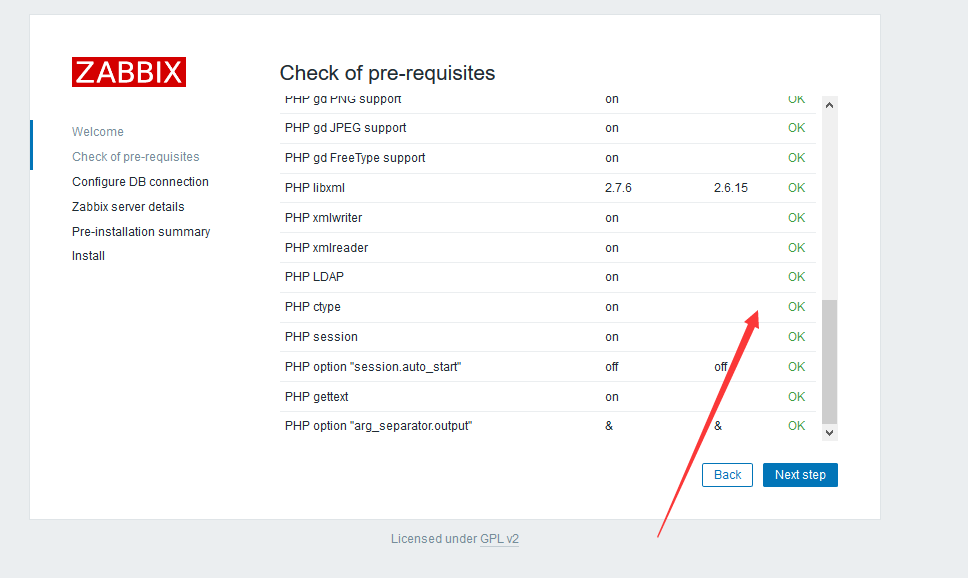
是否全部成功
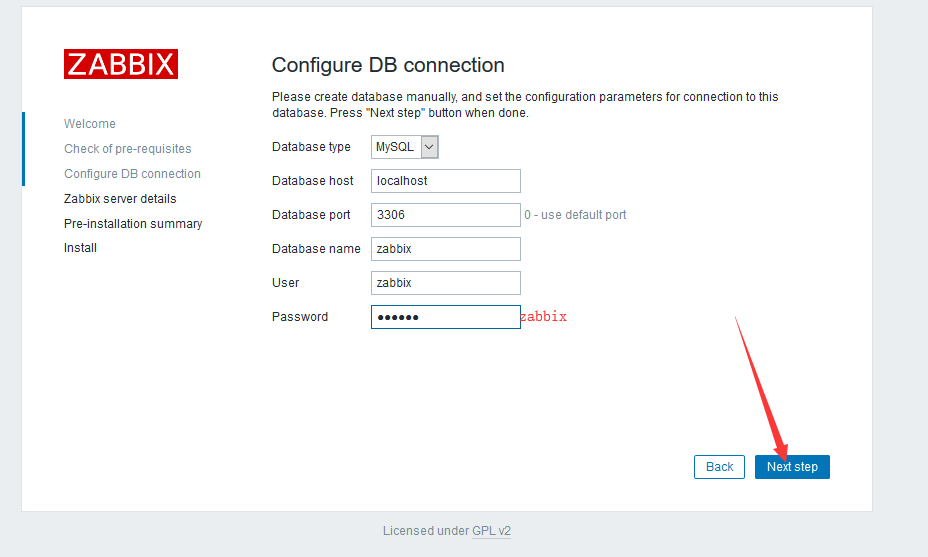
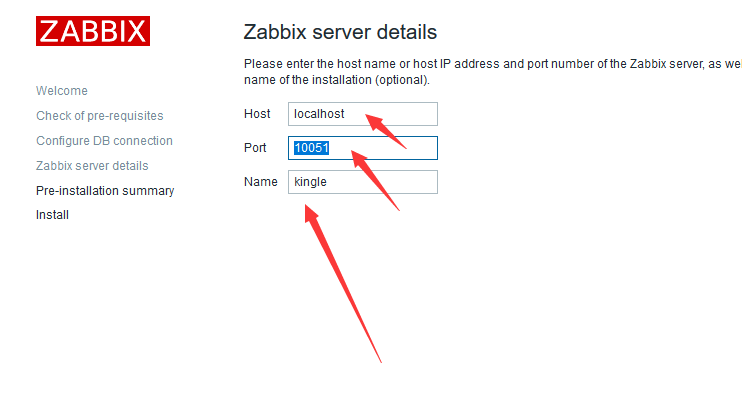
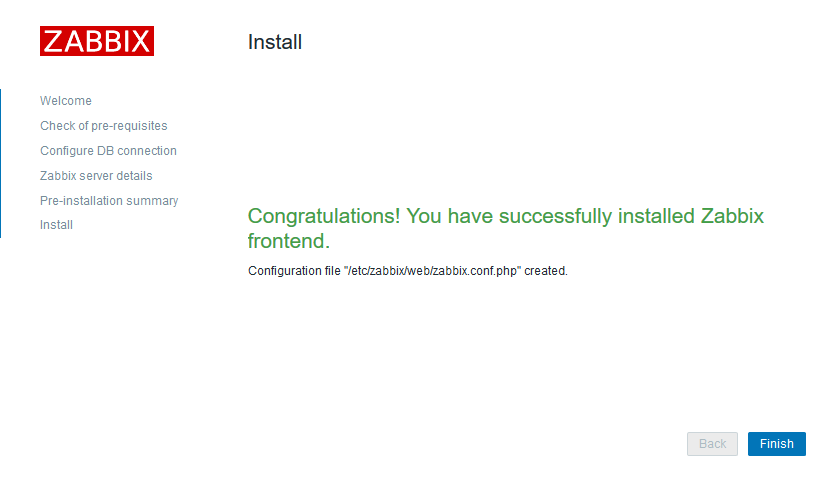
一直next进入下一步等待完成安装
完成
登入!!!!!!!!!!!!!!!!!!!!!!
默认登入名Admin
密码:zabbix

点击小人
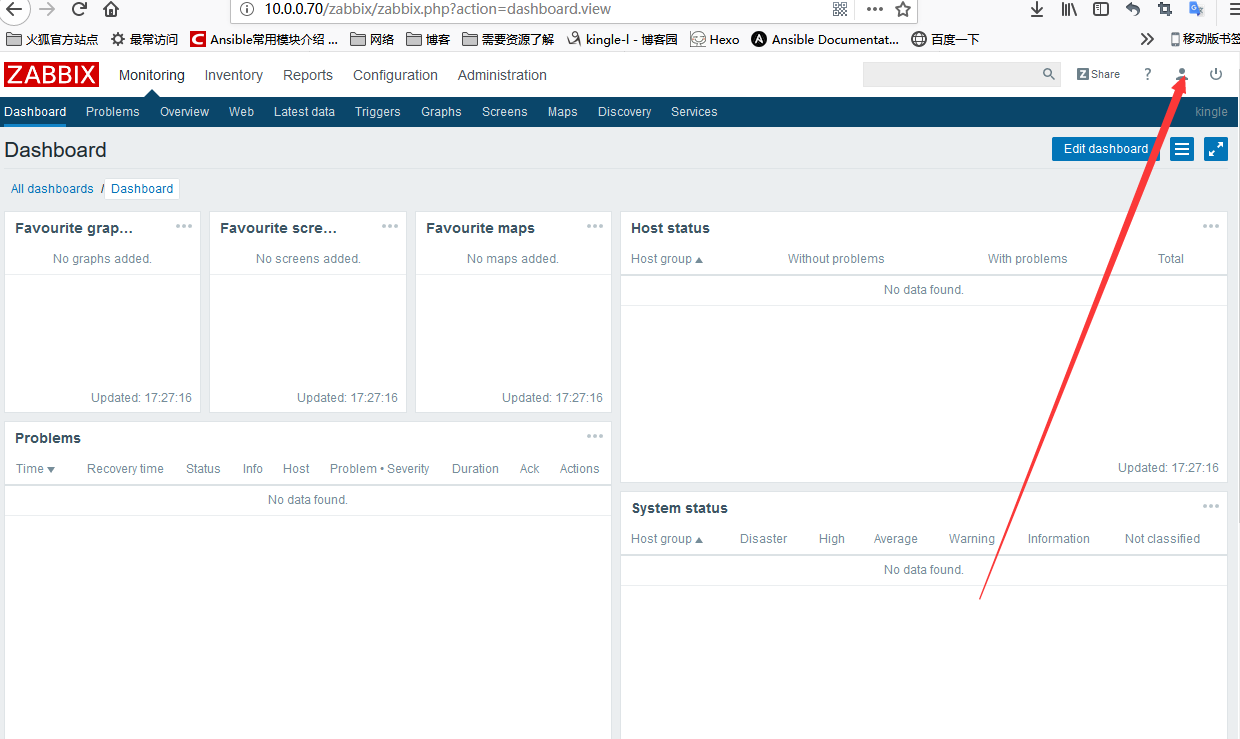
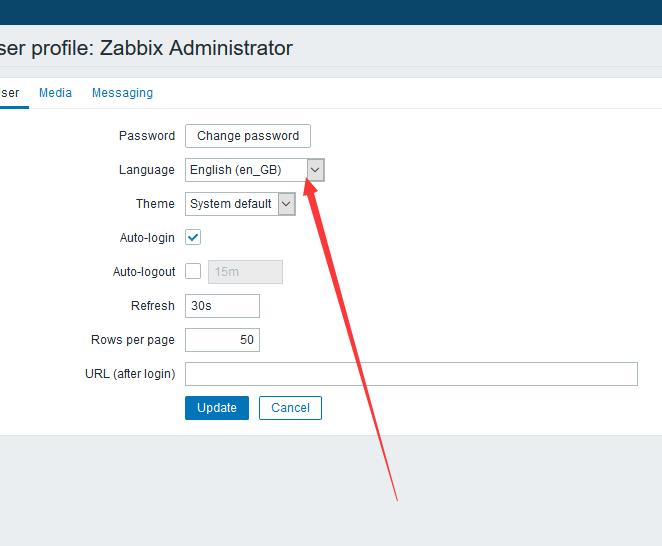
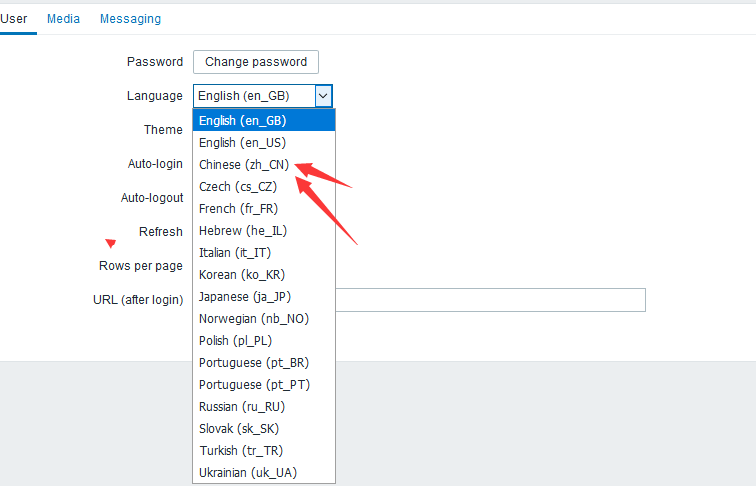
到了这里就完成配置了
二,客户端布置
CentOS6 部署
rpm -ivh https://mirrors.aliyun.com/zabbix/zabbix/4.0/rhel/6/x86_64/zabbix-release-4.0-1.el6.noarch.rpm
centos 7
rpm -Uvh https://repo.zabbix.com/zabbix/4.0/rhel/7/x86_64/zabbix-release-4.0-1.el7.noarch.rpm
yum install zabbix-agent-y
sed -i 's#Server=127.0.0.1#Server=172.16.1.71#' /etc/zabbix/zabbix_agentd.conf
/etc/init.d/zabbix-agent start
加入开机自启
chmod +x /etc/rc.d/rc.local
cat >>/etc/rc.d/rc.local<<EOF
/etc/init.d/zabbix-agent start
EOF
客户端布置完毕
三, 开始监控配置
安装监控检测 服务端安装
yum install zabbix-get


web zabbix 界面配置 配置-->主机-->进入默认的那个zabbix_server
配置监控项 主机名 必须与客户端hostname一致
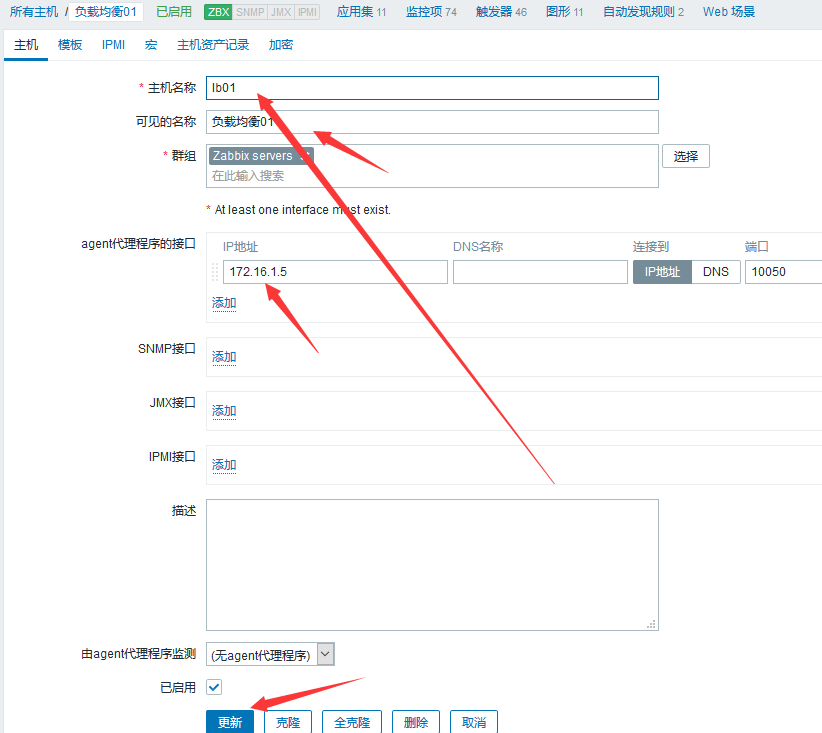
更新创建一台监控主机


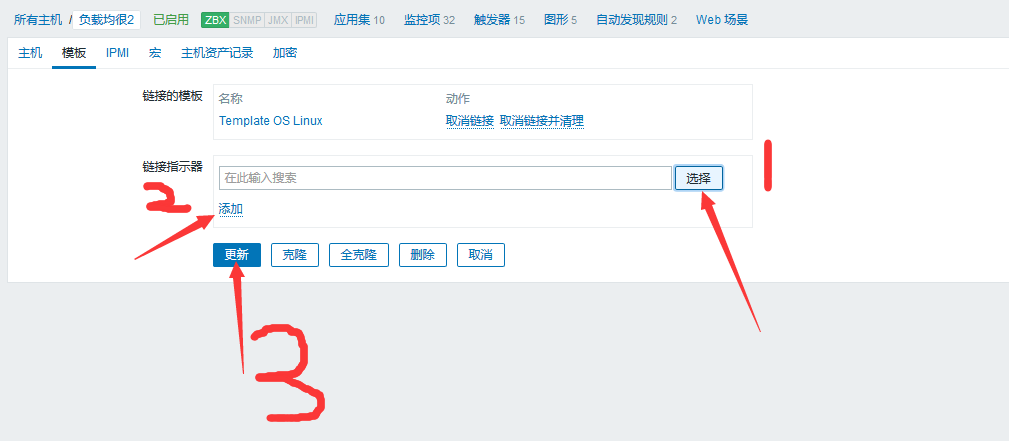
完成监控后等待一会zab会变颜色
