apache服务器(ubuntu环境):
1、获取软件包:
$ sudo apt-get update
$ sudo apt-get install software-properties-common
$ sudo add-apt-repository ppa:certbot/certbot
$ sudo apt-get update
$ sudo apt-get install python-certbot-apache
2、自动安装与部署证书:
$ sudo certbot --apache
它会自动安装插件,然后你需要输入邮箱来用于证书的找回。同时还会要求你选择是否同时开启Http和https和是否开启强制https。
nginx服务器(centos7):
1、安装certbot工具
yum install -y epel-release
yum install -y certbot
2、使用命令生成证书
# 使用方法:certbot certonly --webroot -w [Web站点目录] -d [站点域名] -m [联系人email地址] --agree-tos
# 例如:
certbot certonly --webroot -w /opt/www/demo.mydomain.com -d demo.mydomain.com -m myname@gmail.com --agree-tos
3、将证书位置配置到nginx配置文件中,使用443端口
//强制跳转https
server {
    listen  80;
    server_name www.xxx.com;
    rewrite ^(.*)$  https://$host$1 permanent;
}

server {
    listen 443 default ssl;
    ssl on;
    ssl_certificate /etc/letsencrypt/live/www.xxx.com/fullchain.pem;
    ssl_certificate_key /etc/letsencrypt/live/www.xxx.com/privkey.pem;
    server_name www.xxx.com;
    access_log /data/wwwlogs/access_nginx.log combined;
    root /data/wwwroot/xxx/public;
    index index.html index.htm index.php;
    #error_page 404 /404.html;
    #error_page 502 /502.html;
    location /nginx_status {
      stub_status on;
      access_log off;
      allow 127.0.0.1;
      deny all;
    }
location / {
    try_files $uri $uri/ /index.php?$query_string;
    }
    location ~ [^/].php(/|$) {
      #fastcgi_pass remote_php_ip:9000;
      fastcgi_pass unix:/dev/shm/php-cgi.sock;
      fastcgi_index index.php;
      include fastcgi.conf;
    }
    location ~ .*.(gif|jpg|jpeg|png|bmp|swf|flv|mp4|ico)$ {
      expires 30d;
      access_log off;
    }
    location ~ .*.(js|css)?$ {
      expires 7d;
      access_log off;
    }
    location ~ /.ht {
      deny all;
    }
  }
4、重启nginx,配置便生效了
systemctl restart nginx
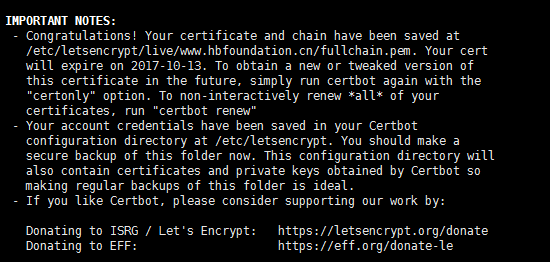
注意:联系人email地址要填写真实有效的,letsencrypt会在证书在过期以前发送预告的通知邮件。 申请成功后,会显示以下Congratulations信息
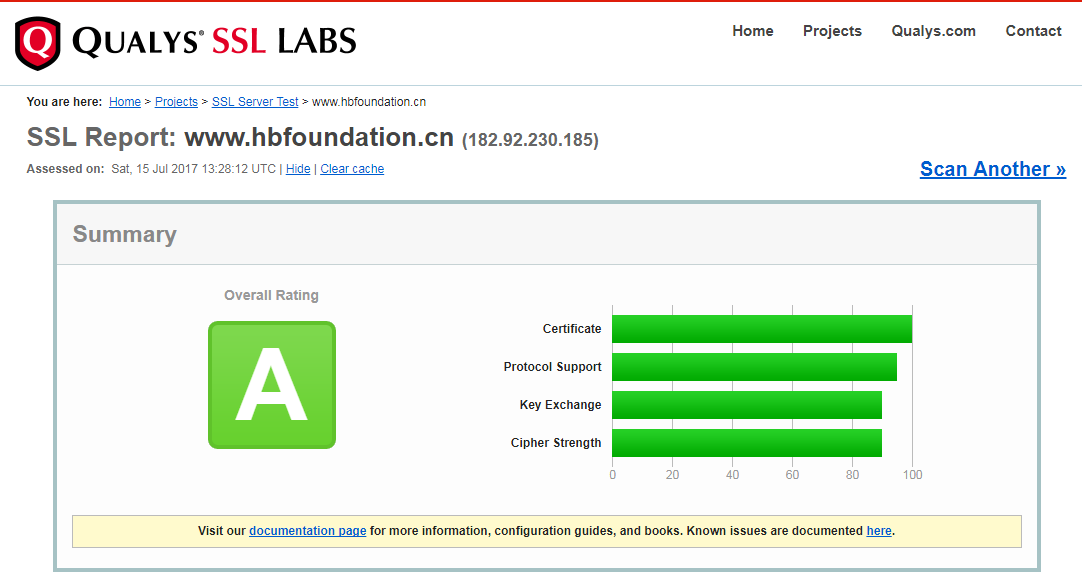
qualys测试报告:
手动更新:
sudo certbot renew --dry-run
certbot renew
最后,因为默认有效三个月,开启自动续期:
crontab -e
30 4 * * 1 certbot renew --renew-hook "systemctl restart nginx" --quiet > /dev/null 2>&1 &
每周一凌晨4点30自动更新证书,如果更新成功就自动重启nginx服务,证书在到期前30天内才能更新,多余的更新会自动忽略掉的,每周更新还有一个好处是更新可能会失败,这样最多还有4次的尝试机会来保证不会过期.