5.服务器端测试
—5.1 clone到/var/www/html
git clone /home/git/repos/myblog.git /var/www/html
chown -R git:git /var/www/html/

—5.2 设置Git Hook
Windows建立一个文件post-receive,是的,无后缀文件。内容如下:
#!/bin/bash


#判断是不是远端仓库

IS_BARE=$(git rev-parse --is-bare-repository)
if [ -z "$IS_BARE" ]; then
echo >&2 "fatal: post-receive: IS_NOT_BARE"
exit 1
fi

unset GIT_DIR
DeployPath="/var/www/html/"

echo "==============================================="
cd $DeployPath
echo "deploying the myblog web"

#git stash

#git pull origin master

git fetch --all
git reset --hard origin/master


time=`date`
echo "web server pull at webserver at time: $time."
echo "================================================"
接着打开Git Bash,接下来我们通过命令将该文件传送到服务器端。
scp ./post-receive git@104.168.215.215:/home/git/repos/myblog.git/hooks/
然后输入步骤4.5设置的git服务器端的密码。注意git bash要在post-receive文件所在的目录运行。
—5.3 添加包依赖
yarn add hexo-deployer-git
添加包依赖。然后打开_config.yml文件,查找到depoly,然后改成下面的内容:
# Deployment
## Docs: https://hexo.io/docs/deployment.html
deploy:
type: git
repo: git@104.168.215.215:/home/git/repos/myblog.git
—5.4 测试
hexo g --deploy
然而这一步你很可能出现下图中的问题:
![]()
具体解决查看:git报错remote: error: cannot run hooks/post-receive: No such file or directory
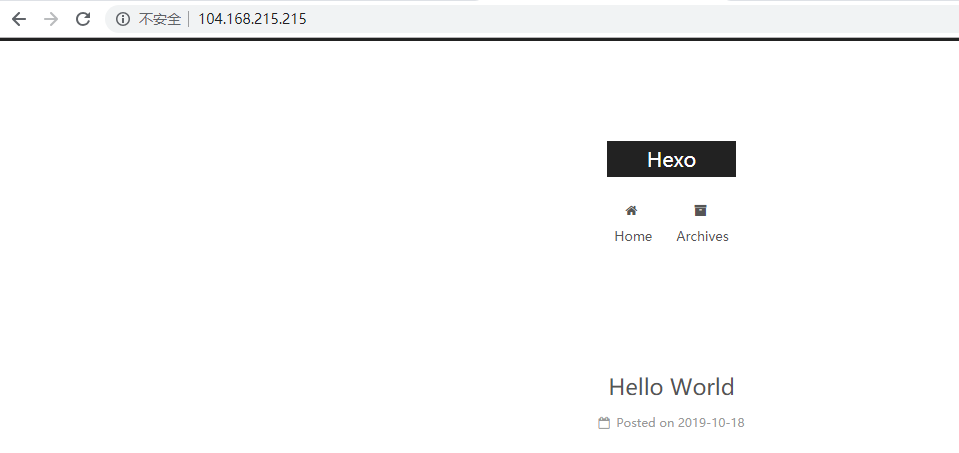
接着输入你服务器的IP地址即可查看。

6.编写一个博客
显然还没结束,个人博客没有写博客就不算结束。接下来我们介绍如何写出一个Hexo的博客。