http://www.the-nerd.be/2014/08/06/add-unity3d-in-a-native-ios-application/
The problem
For a project I need to implement an augmented reality feature inside a native iOS application. We chose to go with Unity3D and Vuforia to do the augmented reality bit, as it’s free and lots of people are saying it’s the best solution. The only problem when working with Unity3D is that the exported iOS project is not easy to implement in an existing project as we only need Unity3D for 2 views inside a project with some dozen other native UIViews. I started looking around on different blogs and fora and noticed there were a lot of people asking the same question. Everybody has different approaches, some worked, some didn’t. A lot of these solutions worked under Unity 3, but are broke in Unity 4. So with this blogpost I hope to help some people out who are having troubles under Unity 4+ and Xcode 5+. I’ve put the Xcode and Unity3D project on GitHub, so feel free to download it, copy and/or alter it to fit your needs! Hope it can save you some hours I’ve lost while trying to get it to work ![]()
tl;dr
Read it … bitch ![]()
The Unity3D part
Well … if you want to use Unity3D in your project you’ll first have to create the Unity3D part! Open up Unity3D and create a new project. I’ll call mine ‘NativeUnity’. When Unity3D creates a new project, you get an empty scene. Go to File > Save to save the scene. I’ll call it ‘scene1′. Go nuts and put some content in it so we can actually see something. 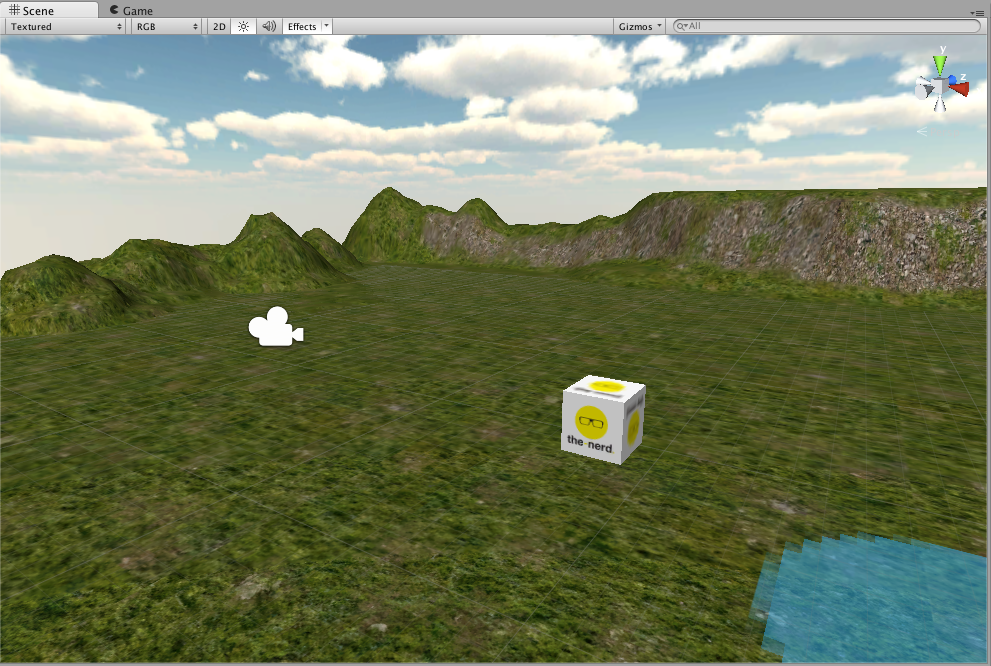 Ok, now let’s build this so it can run on an iOS device and we know for sure that everything works correctly. Go to File > Build Settings. Click on ‘Add Current’ to add the current scene to your build.
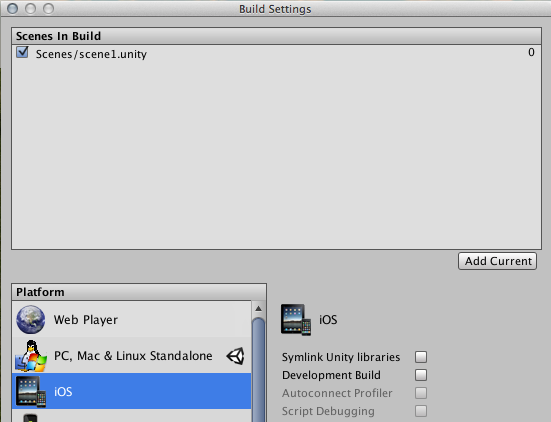
Next choose iOS as your platform and click on ‘Player Settings’ at the bottom of the dialog. This will open the ‘Inspector panel’ and let you set all the settings for the Xcode project. In my case I will change the following settings (but they can -and probably will- be different of yours).
- Default orientation : Landscape right
- Bundle identifier: be.thenerd.unityNative
- Target device: iPad
- Target iOS version: 7.0
Now click on ‘Build & Run’ in the Build Settings dialog. Unity will ask you where to put the Xcode project. I will put it in a folder called ‘ios-builds’ outside of my Unity project and call it ‘unity-native-ipad’. 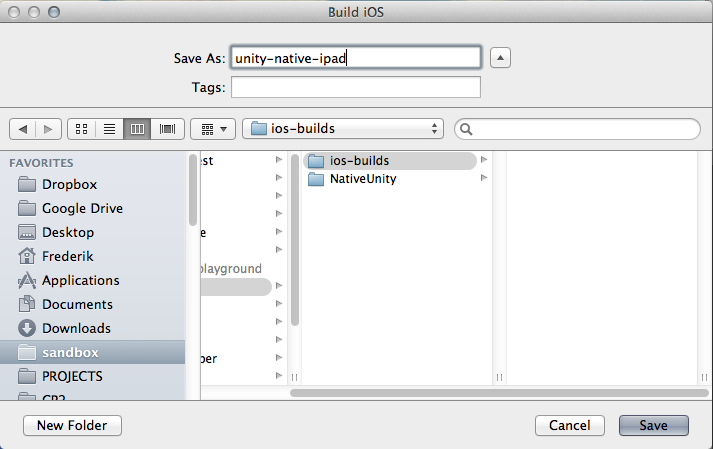 Click ‘Save’ and let Unity sprinkle its magic and create the Xcode project (this can take some time). If all goes well, your app will boot on your device and you should see the scene you’ve made.
 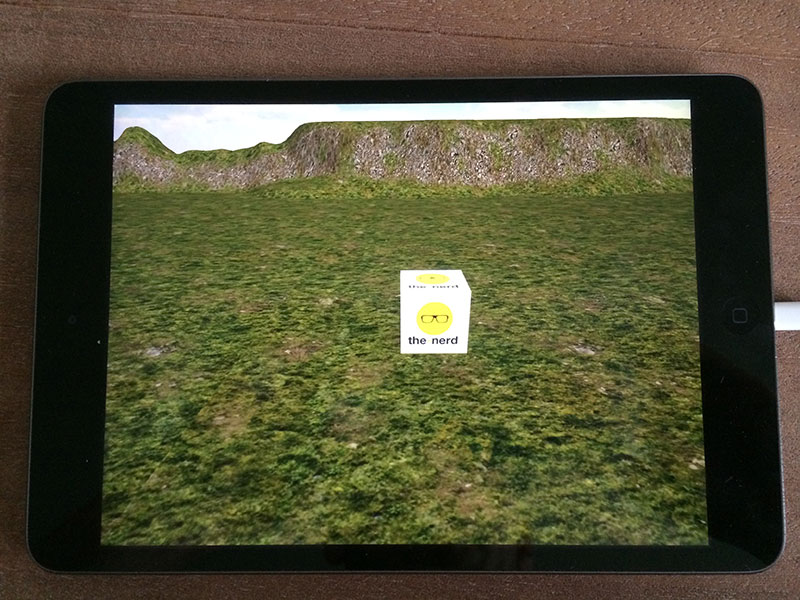 Ok … so that’s that, but how can we now use this view as a part of normal native app instead of a Unity app. First we’ll need to override the ‘UnityAppController’ class with our own version. To do this we need to create in the Assets folder of our Unity project a ‘Plugins’ folder and inside this folder add a ‘iOS’ folder. So your structure needs to look like this:
- Assets
- Plugins
- iOS
- Plugins
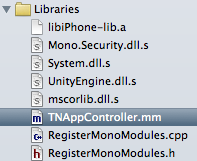
Make sure you name everything correct otherwise it will not work! Unity checks if these folders exists and copy all their contents to the Xcode project. You can read more about this if you are interested on this page at the ‘Automated plugin integration’ section. Now you need to create a file in the iOS folder. I’ll call mine TNAppController.mm, but you can call yours whatever you want it to be. Now do another build in Unity, and you should see the file appear in your Xcode project in the Libraries folder.
Now the important part: don’t edit the file in this Xcode project, because it will be overwritten every time you do a new Unity build! Instead go to Unity and double-click on the file (it will also open in Xcode). Now we can override Unity’s AppController class with the following code.
|
1
2
3
4
5
6
7
8
9
10
11
12
13
14
15
16
17
18
19
20
|
#import <UIKit/UIKit.h>
#import "UnityAppController.h"
#import "UI/UnityView.h"
#import "UI/UnityViewControllerBase.h"
@interface TNAppController : UnityAppController
- (void)createViewHierarchyImpl;
@end
@implementation TNAppController
- (void)createViewHierarchyImpl {
}
@end
IMPL_APP_CONTROLLER_SUBCLASS(TNAppController)
|
Especially the IMPL_APP_CONTROLLER_SUBCLASS bit is important, as this is the way to set a custom app controller! What happens is IMPL_APP_CONTROLLER_SUBCLASS is defined in UnityAppController.h and this will set our AppController as the one to be loaded! Now in the ‘createViewHierarchyImpl’ methode we can set our own view hierarchy. So for this example I’ll create a UINavigationController which has 3 view controllers.
- A hello view controller
- A unity view controller with our scene
- A goodbye view controller
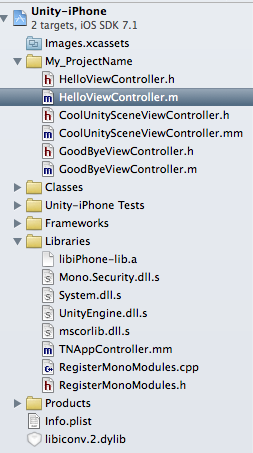
First we’ll need to create the different view controllers in our Unity Xcode project. So open that Xcode project. To keep the Unity code (which resides in the ‘Classes’) folder separated from our code I create a group called ‘My_Projectname’ (of course you can change this :)). In this folder I’ll create the 3 view controllers. Make sure to rename your CoolUnitySceneViewController.m file to CoolUnitySceneViewController.mm! This is because we will need to run some Objective-C++ code in that file!
- HelloViewController (subclass UIViewController)
- CoolUnitySceneViewController (subclass UIViewController)
- GoodByeViewController (subclass UIViewController)
So your structure should look something like this
. 
In HelloViewController.m we’ll add a button to go to the next view controller in the viewDidLoad: method.
|
1
2
3
4
5
6
7
8
9
10
11
12
13
14
15
16
17
18
|
- (void)viewDidLoad {
[super viewDidLoad];
// Do any additional setup after loading the view.
self.view.backgroundColor = [UIColor whiteColor];
UIButton *btnNext = [UIButton buttonWithType:UIButtonTypeSystem];
[btnNext setTitle:@"Go to my cool scene" forState:UIControlStateNormal];
btnNext.frame = CGRectMake(0, 0, 400, 44);
btnNext.center = CGPointMake(self.view.bounds.size.height / 2, self.view.bounds.size.width / 2);
[self.view addSubview:btnNext];
[btnNext addTarget:self action:@selector(gotoUnityScene:) forControlEvents:UIControlEventTouchUpInside];
}
#pragma mark - Private methods
- (void)gotoUnityScene:(id)sender {
NSLog(@"[HelloVC] Go to unity scene");
}
|
Now go to the TNAppController.mm file in the same project (so the Unity project). Because of the code hinting it’s easier to write the code here at this point and then just copy it over to the actual file in the Unity plugins folder (but don’t build in the meanwhile or it will be overwritten!). In the ‘createViewHierarchyImpl’ method we’ll first set the ‘_rootController’ property to an instance of UIViewController and set the ‘_rootView’ property to an empty view. Then set the _rootView property as the view of the _rootController.
|
1
2
3
4
5
6
7
|
- (void)createViewHierarchyImpl {
_rootController = [[UIViewController alloc] init];
_rootView = [[UIView alloc] initWithFrame:[[UIScreen mainScreen] bounds]];
_rootController.view = _rootView;
}
|
Now we can create the HelloViewController (don’t forget to import the header file at the top).
|
1
|
HelloViewController *helloVC = [[HelloViewController alloc] initWithNibName:nil bundle:nil];
|
We want to push this onto an UINavigationController object, but we first need to create it. Create a private property for the navigation controller .
|
1
2
3
4
5
6
7
|
@interface TNAppController : UnityAppController
@property (nonatomic, strong) UINavigationController *navController;
- (void)createViewHierarchyImpl;
@end
|
Let’s create the navigation controller and set the hello view controller as the root view controller. Then we can add the navigation controller’s view as a subview of the _rootView.
|
1
2
|
self.navController = [[UINavigationController alloc] initWithRootViewController:helloVC];
[_rootView addSubview:self.navController.view];
|
Ok, that’s it. Now copy the contents of this file to the TNAppController file in your Unity project. Now go back to your Unity project and hit ⌘+b to build again. The TNAppController file will now be overwritten, but the files in our ‘My_ProjectName’ will be untouched! If all goes well, you should see the following. 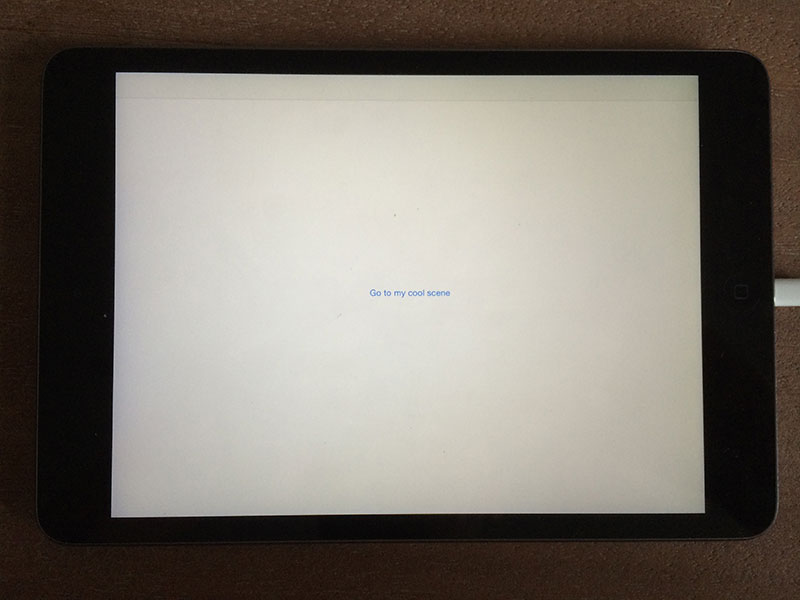 Now the part you have been waiting for (I guess …), let’s hook up a view controller which loads the Unity3D scene. Go to your CoolUnitySceneViewController.h file and import the following headers.
|
1
2
3
|
#import "UI/UnityView.h"
#import "UI/UnityViewControllerBase.h"
#include "UnityAppController+ViewHandling.h"
|
Now go to the implementation file (CoolUnitySceneViewController.mm) and locate the viewDidLoad: method and add this bit of code.
|
1
2
3
4
5
6
7
8
9
10
11
12
13
14
15
16
17
18
19
20
21
22
|
- (void)viewDidLoad {
[super viewDidLoad];
// Do any additional setup after loading the view.
[self.view addSubview:GetAppController().unityView];
GetAppController().unityView.frame = self.view.frame;
UIButton *btnNext = [UIButton buttonWithType:UIButtonTypeSystem];
[btnNext setTitle:@"Go to last scene" forState:UIControlStateNormal];
btnNext.frame = CGRectMake(0, 0, 400, 44);
btnNext.center = CGPointMake(self.view.bounds.size.height / 2, self.view.bounds.size.width / 2);
[self.view addSubview:btnNext];
[btnNext addTarget:self action:@selector(goToLastScene:) forControlEvents:UIControlEventTouchUpInside];
}
#pragma mark - Private methods
- (void)goToLastScene:(id)sender {
NSLog(@"[CoolUnitySceneVC] Go to the last scene");
}
|
That’s it … we grab the unityView property of the AppController (which we get via the utility method ‘GetAppController’ defined in UnityAppController.h and add it to our view. Then we add a button which lays on top of the unity view. When we click on this button we execute the goToLastScene method and there we will load the last view controller (don’t forget to import the view controller at the top of the file).
|
1
2
3
4
5
6
7
|
- (void)goToLastScene:(id)sender {
NSLog(@"[CoolUnitySceneVC] Go to the last scene");
GoodByeViewController *goodByeVC = [[GoodByeViewController alloc] initWithNibName:nil bundle:nil];
[self.navigationController pushViewController:goodByeVC animated:YES];
}
|
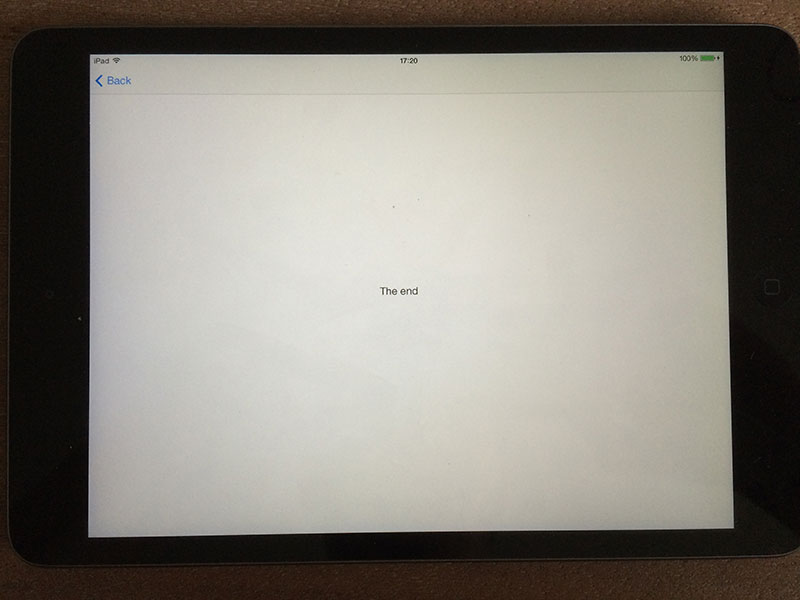
In the viewDidLoad: method of GoodByeViewController you can now add the following code.
|
1
2
3
4
5
6
7
8
9
10
11
12
|
- (void)viewDidLoad {
[super viewDidLoad];
// Do any additional setup after loading the view.
self.view.backgroundColor = [UIColor whiteColor];
UILabel *lblTheEnd = [[UILabel alloc] initWithFrame:CGRectMake(0, 0, 400, 44)];
lblTheEnd.text = @"The end";
lblTheEnd.center = CGPointMake(self.view.bounds.size.height / 2, self.view.bounds.size.width / 2);
[self.view addSubview:lblTheEnd];
}
|
Now run the app again and you should see the following screens if you click on the buttons. 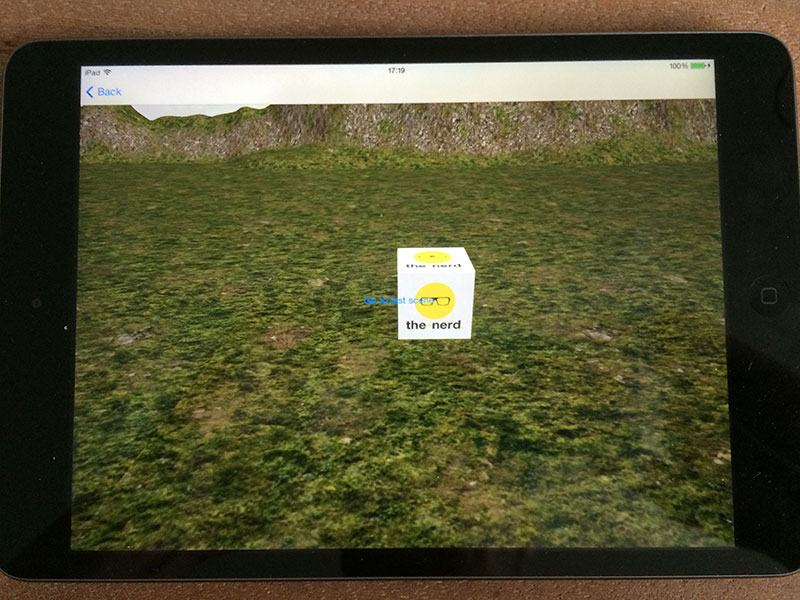
 I hope this will help some of you out! If you have any remarks, please put them in the comments! I’ve only started working with Unity since yesterday, so it could be there is an easier method, but I kinda like this one already!
I’ve put all the code on GitHub, so you can check out the project. For the iPhone project I only uploaded the files I’ve mentioned above, because otherwise the folder was 450MB big!
Reference material
http://forum.unity3d.com/threads/unity-appcontroller-subclassing.191971/
http://forum.unity3d.com/threads/unity-4-5-post-process-build-player-iphone_view-m.248400/
Very helpful. Any luck passing messaging in or out of unity?
yeah for messaging from unity to objc, use a wrapper class. to message from objc to unity you can use my other blog post (http://blog.the-nerd.be/2014/08/call-methods-on-unity3d-straight-from-your-objective-c-code/)
This don´t work in iOS8….
Hm it should work as I just did it this week. I’ll try to make a video tutorial this weekend showing the different steps!
I think that the problem is “bounds”, in this line:
_rootView = [[UIView alloc] initWithFrame:[[UIScreen mainScreen] bounds]];
hi, Frederik,
so great to see this blog, awesome. I have two questions, first, how to add gesture to the unity view in native app for rotating the 3D model? second, if I have several 3d models, each one is a scene in unity, How to import them together into one native app and load them respectively in native app?
Thanks in advance,
Jack
Great Job !!
thanks so much!!!
R.
Man you kick butt. I’ve found solution of this topic for over a week. As you said, ‘A lot of these solutions worked under Unity 3, but are broke in Unity 4′. Today, Problem ends here.
I tested with Unity 4.5.5f1, XCode 6.1 (6A1052d), iOS 8 simulator Version 8.1 (550.3). It works perfectly.
Additionally, interface builder works OK. If you drop everything but unity view in CoolUnitySceneViewController, you can resize the frame of the view of that controller, add to any other view as subview. It reacts well.
Hello, thanks for the tutorial.
Now I have a little problem. I doesn’t know how to switch from NavViewController to ViewController.
The project I have needs the VuforiaAR System, I just follow your tutorial and it works with Vuforia and your example. I add my original project and it have ViewController instead of NavViewController. I just doesn’t know where to make this switch and add my project instead of your NavView.
I hope you can helpme a little.
Sorry if my english is so rude.
Hello great tutorial very useful!
Is there any way to remove the top navigation bar (the one with the back button)?
Thanks!
thank for tutorial
i try your tutorial but i can’t.
this tutorial is so hard to me. but i should do this.
can you send me source code??
i just need your help
hi, thanks for the tutorial, manage to get it work, I’m getting close to what I want but I’m stuck at getting the IOS View to only appear when I tap on a button in Unity..so its more like the other way round. Instead of having the IOS View shown at first, I want Unity View to show first, then hide Unity when I tap on button to show IOS View..
hi, Frederik,
Thank you for nice stuff. I have some problems.
– Exported your unity project for ios
– Copied and pasted your other files which are HelloViewController etc.
– and tried to run in xcode
But in TYAppController.mm file and line of
_rootController = [[UnityDefaultViewController alloc] init];
use of undeclared identifier “UnityDefaultViewController” exception
Can you help me please ?
I’ve sent the source files to your email address via wetransfer
Hi frederik,
Thank you for your quick response. I will try with your source at night (about 5 hours later ). I hope that help to me.
Thank you my friend.
Thank you for tutorial,
But also I have some problems like
– Use of undeclared identifier ‘UnityDefaultViewController’
– CoolUnitySceneViewController.h:12:10: ‘UnityAppController+ViewHandling.h’ file not found
I’m not unity developer, so can you please share the source code, or help to solve problem ?
Thank you
hi, Frederik
thank for tutorial
i have one question, can i pass an array of string from HelloViewController.m to ‘unity view’ ?