SpringBoot中使用UEditor基本配置(图文详解)
最近因工作需要,在自己研究百度的富文本编辑器UEditor,这个过程中也遇到很多问题,这里写一下我的心得和总结,希望帮到需要帮助的人。正文如下:
第一步:创建SpringBoot项目
首先我使用的是IDEA 2017(不得不说IDEA创建Spring项目确实要方便一些),新建一个SpringBoot项目:
最上角 File -> New -> Project -> Spring Initializr
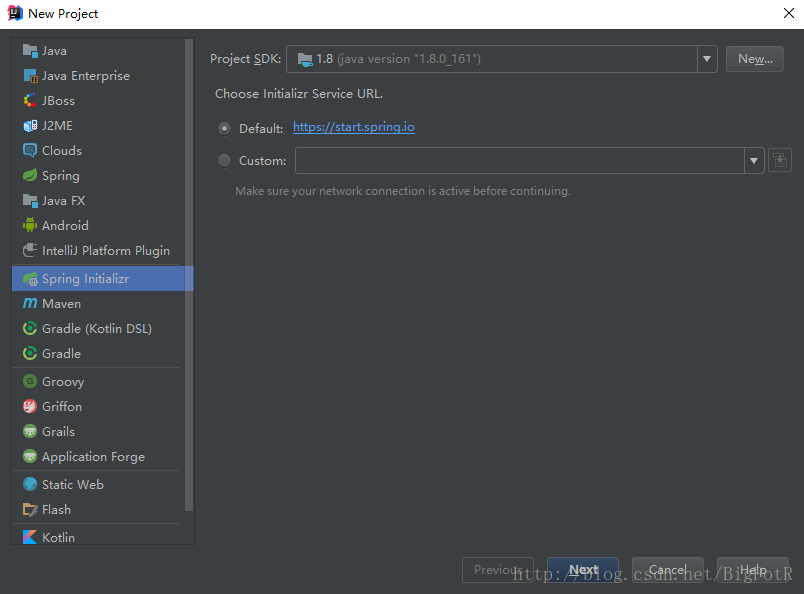
直接下一步
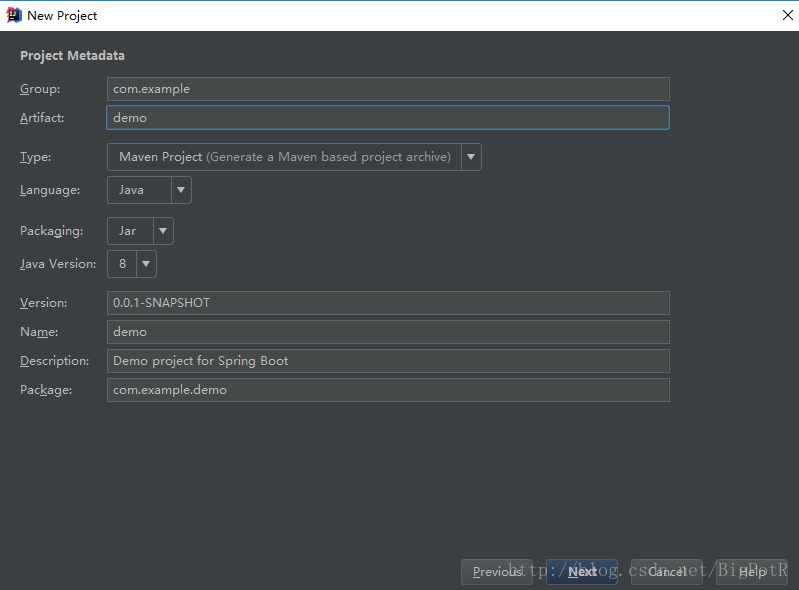
这些根据需要自行配置即可(这里我使用的是默认配置)。
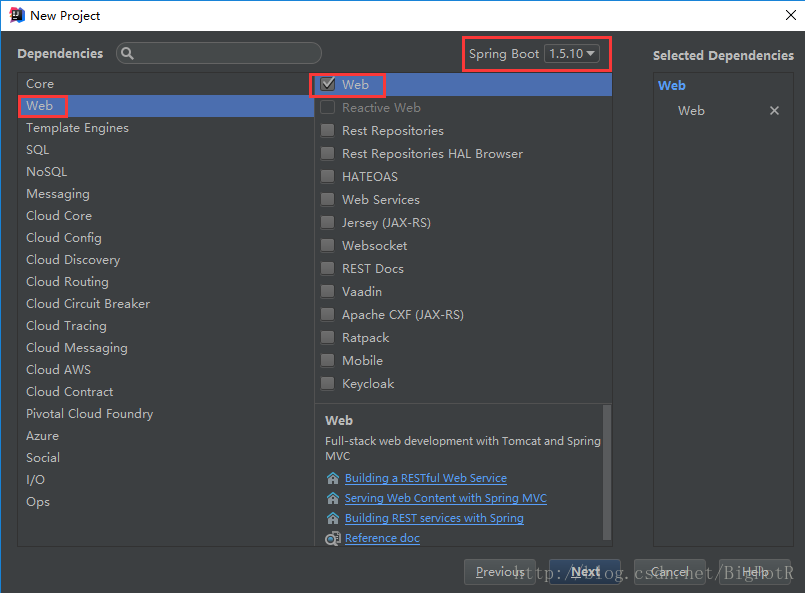
这里我选择的是SpringBoot 1.5.10版本,勾选上Web,然后下一步选择项目保存的目录,这样就创建好了。
创建好的目录结构如下:

第二步:下载UEditor
下载地址:http://ueditor.baidu.com/website/download.html

解压后的文件结构如下:
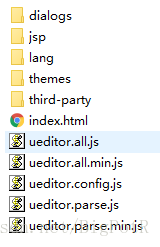
将除jsp文件夹以外的文件都放入项目src/main/resources/static目录下

在项目根目录下创建一个lib文件夹,用于导入UEditor的jar包
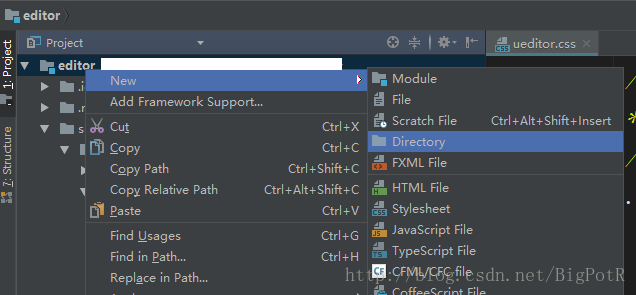
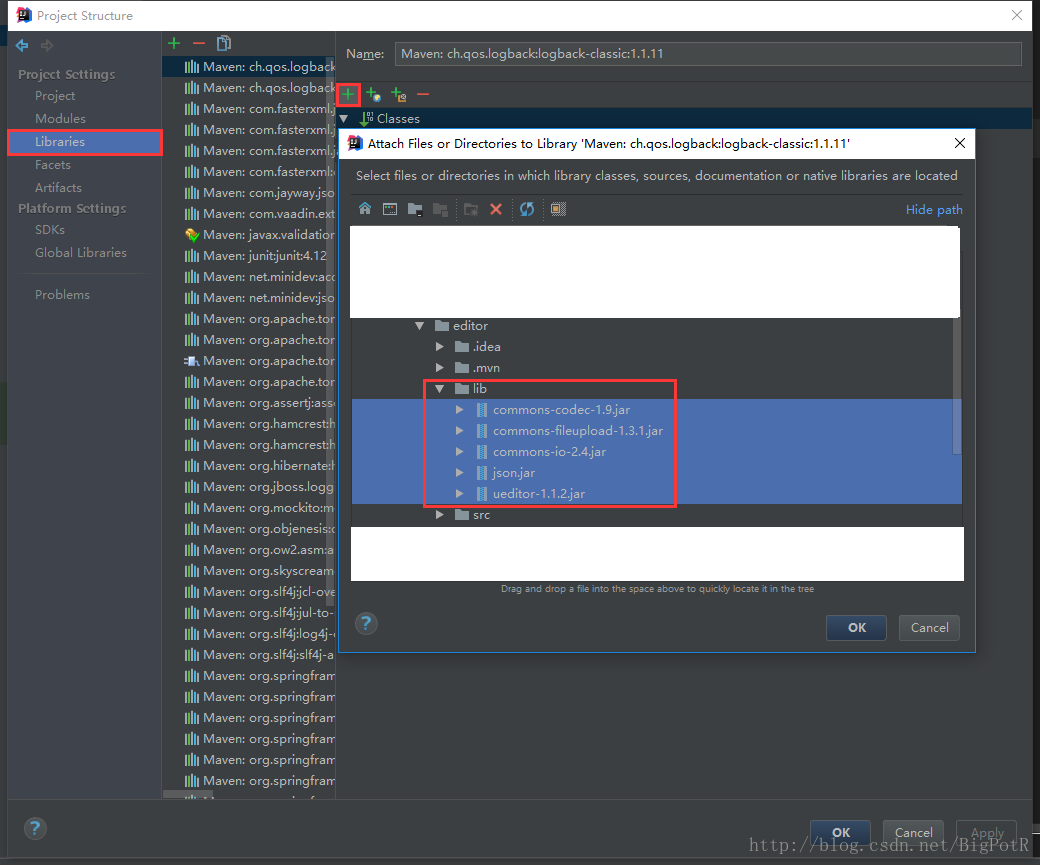
将UEdito解压目录下的jsp/lib文件夹中的jar考入lib目录中,然后将jar包加入项目中
最上角 File -> Project Structrue -> Libraries
完成之后启动Application,访问localhost:8080,效果如下
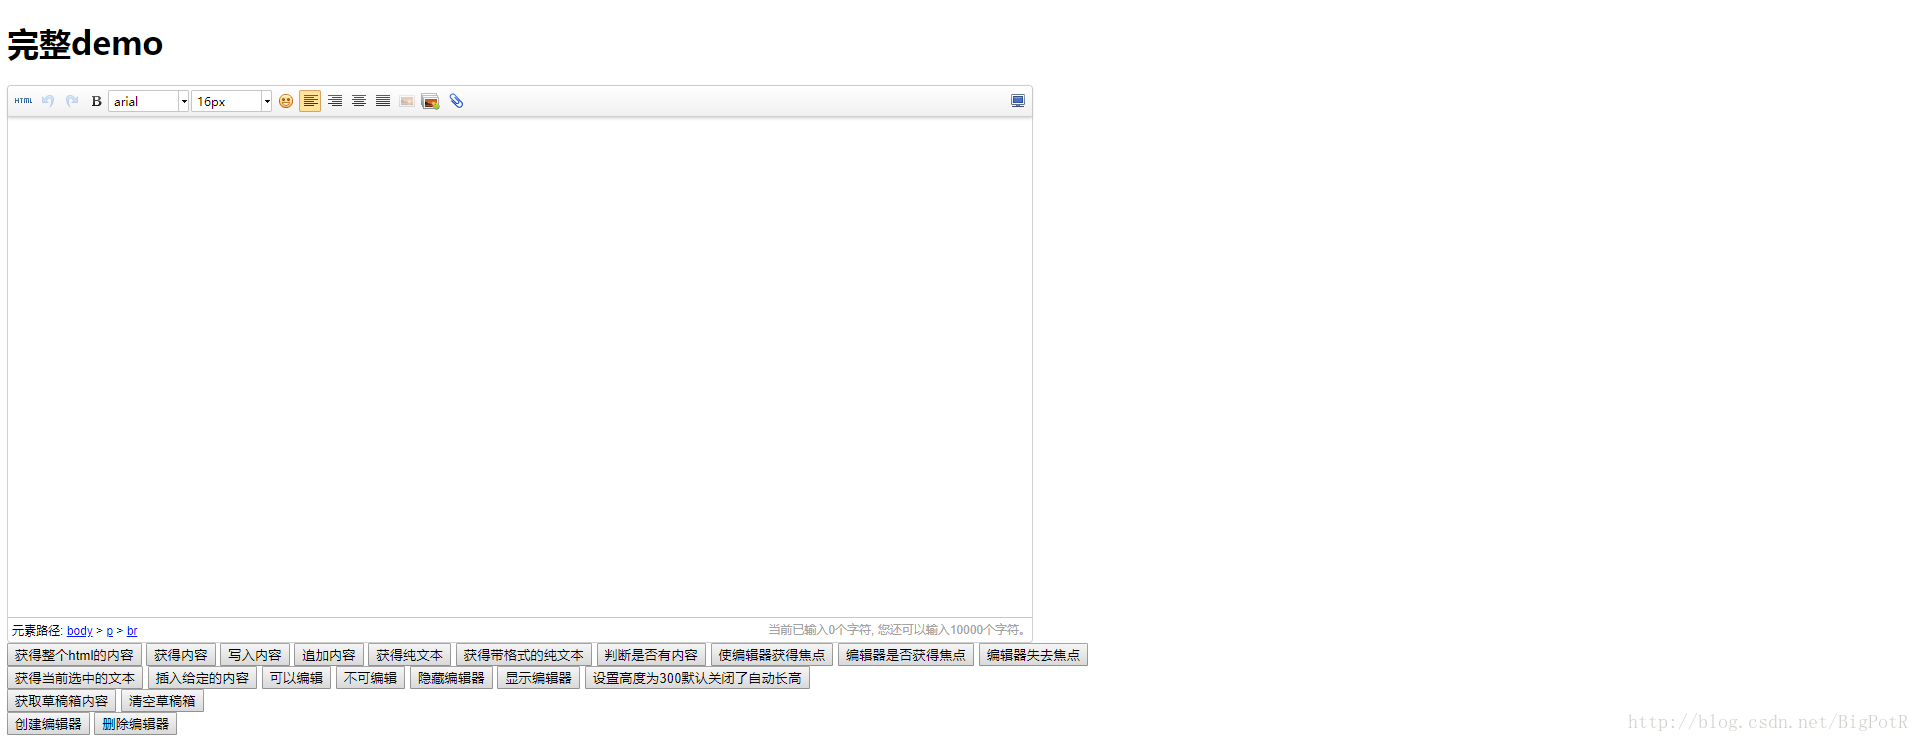
到这里UEditor的导入就完成了。
第三步:UEditor的基本配置
虽然现在有了初步的效果,但是还是不能上传图片,现在进行后端配置
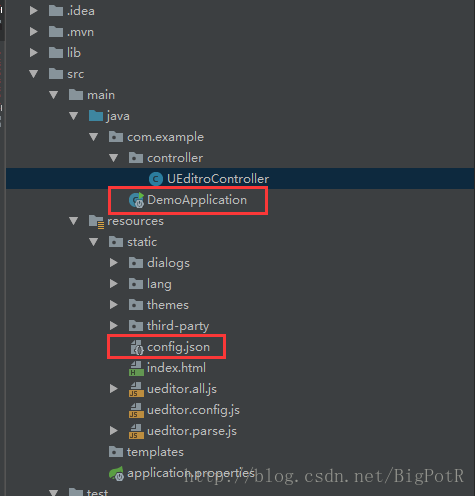
之前的jsp文件夹下面除了jar包外还有两个文件,一个是controller.jsp和config.json,controller.jsp其实就是为了获取config.js中的配置,所以为了方便管理以及规范,我们新建一个UEditorController将controller.jsp的内容拷贝进去,然后将config.json放到resources/static目录下,然后将Application文件移到controller的同级目录下,不然会扫描不到controller
UEditorController.java内容如下
-
package com.example.controller;
-
import com.baidu.ueditor.ActionEnter;
-
import org.json.JSONException;
-
import org.springframework.beans.factory.annotation.Autowired;
-
import org.springframework.web.bind.annotation.RequestMapping;
-
import org.springframework.web.bind.annotation.RestController;
-
import javax.servlet.http.HttpServletRequest;
-
import javax.servlet.http.HttpServletResponse;
-
import java.io.IOException;
-
import java.io.PrintWriter;
-
-
-
public class UEditroController {
-
-
private HttpServletRequest request;
-
-
public void getUEditorConfig(HttpServletResponse response){
-
String rootPath = "src/main/resources/static";
-
try {
-
String exec = new ActionEnter(request, rootPath).exec();
-
PrintWriter writer = response.getWriter();
-
writer.write(exec);
-
writer.flush();
-
writer.close();
-
} catch (IOException | JSONException e) {
-
e.printStackTrace();
-
}
-
}
-
}
因为controller.jsp中的
String rootPath = application.getRealPath( "/" )
没能获取到正确的路径,所以这里我手动更改了路径,这个路径就是config.json的位置
然后修改resource/static目录下的ueditor.config.js文件
33行左右的serverUrl的路径改为之前UEditorController的访问路径,我这里的路径是"/ueditorConfig",serverUrl就是服务器统一请求接口路径

以上都更改完之后运行Application访问http://localhost:8080/ueditorConfig?action=config
如果出现类似以下内容则表示读取配置成功

该内容即是config.json中的内容
SpringBoot中使用UEditor的基本配置到这里就完成了,但是还是不能上传图片,之后会讲解一下UEditor上传图片的配置。