准备条件 : Ubuntu服务器 和 Docker 和docker-compose
使用 cd /usr/local进入该目录下,使用 mkdir docker创建docker目录然后进入。
使用vi docker compose.yml创建nginx
version 版本要和docker 版本匹配
version: '3.7'
services:
  nginx:
    restart: always
    image: nginx
    container_name: nginx
    ports:
      - 81:80
    volumes:
      - ./conf/nginx.conf:/etc/nginx/nginx.conf
      - ./wwwroot:/usr/share/nginx/wwwroot

然后使用mkdir conf创建conf目录并进入。
使用vi nginx.conf创建nginx.conf
worker_processes  1;

events {
    worker_connections  1024;
}

http {
    include       mime.types;
    default_type  application/octet-stream;

    sendfile        on;
    keepalive_timeout  65;
    client_header_buffer_size 2k;
    server {
        listen       80;
        server_name  192.168.227.129;
        location / {
            root   /usr/share/nginx/wwwroot/html80;
            index  index.html index.htm;
        }
    }
}

然后退回到上级目录,使用docker-compose up -d以守护态开启nginx.
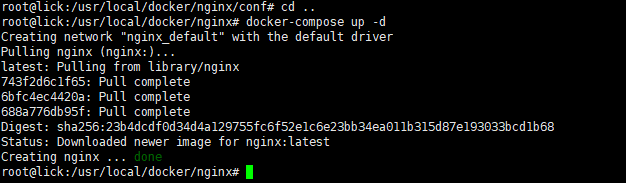
使用docker ps查看

进入wwwroot目录,使用mkdir html80创建html80目录,进入该目录,
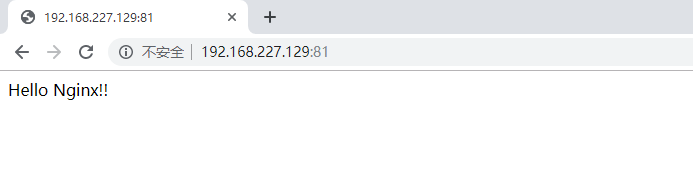
使用vi index.html创建index.html页面,写入内容 :Hello Nginx!!