前言
上一章已经简单的介绍了ocelot的使用了,但是网关暴露的接口如果什么人都能访问的话安全性就太低啦。所以我们需要去鉴权和认证。这里我们使用identityServer4给我们的网关来鉴权认证。
创建Identity服务
我们创建一个identity的服务来用于令牌的发放和鉴权。下图是我的项目结构。
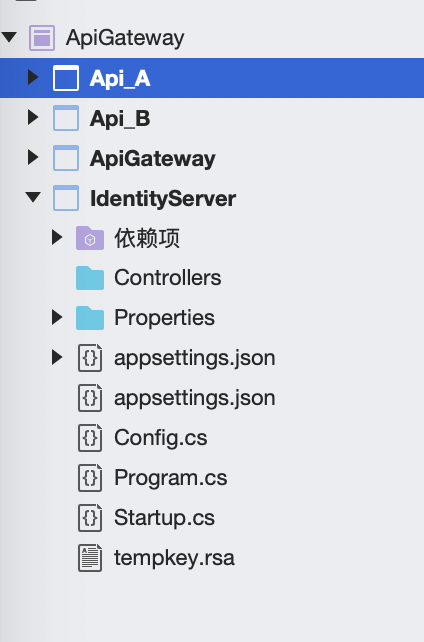
Api_Gatewat端口:5000
Api_A端口:5001
Api_B端口:5002
IdentityServer端口:5003
通过nuget添加IdentityServer4的包,也可以通过程序包管理控制台执行以下命令Install-Package IdentityServer4。
添加一个Congif文件。
using System.Collections.Generic;
using IdentityModel;
using IdentityServer4;
using IdentityServer4.Models;

namespace IdentityServer
{
    public static class Config
    {
        public static IEnumerable<IdentityResource> GetIdentityResourceResources()
        {
            return new List<IdentityResource>
            {
                new IdentityResources.OpenId(), //必须要添加,否则报无效的scope错误
            };
        }
        // scopes define the API resources in your system
        public static IEnumerable<ApiResource> GetApiResources()
        {
            //可访问的API资源(资源名,资源描述)
            return new List<ApiResource>
            {
                new ApiResource("Api_A", "Api_A"),
                new ApiResource("Api_B", "Api_B")
            };
        }

        public static IEnumerable<Client> GetClients()
        {
            return new List<Client>
            {
                new Client
                {
                    ClientId = "client_a", //访问客户端Id,必须唯一
                    //使用客户端授权模式,客户端只需要clientid和secrets就可以访问对应的api资源。
                    AllowedGrantTypes = GrantTypes.ClientCredentials,
                    ClientSecrets =
                    {
                        new Secret("secret".Sha256())
                    },
                    AllowedScopes = { "Api_A",IdentityServerConstants.StandardScopes.OpenId,IdentityServerConstants.StandardScopes.Profile }
                },
                new  Client
                {
                    ClientId = "client_b",
                    ClientSecrets = new [] { new Secret("secret".Sha256()) },
                    AllowedGrantTypes = GrantTypes.ClientCredentials,
                    AllowedScopes = { "Api_B",IdentityServerConstants.StandardScopes.OpenId,IdentityServerConstants.StandardScopes.Profile }
                }
            };
        }
    }
}
添加两个API资源,并且添加两个客户端分别去访问不同资源。
在 Startup 中的 ConfigureServices 中配置IdentityServer服务。
public void ConfigureServices(IServiceCollection services)
{
    services.AddIdentityServer()
        .AddDeveloperSigningCredential()
        .AddInMemoryApiResources(Config.GetApiResources())
        .AddInMemoryClients(Config.GetClients());
}
在 Configure 中把IdentityServer放入http管道中。
public void Configure(IApplicationBuilder app, IWebHostEnvironment env)
{
    if (env.IsDevelopment())
    {
        app.UseDeveloperExceptionPage();
    }
    app.UseIdentityServer();
}
为ocelot集成Identity
通过nuget添加IdentityServer4.AccessTokenValidation的包,也可以通过程序包管理控制台执行以下命令 Install-Package IdentityServer4.AccessTokenValidation
IdentityServer4.AccessTokenValidation - 用于验证IdentityServer4中的JWT和引用令牌
在 Startup 的 ConfigureServices 中分别注册两个认证方案 Configure 中配置IdentityServer服务。
public void ConfigureServices(IServiceCollection services)
{

    services.AddAuthentication()
            .AddJwtBearer("Api_A", i =>
            {
                i.Audience = "Api_A";
                i.Authority = "http://localhost:5003";
                i.RequireHttpsMetadata = false;
            }).AddJwtBearer("Api_B", y =>
            {
                y.Audience = "Api_B";
                y.Authority = "http://localhost:5003";
                y.RequireHttpsMetadata = false;
            });
    services.AddOcelot(new ConfigurationBuilder()
            .AddJsonFile("configuration.json")
            .Build());
}

public void Configure(IApplicationBuilder app, IWebHostEnvironment env)
{
    if (env.IsDevelopment())
    {
        app.UseDeveloperExceptionPage();
    }
    app.UseOcelot();
    app.UseAuthorization();
}
并修改ocelot配置文件,在Routes中添加授权信息
{
  "ReRoutes": [
    {
      "UpstreamPathTemplate": "/Api_A/{controller}/{action}",
      "DownstreamPathTemplate": "/api/{controller}/{action}",
      "UpstreamHttpMethod": [ "GET", "POST", "DELETE", "PUT" ],
      "DownstreamScheme": "http",
      "DownstreamHostAndPorts": [
        {
          "Host": "localhost",
          "Port": 5001
        }

      ],
      "RateLimitOptions": {
        "ClientWhitelist": [ "127.0.0.1" ],
        "EnableRateLimiting": true,
        "Period": "1m",
        "PeriodTimespan": 30,
        "Limit": 5
      },
      "FileCacheOptions": {
        "TtlSeconds": 5,
        "Region": "time"
      },
      "UpstreamHeaderTransform": {
        "demo": "a,b"
      },
      "DownstreamHeaderTransform": {
        "demo": "xxxxxxx",
        "Location": "{DownstreamBaseUrl},{BaseUrl}"
      },
      //授权信息
      "AuthenticationOptions": {
        "AuthenticationProviderKey": "Api_A",
        "AllowedScopes": []
      }
    },
    {
      "UpstreamPathTemplate": "/Api_B/{controller}/{action}",
      "DownstreamPathTemplate": "/api/{controller}/{action}",
      "UpstreamHttpMethod": [ "GET", "POST", "DELETE", "PUT" ],
      "DownstreamScheme": "http",
      "DownstreamHostAndPorts": [
        {
          "Host": "localhost",
          "Port": 5002
        }

      ],
      //授权信息
      "AuthenticationOptions": {
        "AuthenticationProviderKey": "Api_B",
        "AllowedScopes": []
      }
    }
  ],
  "QoSOptions": {
    "ExceptionsAllowedBeforeBreaking": 3,
    "DurationOfBreak": 20,
    "TimeoutValue": 5000
  },
  "GlobalConfiguration": {
    "RateLimitOptions": {
      "DisableRateLimitHeaders": false,
      "QuotaExceededMessage": "接口限流!",
      "HttpStatusCode": 200,
      "ClientIdHeader": "ClientId"
    }
  }
}
Ocelot会去检查ReRoutes是否配置了AuthenticationOptions节点。如果有会根据配置的认证方案进行身份认证。如果没有则不进行身份认证。
AuthenticationProviderKey 是刚才注册的认证方案。
AllowedScopes 是 AllowedScopes中配置的授权访问范围。
演示效果
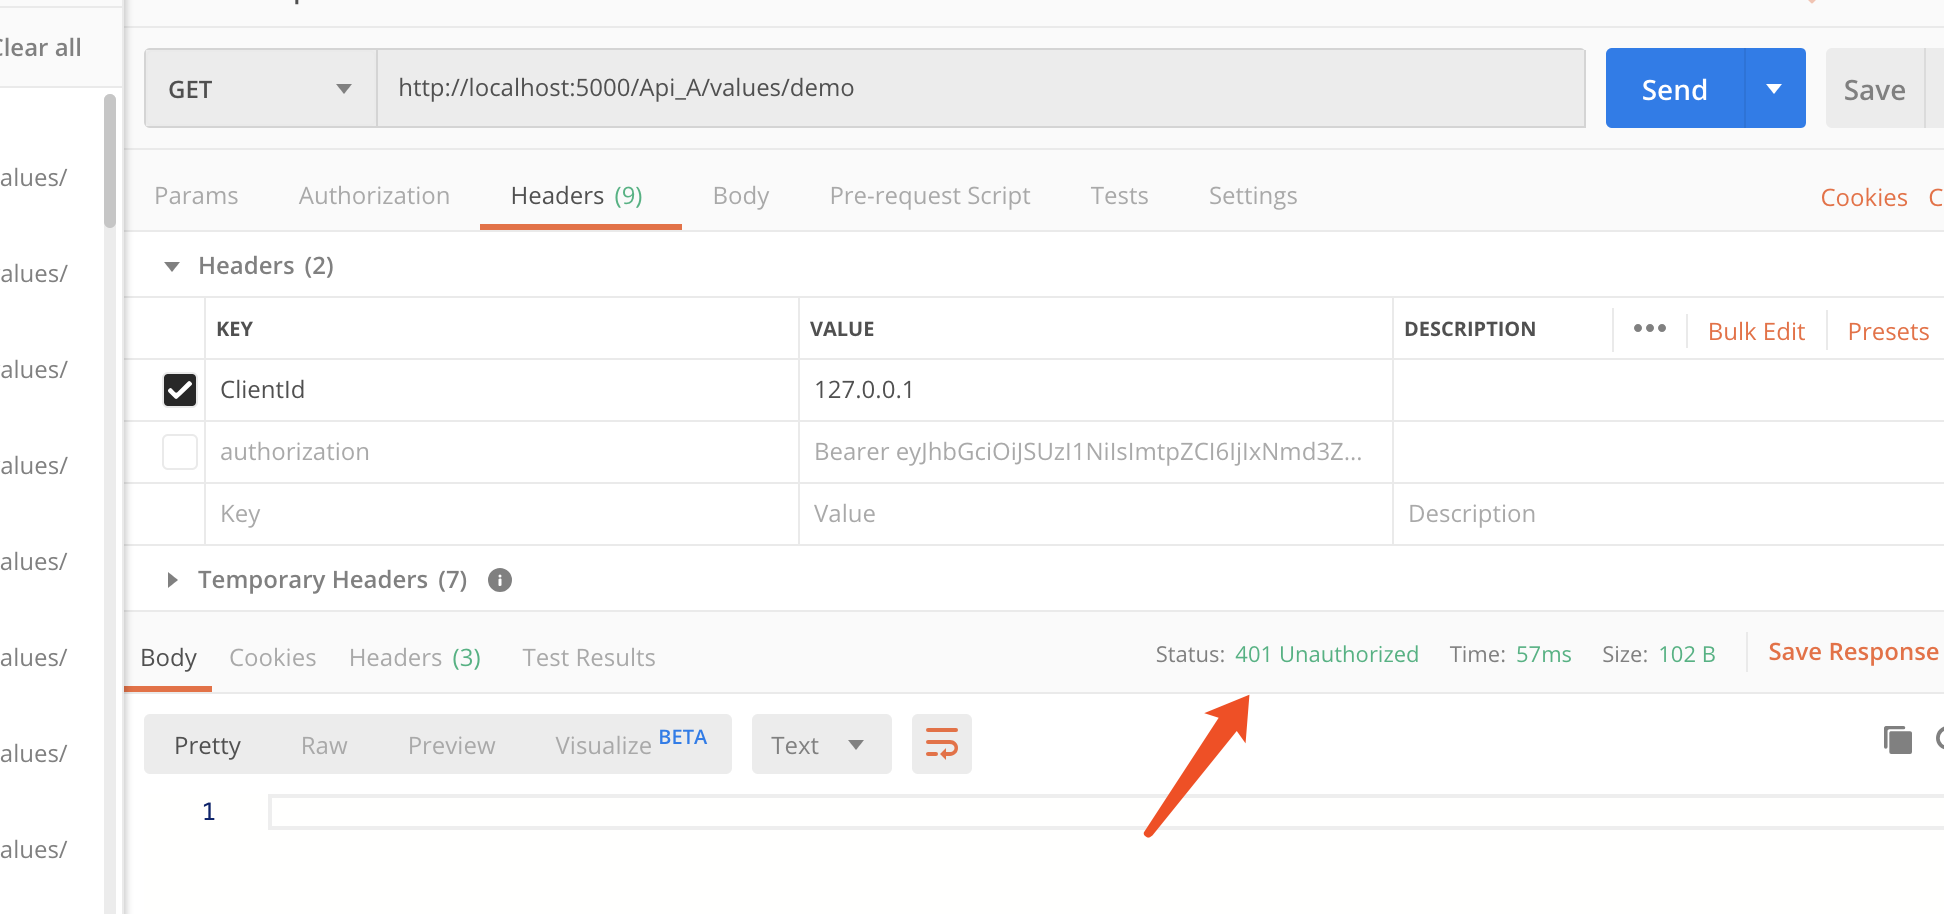
我们为api_a和api_b分别注册了认证方案。如果我们不申请token是会401没有权限访问。
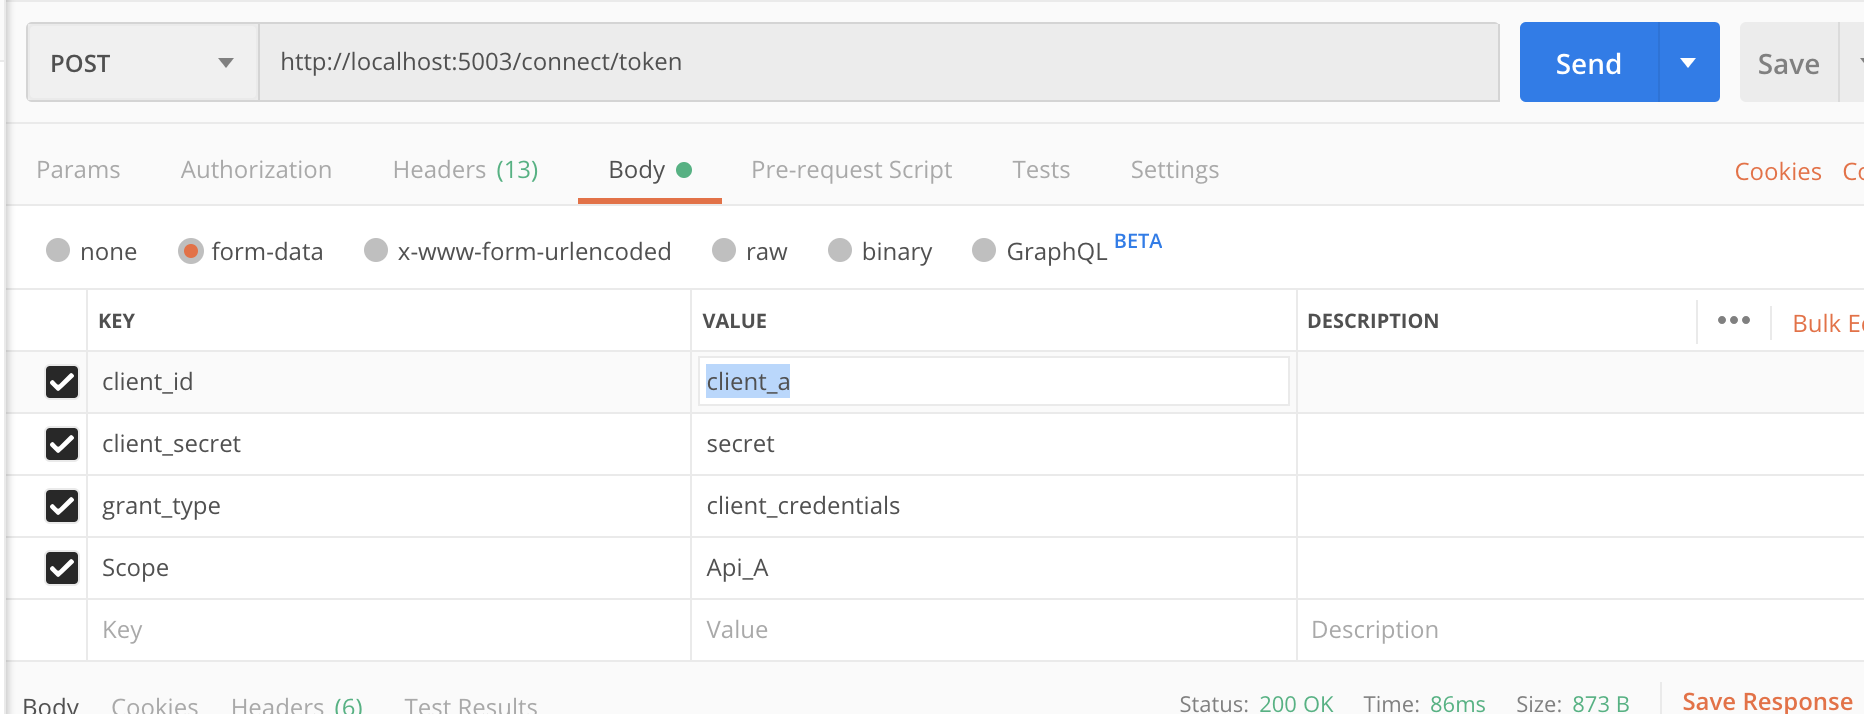
我们通过identityServer申请一个的token,并用它访问api_a和api_b。
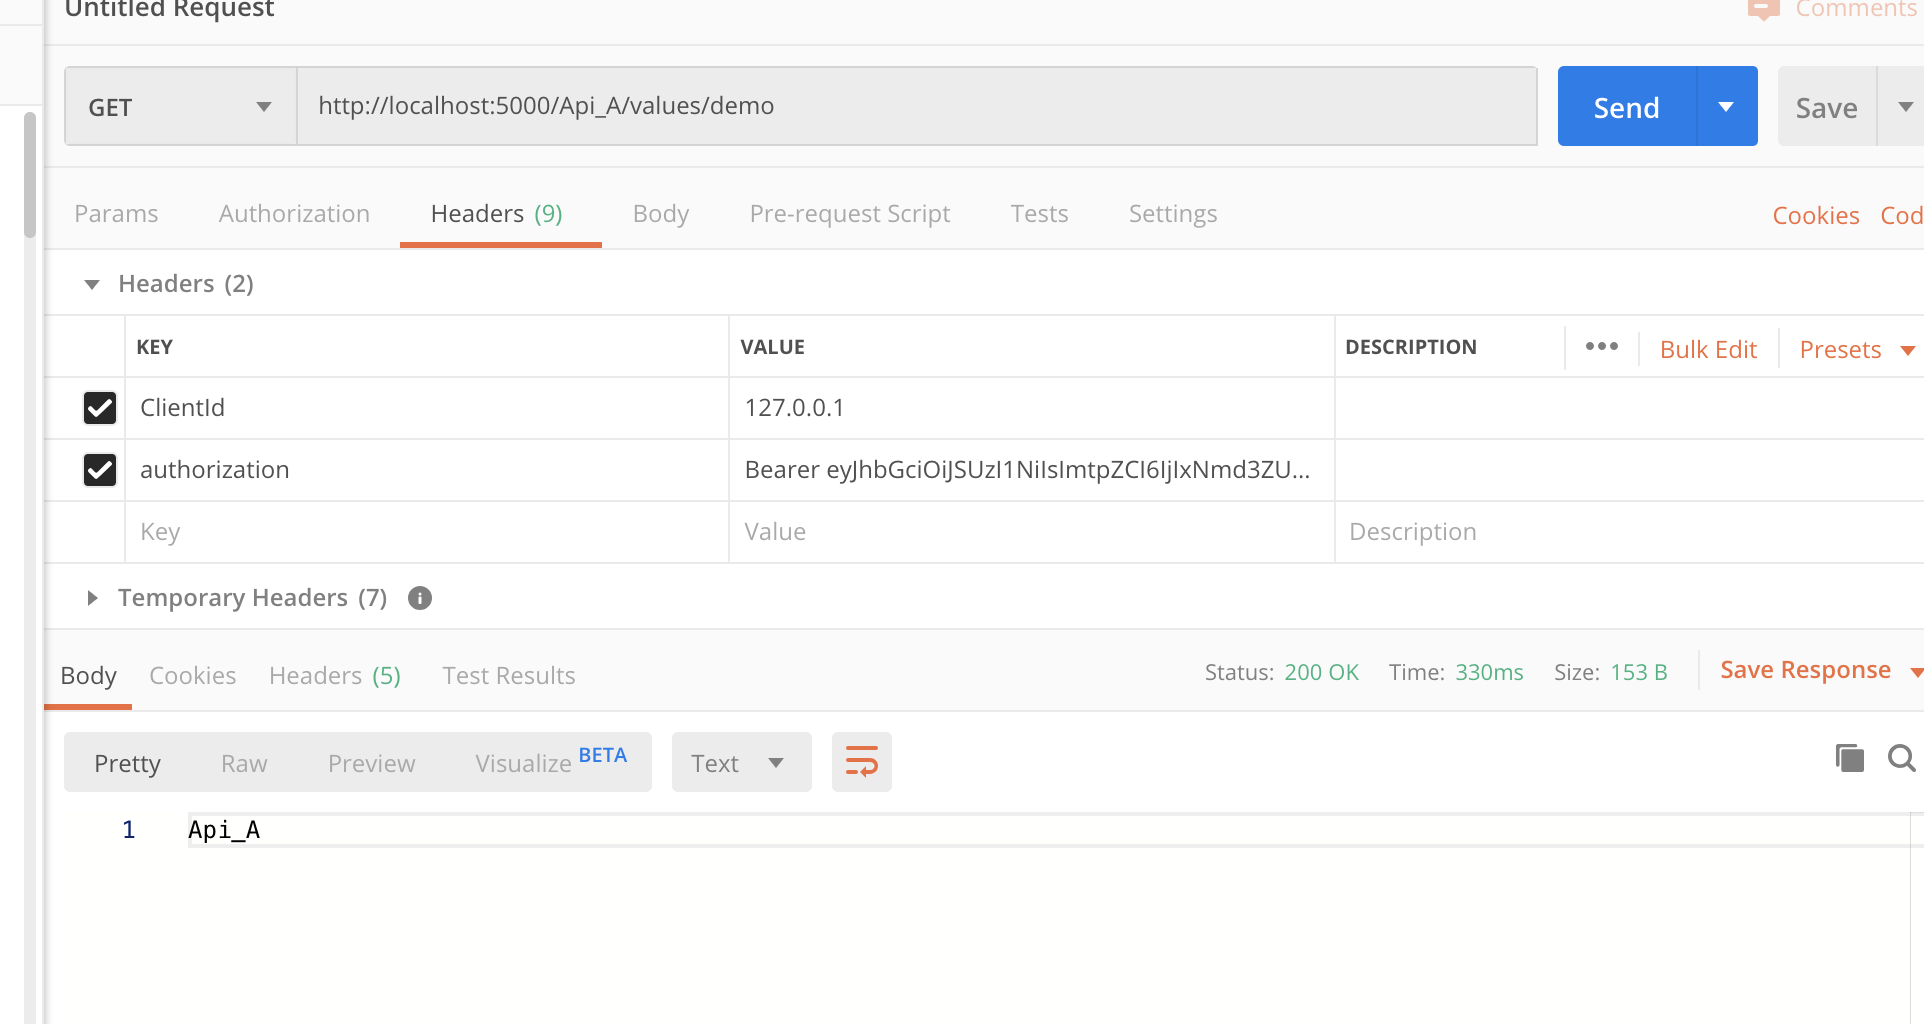
可以看到我们申请的token是可以访问api_a的,但是不能访问api_b,因为client_a这个客户端只有访问api_a的权利。如果想访问api_b使用client_b申请token就可以啦。
总结
简单为Ocelot集成了IdentityServer,希望对大家有参考价值。如果文中有错误请联系我更改。