一、创建自定义组件
1、自定义属性
父组件是使用 props 传递数据给子组件
<template>
  <div class="hello">
    <h1>{{ msg }}</h1>
    <button v-on:click="reverseMessage">逆转消息</button>
    <span>{{message}}</span>
  </div>
</template>

<script>
export default {
  name: 'Btn',
  props: ['message'],
  data () {
    return {
      msg: '按钮'
    }
  },
  methods: {
    reverseMessage: function () {
      // this.msg.split('').reverse().join()
      alert('hello world')
    }
  }

}
</script>

<!-- Add "scoped" attribute to limit CSS to this component only -->
<style scoped>
  .hello{
    background-color: red;
  }

</style>
props: ['message']为属性值
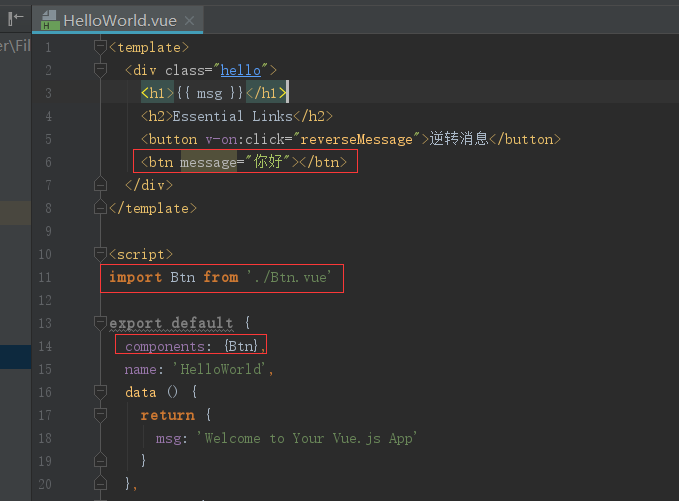
使用自定义组件
2、自定义事件
父组件是使用 props 传递数据给子组件,但如果子组件要把数据传递回去,就需要使用自定义事件!
使用 $on(eventName) 监听事件
使用 $emit(eventName) 触发事件
<template>
  <div class="hello">
    <h1>{{ msg }}</h1>
    <button v-on:click="reverseMessage">逆转消息</button>
    <span>{{message}}</span>
    <button v-on:click="incrementHandler">{{counter}}</button>
  </div>
</template>

<script>
export default {
  name: 'Btn',
  props: ['message'],
  data () {
    return {
      msg: '按钮',
      counter: 0
    }
  },
  methods: {
    reverseMessage: function () {
      // this.msg.split('').reverse().join()
      alert('hello world')
    },
    incrementHandler: function () {
      this.counter += 1
      this.$emit('increment')
    }
  }

}
</script>

<!-- Add "scoped" attribute to limit CSS to this component only -->
<style scoped>
  .hello{
    background-color: red;
  }

</style>
父组件中使用
<template>
  <div class="hello">
    <h1>{{ msg }}</h1>
    <button v-on:click="reverseMessage">逆转消息</button>
    <btn message="你好"></btn>
    <btn v-on:increment="incrementTotal"></btn>
    <p>父组件{{total}}</p>
  </div>
</template>

<script>
import Btn from './Btn.vue'

export default {
  components: {Btn},
  name: 'HelloWorld',
  data () {
    return {
      msg: 'Welcome to Your Vue.js App',
      total: 0
    }
  },
  methods: {
    reverseMessage: function () {
      // this.msg.split('').reverse().join()
      alert('hello world')
    },
    incrementTotal: function () {
      this.total += 1
    }

  }

}
</script>

<!-- Add "scoped" attribute to limit CSS to this component only -->
<style scoped>
h1, h2 {
  font-weight: normal;
}
ul {
  list-style-type: none;
  padding: 0;
}
li {
  display: inline-block;
  margin: 0 10px;
}
a {
  color: #42b983;
}
</style>