原理是这样,我们在SharedPreferences中存储一个int型数据,用来代表第几次登录,每次启动时都读取出来判断是不是第一次启动,然后依次判断是否要显示欢迎界面,
具体实现如下:
设置一个欢迎界面的Activity,并设置为主Activity,在判断第几次启动后来决定要不要跳转到MainActivity
package com.example.f;

import androidx.appcompat.app.AppCompatActivity;

import android.content.Intent;
import android.content.SharedPreferences;
import android.os.Bundle;
import android.view.View;
import android.widget.Button;

public class StartActivity extends AppCompatActivity {
private Button go=null;
    @Override
    protected void onCreate(Bundle savedInstanceState) {
        super.onCreate(savedInstanceState);
        setContentView(R.layout.activity_start);

        go=(Button)findViewById(R.id.go);
        SharedPreferences userInfo = getSharedPreferences("start", MODE_PRIVATE);
        SharedPreferences.Editor editor = userInfo.edit();
        Int x;
//获取记录启动次数的值,若获取不到就默认为1
        x=userInfo.getInt("start",1);
//判断第几次启动
        if(x==1)
        {
//为启动数加一
            x++;
            editor.putInt("start",x);
            editor.commit();

        }
        else {
//若不是第一次登录就直接跳转MainActivity
            x++;
            editor.putInt("start",x);
            editor.commit();
            Intent it=new Intent();
            it.setClass(StartActivity.this,MainActivity.class);
            startActivity(it);
            StartActivity.this.finish();
        }
//欢迎界面进入应用的按钮
        go.setOnClickListener(new View.OnClickListener() {
            @Override
            public void onClick(View v) {
                Intent it=new Intent();
                it.setClass(StartActivity.this,MainActivity.class);
                startActivity(it);
                StartActivity.this.finish();


            }
        });
    }
}
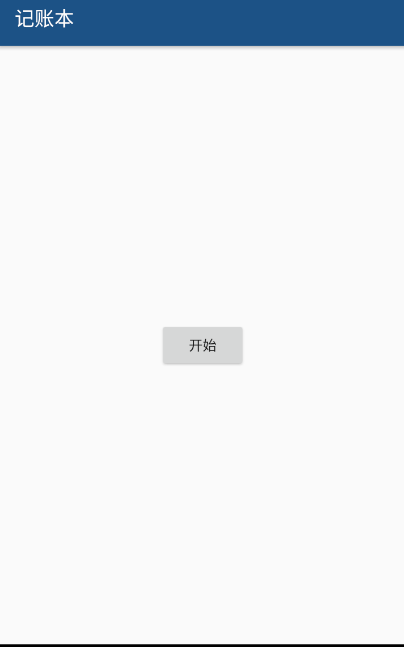
布局文件只有一个按钮
<?xml version="1.0" encoding="utf-8"?>
<androidx.constraintlayout.widget.ConstraintLayout xmlns:android="http://schemas.android.com/apk/res/android"
    xmlns:app="http://schemas.android.com/apk/res-auto"
    xmlns:tools="http://schemas.android.com/tools"
    android:layout_width="match_parent"
    android:layout_height="match_parent"
    tools:context=".StartActivity">

    <Button
        android:id="@+id/go"
        android:layout_width="wrap_content"
        android:layout_height="wrap_content"
        android:text="开始"
        app:layout_constraintBottom_toBottomOf="parent"
        app:layout_constraintEnd_toEndOf="parent"
        app:layout_constraintStart_toStartOf="parent"
        app:layout_constraintTop_toTopOf="parent" />
</androidx.constraintlayout.widget.ConstraintLayout>
初次启动效果如下