树莓派设备信息:
pi@raspberrypi:~ $ hostnamectl
Static hostname: raspberrypi
Icon name: computer
Machine ID: 3840fc8594f5488385f36c733f9c1e89
Boot ID: 64d9f69650614963b87d91ae7d0467b5
Operating System: Raspbian GNU/Linux 10 (buster)
Kernel: Linux 5.4.51-v7l+
Architecture: arm
场景需求如下图:

背景:mini机与云台摄像头直连,mini机通过wifi接入办公局域网。
目的:笔记本可以访问云台摄像机的80及8001端口。
实现目的有很多方式,比如使用iptables,nginx,frp等。我选择使用frp来代理。
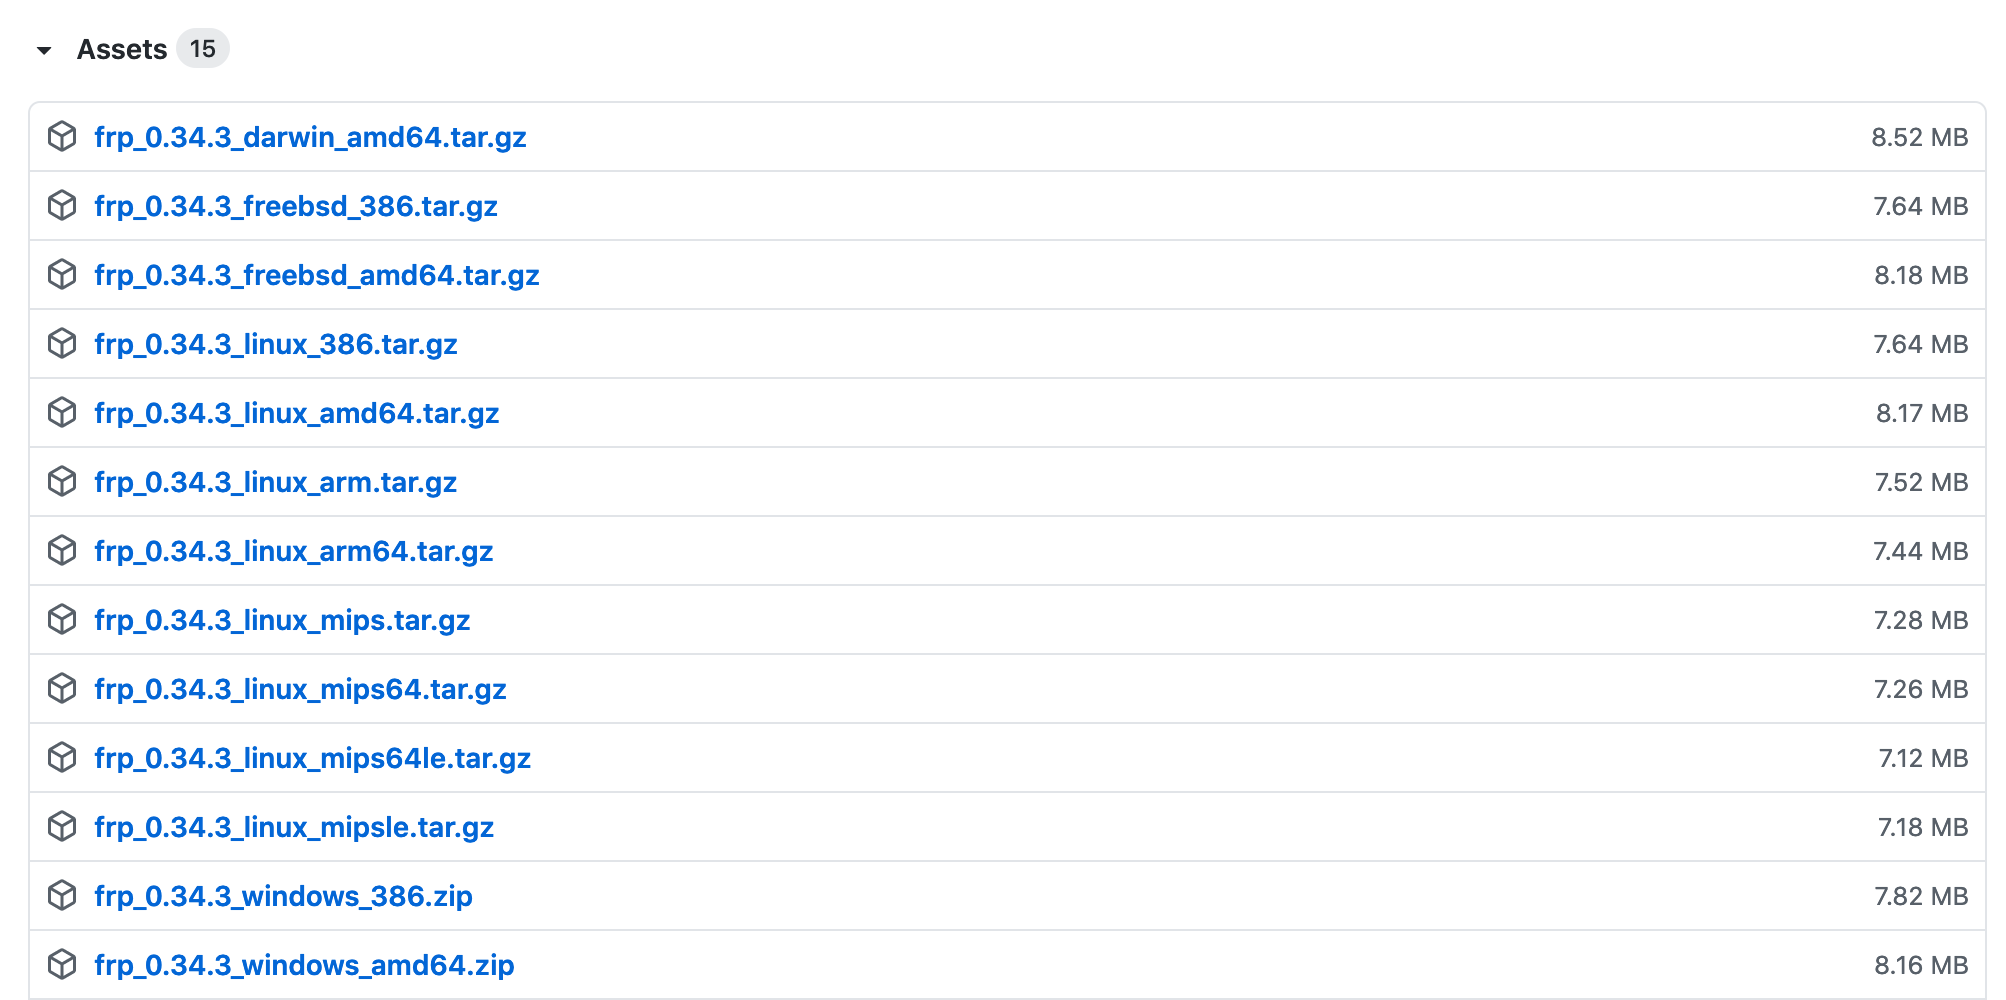
1. frp 的安装包地址
https://github.com/fatedier/frp/releases
下载了frp_0.27.0_linux_amd64.tar.gz,
解压后执行./frpc,报错 -bash: ./frpc: cannot execute binary file
查询了资料,这个错误,意味着下载的版本错了。
frp是go语言写的,安装下go,使用go version来查询适用于当前系统的frp安装包。
基于当前的Raspbian系统,使用apt-get install golang-go来安装go环境。
使用go version查询版本后,发现系统匹配的是arm类型的:go version go1.11.6 linux/arm,如此需要下载带有arm的安装包。
注意带64的是支持64位系统的,不带64的就是支持32位系统的。当前Raspbian系统是32位系统,故我下载frp_0.34.3_linux_arm.tar.gz。
a.启动服务端: sudo ./frps -c ./frps.ini
2020/11/30 03:23:29 [I] [service.go:190] frps tcp listen on 0.0.0.0:7000
2020/11/30 03:23:29 [I] [root.go:215] start frps success
默认的7000端口不用改。
b.修改客户端的配置文件frpc.ini:
cat frpc.ini
[common]
server_addr = 192.168.4.100(这个地方原来是127.0.0.1,需要改成服务端的IP,以便于精确查找地址)
server_port = 7000
[ssh]
type = tcp
local_ip =
local_port = 22
remote_port = 6000
[berry]
type = tcp
local_ip = 192.168.1.100
local_port = 80
remote_port = 6001
b.启动客户端:./frpc -f frpc.ini
2020/11/30 03:30:28 [I] [service.go:288] [38e7656abf33ae19] login to server success, get run id [38e7656abf33ae19], server udp port [0]
2020/11/30 03:30:28 [I] [proxy_manager.go:144] [38e7656abf33ae19] proxy added: [ssh berry]
2020/11/30 03:30:28 [I] [control.go:180] [38e7656abf33ae19] [ssh] start proxy success
2020/11/30 03:30:28 [I] [control.go:180] [38e7656abf33ae19] [berry] start proxy success
示意端口启动成功,如此实现端口的代理。
在笔记本上访问192.168.4.100:6001接口,就是间接访问云台摄像头的80端口。
结束。