一、springtoolSuite4下载
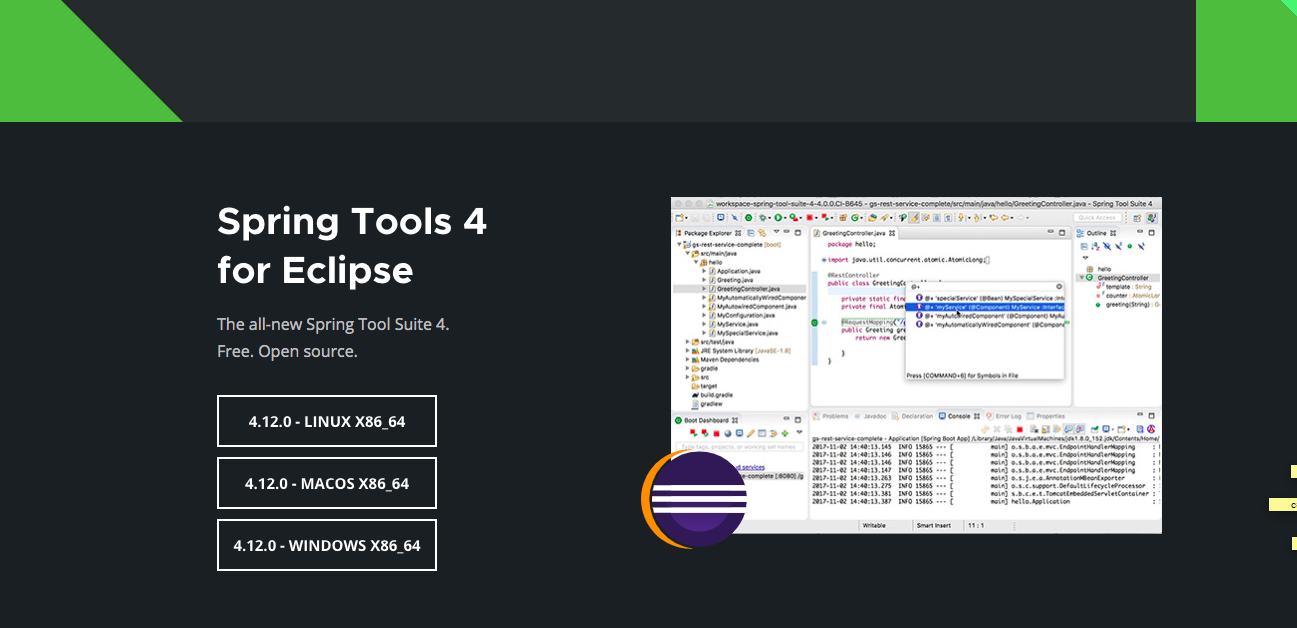
1.概述
Spring Tools 4 是适用于您最喜欢的编码环境的下一代 Spring 工具。它主要从头开始重建,为开发基于 Spring 的企业应用程序提供世界一流的支持,无论您喜欢 Eclipse、Visual Studio Code 还是 Theia IDE。
换句话说, Spring Tool Suite是一个定制版的eclipse, 由spring framework官方在javaee版本的eclipse上包装spring插件出来的版本, 其核心还是javaee版本的eclipse。
2.下载
spring官网project中 spring tools4下载,选择相应的版本下载;如果下载下载下来的是jar包,运行一下该jar包即可安装;

二、创建java工程
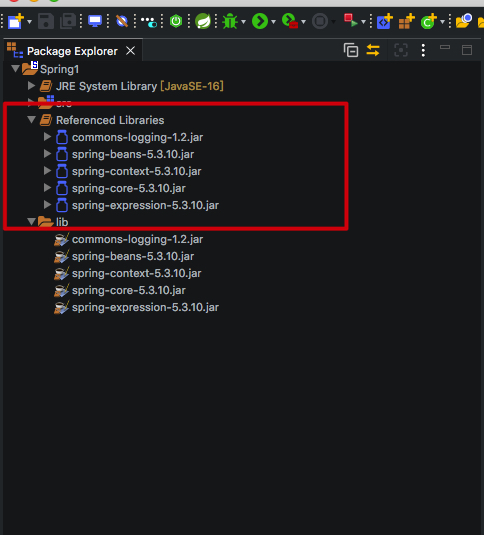
1.在项目根目录下创建lib文件夹并且添加5个jar包;
5个jar包分别是:
- spring-beans
- spring-context
- spring-core
- spring-expression
- commons-logging

三、spring的使用
说明:spring方式,第一步:创建springioc容器;二、从IOC容器中获取bean实例;三、调用方法;
1、创建类HelloWorld
 1 package com.lixm.spring.beans;
 2
 3 public class HelloWorld {
 4
 5     private String name;
 6
 7     public String getName() {
 8         return name;
 9     }
10
11     public void setName(String name) {
12         this.name = name;
13     }
14
15     public void hello() {
16         System.out.println("hello "+name);
17     }
18
19     public HelloWorld() {
20         System.out.println("helloworld's constructor");
21     }
22
23 }
2.使用spring调用方法
步骤一、在src中创建spring的配置文件(spring bean configuration file)applicationContext.xml(命名空间为 beans)

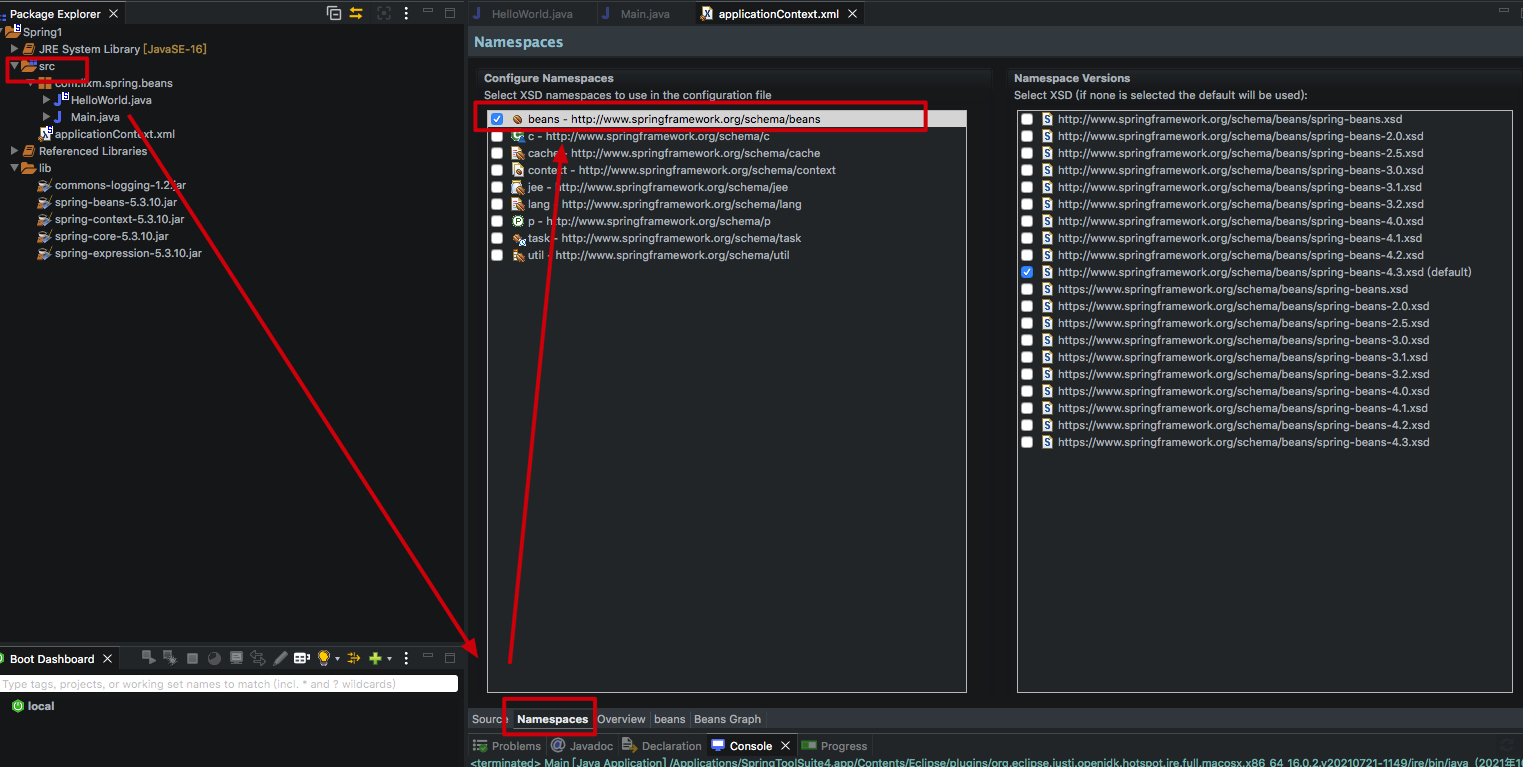
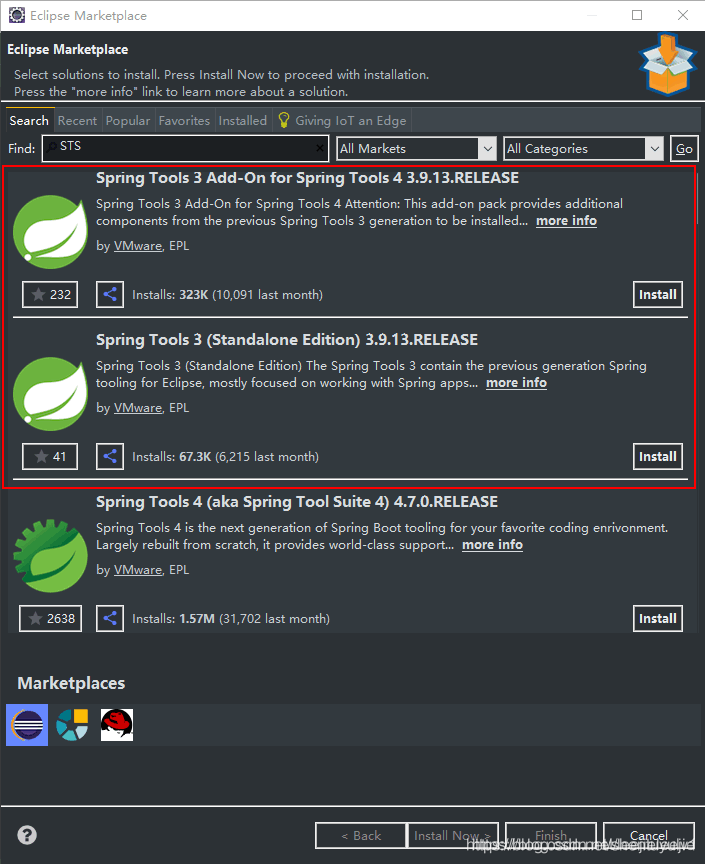
此时如果找不到spring的配置文件(spring bean configuration file)则需要安装其他软件(选择Add-on for spring tools 4)即可;
步骤一、xml配置beans
 1 <?xml version="1.0" encoding="UTF-8"?>
 2 <beans xmlns="http://www.springframework.org/schema/beans"
 3     xmlns:xsi="http://www.w3.org/2001/XMLSchema-instance"
 4     xsi:schemaLocation="http://www.springframework.org/schema/beans http://www.springframework.org/schema/beans/spring-beans-4.3.xsd">
 5
 6     <!-- id 用来标识class -->
 7     <bean id="helloWorld2" class="com.lixm.spring.beans.HelloWorld">
 8         <property name="name" value="Spring"></property>  <!-- name 为属性名 此处属性名为name value为属性的值  此处设置属性name的值为Spring-->
 9     </bean>
10 </beans>
步骤三、main的实现方式:
 1 package com.lixm.spring.beans;
 2
 3 import org.springframework.context.ApplicationContext;
 4 import org.springframework.context.ConfigurableApplicationContext;
 5 import org.springframework.context.support.ClassPathXmlApplicationContext;
 6
 7 public class Main {
 8     public static void main(String[] args) {
 9         // 采用spring 方式
10
11         ApplicationContext applicationContext = new ClassPathXmlApplicationContext("applicationContext.xml");
12         HelloWorld helloWorld2 = (HelloWorld) applicationContext.getBean("helloWorld2");
13         helloWorld2.hello();
14         ((ConfigurableApplicationContext) applicationContext).close();
15     }
16
17 }
运行main方法 控制台打印结果是:
helloworld's constructor
hello lixiuming
四、普通调用方式(不使用spring):
 1 package com.lixm.spring.beans;
 2
 3 public class Main {
 4     public static void main(String[] args) {
 5         // 普通方式
 6         // 创建 hellowWorld
 7         HelloWorld helloWorld = new HelloWorld();
 8         // 设置属性
 9         helloWorld.setName("lixiuming");
10         helloWorld.hello();
11
12     }
13
14 }