1.1 Bug场景:
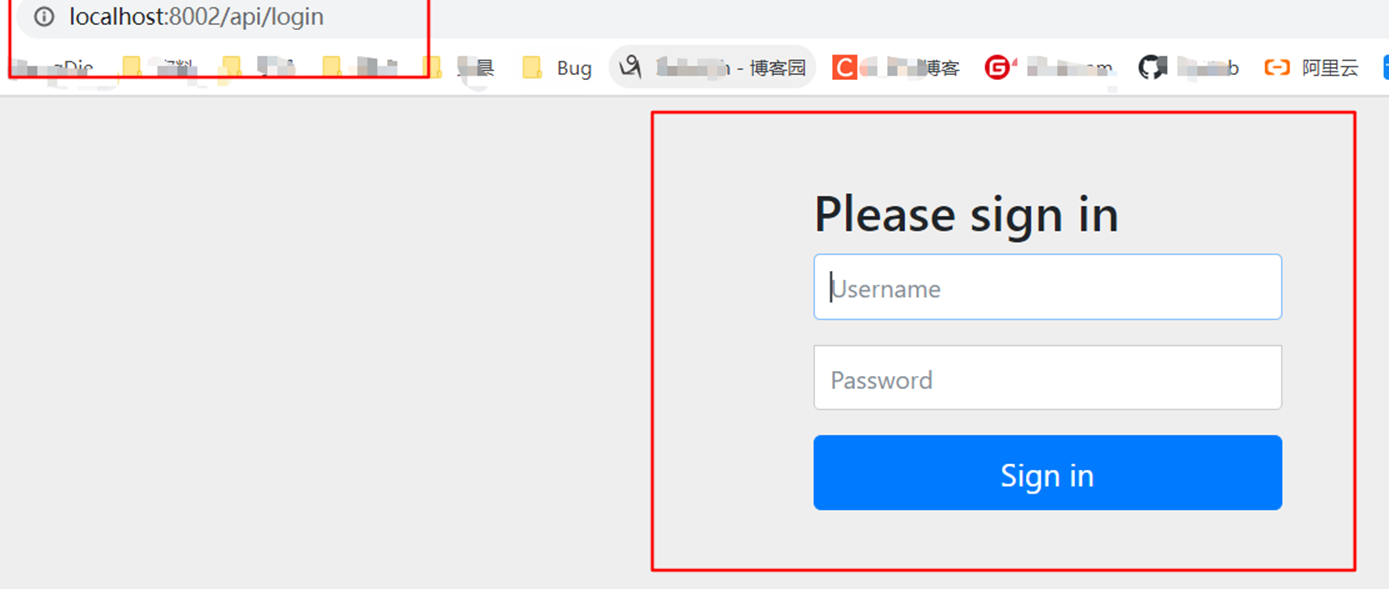
1.1 SpringBoot项目启动成功访问任意接口都跳转到login登录页面

2.1Bug原因
在 SpringBoot 项目中使用了 SpringSecurity ,这是因为在SpringBoot中,默认的Spring Security就是生效了的,此时的接口都是被保护的,我们需要通过验证才能正常的访问。Spring Security提供了一个默认的用户,用户名是user,而密码则是启动项目的时候自动生成的。
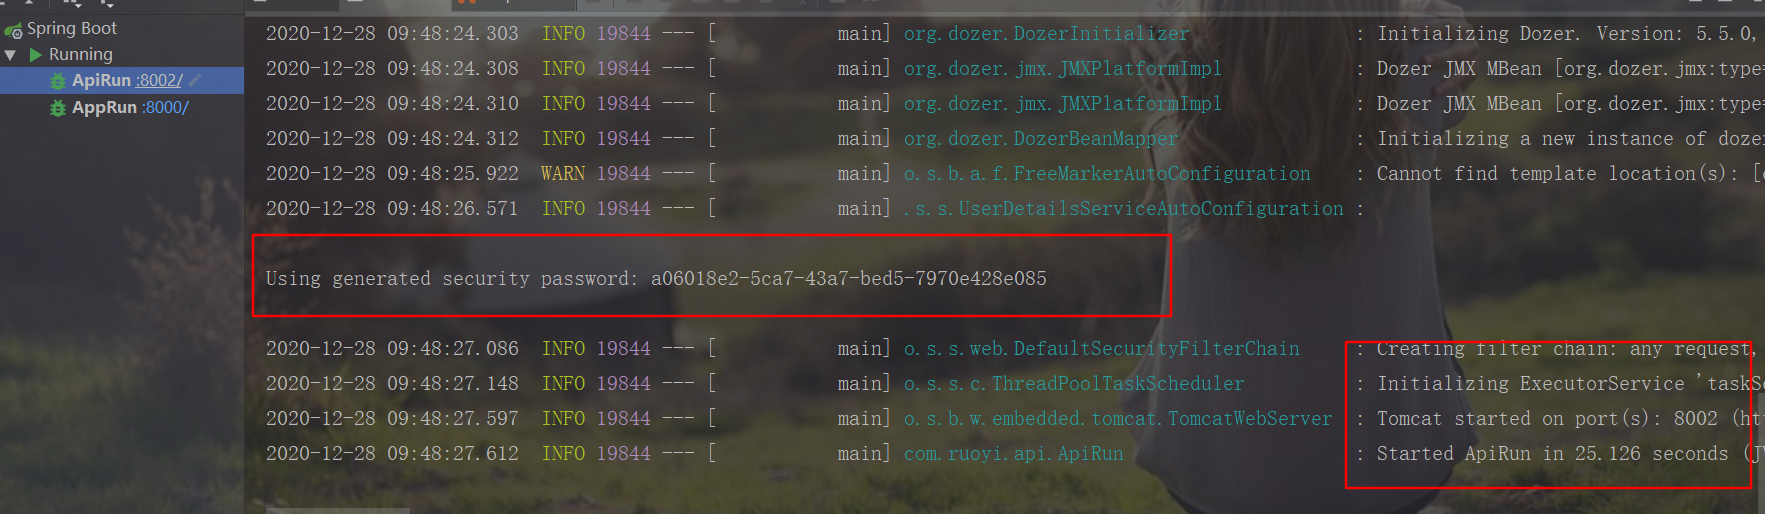
我们查看项目启动的日志,会发现控制台有如下的一段Log
3.1 解决方法:
1. 如果不需要使用 SpringSecurity 去掉以依赖从新启动项目就可以
<dependency>
  <groupId>org.springframework.boot</groupId>
  <artifactId>spring-boot-starter-security</artifactId>
</dependency>
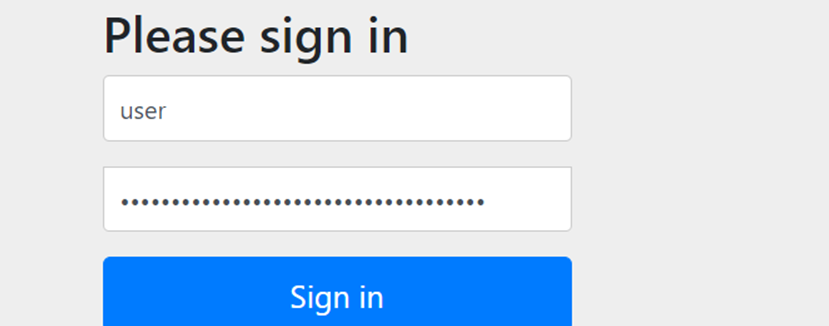
2. 如果需要使用 SpringSecurity ,就是用 user + 生成的密码进行登陆,登陆成功后就跳转正常的调用页面。
或者对spring boot1.5配置security关闭http基本验证,只需要在application.properites中配置即可,但是spring boot 2.0+之后这样配置就不能生效了。
security.basic.enabled=false
3. 在项目中添加一个配置类(推荐使用第三种)
package com.ruoyi.api.config.security;

import org.springframework.context.annotation.Configuration;
import org.springframework.security.config.annotation.web.builders.HttpSecurity;
import org.springframework.security.config.annotation.web.configuration.EnableWebSecurity;
import org.springframework.security.config.annotation.web.configuration.WebSecurityConfigurerAdapter;

/**
 * 访问接口不在调用security
 * @author Liyh
 * @date 2020/12/22
 */

@Configuration
@EnableWebSecurity
public class CloseSecurityConfig extends WebSecurityConfigurerAdapter {

    @Override
    protected void configure(HttpSecurity http) throws Exception {
        //super.configure(http);
        http.csrf().disable();
        //配置不需要登陆验证
        http.authorizeRequests().anyRequest().permitAll().and().logout().permitAll();
    }

}