前提条件,安装好ubuntu18版本系统(版本过低可能操作方面有一些不同),配置好网络环境:
Kong简介:
有三大组件构成:
kong server:基于Nginx服务器,用于接收API请求
CAssandre/Postgresql:用于存储操作数据
kong dashboard:UI管理工具,也可以使用restfull方式管理
服务端口作用:
8000/8443:分别监听客户端的http请求和https请求
8444:管理者通过该端口对http请求进行监控
8001:默认的管理端口,通过http restful api动态管理kong的配置
1、配置yum源:
root@kong:~# vim /etc/apt/sources.list.d/pgdg.list
deb http://apt.postgresql.org/pub/repos/apt/ trusty-pgdg main
导入key并且更新源:
root@kong:~# wget --quiet -O - https://www.postgresql.org/media/keys/ACCC4CF8.asc | apt-key add -
root@kong:~# apt-get update
2、安装数据库:
root@kong:~# apt-get install -y postgresql-9.5
修改配置文件:
root@kong:~# vim /etc/postgresql/9.5/main/postgresql.conf
listen_addresses = '*' ##监听所有IP
password_encryption = on ##开启密码加密
root@kong:~# vim /etc/postgresql/9.5/main/pg_hba.conf
host all all 0.0.0.0 0.0.0.0 md5 ##允许所有IPV4地址访问
root@kong:~# service postgresql restart
postgresql数据库默认为postgres用户启动,需为postgres用户设置密码并使用postgresql用户操作数据库:
root@kong:~# passwd postgres
root@kong:~# su - postgres ##切换用户
postgres@kong:~$ psql ##进入数据库
数据库、用户创建以及授权:
postgres=# create database "kong_db";
CREATE DATABASE
postgres=# create user kong with password 'test';
CREATE ROLE
postgres=# grant all privileges on database "kong_db" to kong;
GRANT
3、安装kong service
安装相关依赖包:
root@kong:~# apt-get install netcat openssl libpcre3 dnsmasq procps
注:本次在安装依赖包的时候出现错误,根据提示处理即可:
root@kong:~# apt --fix-broken install
到官网下载软件安装包https://docs.konghq.com/install/ubuntu/:
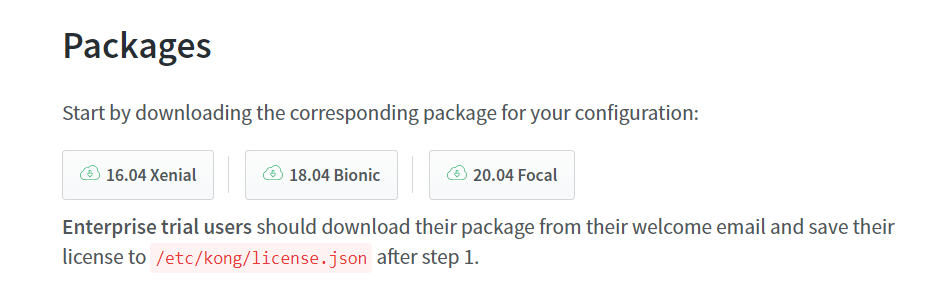
我的版本是18.04Bionic:https://bintray.com/kong/kong-deb/download_file?file_path=kong-2.1.0.bionic.amd64.deb
下载到ubuntu系统目录下安装:
root@kong:~# dpkg -i kong-2.1.0.bionic.amd64.deb
安装完成后,cp一个默认的配置文件,进行配置即可(本次只配置数据库部分):
root@kong:~# cd /etc/kong/
root@kong:/etc/kong# cp kong.conf.default kong.conf
root@kong:/etc/kong# vim kong.conf
database = postgres             # Determines which of PostgreSQL or Cassandra
                                 # this node will use as its datastore.
                                 # Accepted values are `postgres`,
                                 # `cassandra`, and `off`.

pg_host = 192.168.1.235          # Host of the Postgres server.
pg_port = 5432                  # Port of the Postgres server.
pg_timeout = 5000               # Defines the timeout (in ms), for connecting,
                                 # reading and writing.

pg_user = kong                  # Postgres user.
pg_password =  test                 # Postgres user's password.
pg_database = kong_db              # The database name to connect to.

#pg_schema =                     # The database schema to use. If unspecified,
                                 # Kong will respect the `search_path` value of
                                 # your PostgreSQL instance.

pg_ssl = off                    # Toggles client-server TLS connections
                                 # between Kong and PostgreSQL.

pg_ssl_verify = off             # Toggles server certificate verification if
                                 # `pg_ssl` is enabled.
                                 # See the `lua_ssl_trusted_certificate`
                                 # setting to specify a certificate authority.
初始化postgresql数据库:
root@kong:/etc/kong# kong migrations bootstrap -c /etc/kong/kong.conf
root@kong:/etc/kong# kong start -c /etc/kong/kong.conf
root@kong:~# curl -i http://127.0.0.1:8001/ 能得到返回结果即为成功
4、kong dashboard安装:
root@kong:~# apt install nodejs -y
root@kong:~# apt install npm -y
root@kong:/etc/kong# npm install -g kong-dashboard
经过漫长的等待后终于下载成功:
root@test:~# kong-dashboard --version
3.6.0
启动服务:
root@test:~# kong-dashboard start --kong-url http://localhost:8001
但是由于kong-dashboard已经无人维护,只支持kong的1.0以下版本(本次下载的是2.1.0版本),所以启动失败了。本来想到官网下载1.0版本以下的kong,但是没有找到,官网https://docs.konghq.com/0.9.x/。
但是kong服务已经搭建完毕,只是确实UI界面,难以操作,下一篇文章讲解使用docker搭建kong,实现图形界面操作