使用QT创建自己的登录窗口:
主要步骤:
1.窗口界面的绘制
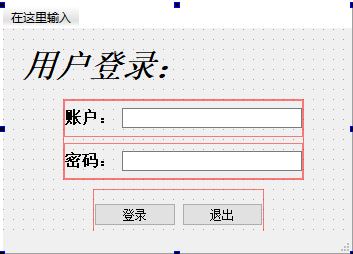
2.沟通数据库进行密码验证
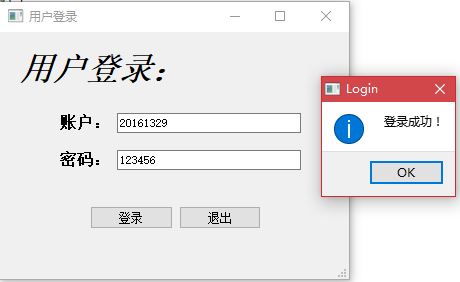
void MainWindow::on_pushButton_clicked()
{
    // 连接数据库
    QSqlDatabase db = QSqlDatabase::addDatabase("QSQLITE");
    db.setDatabaseName("D:/TEST/passwd");
    if(!db.open()){
        QMessageBox::information(this, "连接结果", "连接数据库失败!");
        return;
    }

    QString name = ui->lineEdit->text();
    QString passwd = ui->lineEdit_2->text();

    QSqlTableModel model;
    model.setTable("passwd");
    model.setFilter(tr("name = '%1' and passwd = '%2'").arg(name).arg(passwd));
    model.select();

    if(model.rowCount() == 1){
        // 表示密码验证正确,登陆成功
        // ...... 显示登录后的状态
        QMessageBox::information(this, "Login", "登录成功!");
    }
    else{
        QMessageBox::information(this, "Warning", "用户名或密码错误,请重新输入!");
        ui->lineEdit->clear();
        ui->lineEdit_2->clear();
    }
}

void MainWindow::on_pushButton_2_clicked()
{
    close();
}
其他细节:
设置主窗口标题:
// 设置窗口名称
    this->setWindowTitle("用户登录");
设置中文字符:
// 设置中文字符
    QTextCodec::setCodecForLocale(QTextCodec::codecForName("GB2312"));
运行结果:
此处示例主要是为了说明Qt中对数据库的操作,而实际上的登录程序并非如此简单