1.springsecurity学习目标
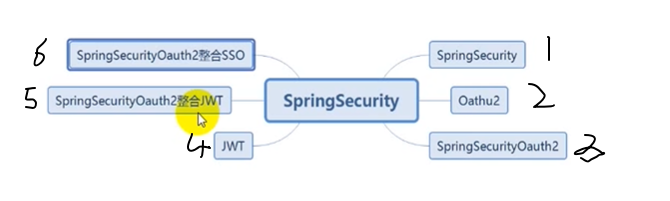
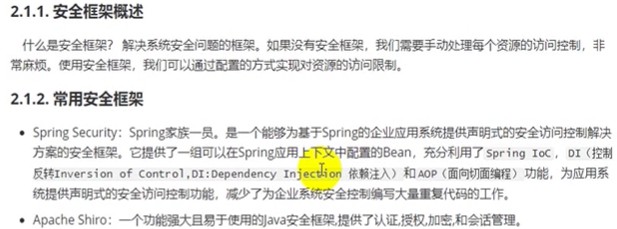
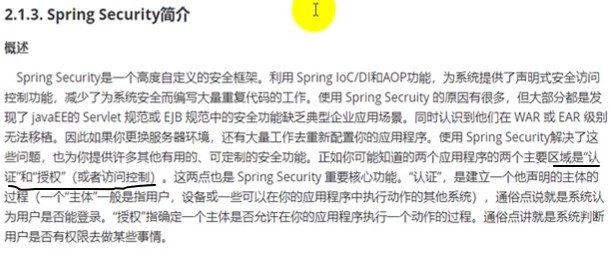
2.1 springsecurity简介
2.2 springsecurity快速入门demo
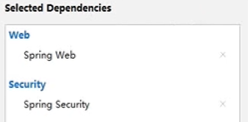
1):使用idea快速创建springboot项目,并勾选如下2个依赖即可,springboot会为我们做很多自动配置
2):定义一个loginController,并定义一个页面跳转方法:
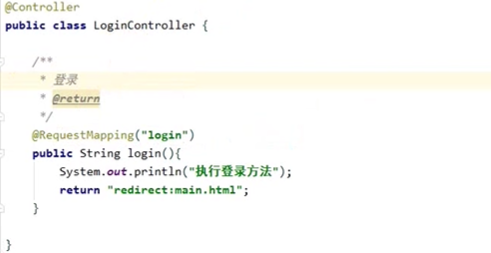
重定向到main.html页面,我们需要准备如下几个页面:login.html main.html,放到stacit目录下:
mian.html:
<!DOCTYPE html>
<html lang="en">
<head>
    <meta charset="UTF-8">
    <title>main</title>
</head>
<body>
登录成功!!!
</body>
</html>
login.html:
<!DOCTYPE html>
<html lang="en">
<head>
    <meta charset="UTF-8">
    <title>登陆页面</title>
</head>

<form action="/login" method="post">
    用户登陆
    用户名:<input type="text" name="username">
    密码: <input type="password" name="password">
    <input type="submit" value="登录">
</form>

</body>
</html>
当我们启动项目运行,并访问我们的login.html页面时,发现并不是我们写的那个页面:
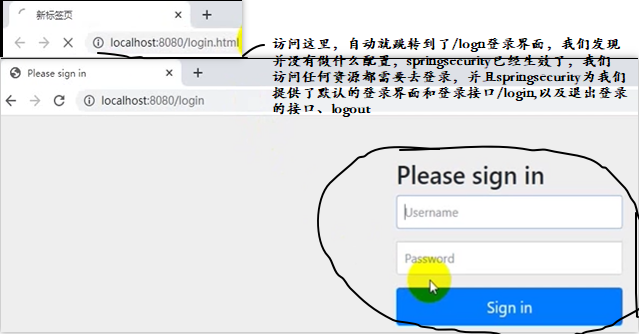
默认的登录名是user,密码会在程序启动的时候生成一个打印到控制台:

2.3 UserDetailService详解
在真实的系统中,我们希望用户的信息来自数据库,而不是写死的或者账户密码都是springsecurity自动生成给我们的,我们就需要实现UserDetailsService接口,实现相应的方法,然后配置authentication-provider,指定我们自定义的UserDetailService。
这就要看下springsecurtiy给我们提供的UserDetailsService这个接口
package org.springframework.security.core.userdetails;
public interface UserDetailsService {
UserDetails loadUserByUsername(String var1) throws UsernameNotFoundException;
}
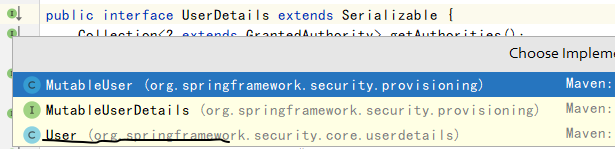
这里的返回结果UserDetails也是一个接口,实现了序列化:
public interface UserDetails extends Serializable {
// 获取所有权限,不能返回null
Collection<? extends GrantedAuthority> getAuthorities();
String getPassword();
String getUsername();
boolean isAccountNonExpired();
boolean isAccountNonLocked();
boolean isCredentialsNonExpired();
boolean isEnabled();
}
而UserDetails这个接口,springsecurity提供了默认的实现类,下图中的User,不要和我们自己定义的混淆
这里springsecurity的逻辑是,先根据登录时提供的用户名username,去数据库查询出该用户的密码,权限,是否过期等数据,并返回。拿到这个密码后和前端填写的密码进行比较,如果相同则表示认证通过。
user的两个构造方法:
    public User(String username, String password, Collection<? extends GrantedAuthority> authorities) {
        this(username, password, true, true, true, true, authorities);
    }

    public User(String username, String password, boolean enabled, boolean accountNonExpired, boolean credentialsNonExpired, boolean accountNonLocked, Collection<? extends GrantedAuthority> authorities) {
        Assert.isTrue(username != null && !"".equals(username) && password != null, "Cannot pass null or empty values to constructor");
        this.username = username;
        this.password = password;
        this.enabled = enabled;
        this.accountNonExpired = accountNonExpired;
        this.credentialsNonExpired = credentialsNonExpired;
        this.accountNonLocked = accountNonLocked;
        this.authorities = Collections.unmodifiableSet(sortAuthorities(authorities));
    }
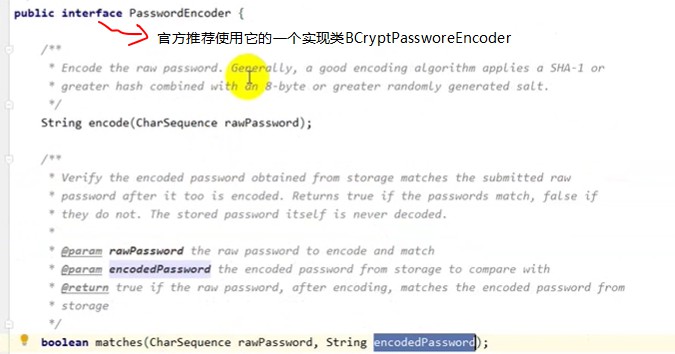
2.4 PasswordEncoder详解
上面讲到如果我们想实现我们自定义的验证逻辑,需要实现UserDetailsService接口,同时还需要实现 PasswordEncoder接口,对密码进行加密和匹配验证
2.5自定义登录逻辑
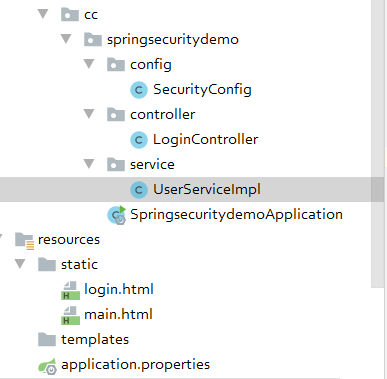
代码结构图:
@Configuration
public class SecurityConfig {

    // 使用自定义逻辑时那,springsecurity要求我们项目容器中有BCryptPasswordEncoder的实例,所以不能直接new使用,没有在容器中
    @Bean
    public BCryptPasswordEncoder getPw(){
        return new BCryptPasswordEncoder();
    }
}
@Service
public class UserServiceImpl implements UserDetailsService {

    @Autowired
    private PasswordEncoder pw;
    @Override
    public UserDetails loadUserByUsername(String username) throws UsernameNotFoundException {
        System.out.println("执行了loadUserByUsername方法");
        // 1.查询数据库看用户名是否存在,不存在抛出异常UsernameNotFoundException
        // 为了方便这里不再去查询数据库,模拟下
        if (!"admin".equals(username)) {
            throw new UsernameNotFoundException("用户名不存在");
        }

        // 2.根据用户名查询数据库中的密码(这个密码肯定是加密后的,不会是明文存储)进行解析,或者直接把密码放入构造方法
        String password = pw.encode("123");//这样模拟password是数据库查询出来的加密密码
        // 查询出来后封装user对象返回,后面如果经过和前端输入的user比对校验通过,则user这个用户将会有“admin,normal”的权限,这个实际也是要从数据库中查询后配置的,这里模拟下
        User user = new User(username,password, AuthorityUtils.commaSeparatedStringToAuthorityList("admin,normal"));
        return user;
    }
}
这样写好之后,重启我们的项目,发现输入用户admin,密码123即可访问我们的服务,这样一个简单的自定义登录逻辑就实现好了,后面还需要继续研究这个流程的详细原理,先会用哈。