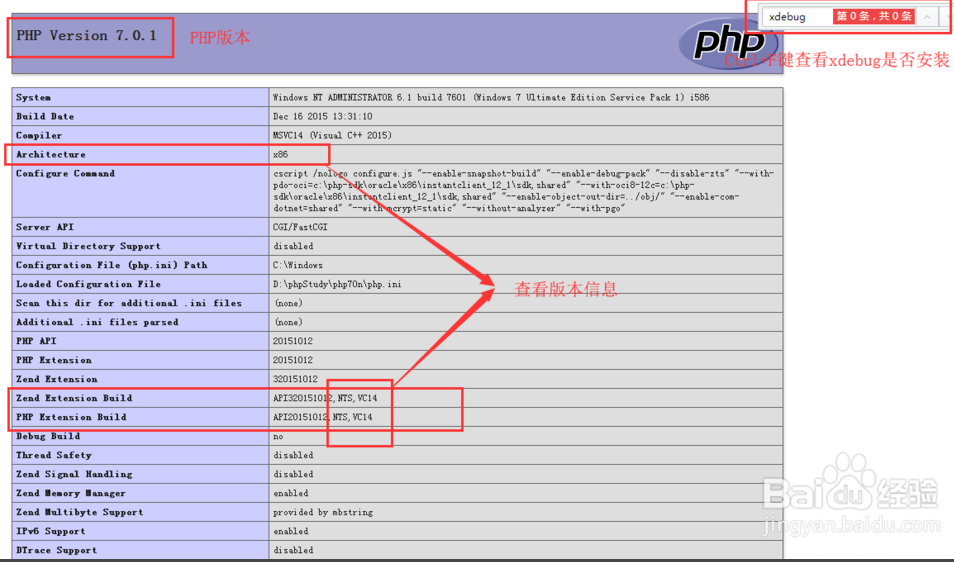
1. 打开phpinfo查看版本信息 ,并看看是否安装xdebug。
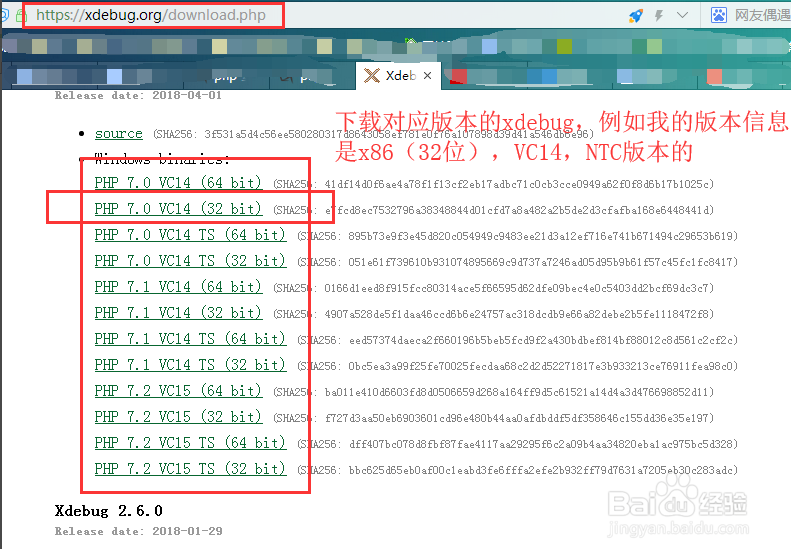
2. 到官网下载对应版本的xdebug 【官网:https://xdebug.org/download.php】
3. 将下载好的xdebug插件放到php安装目录下的ext目录中去。

4. 在php安装目录中找到php.ini配置文件,在配置文件最底下添加如下配置:
[XDebug]
zend_extension = D:phpStudyphpphp-7.0.12-ntsextphp_xdebug-2.6.0-7.0-vc14-nts.dll  【根据自己项目路径配置】
xdebug.remote_enable=1
xdebug.remote_host=127.0.0.1
xdebug.remote_port=9000
xdebug.remote_handler=dbgp
xdebug.profiler_enable=on
xdebug.collect_vars = On
xdebug.collect_return = On
xdebug.collect_params = On

保存后重新启动
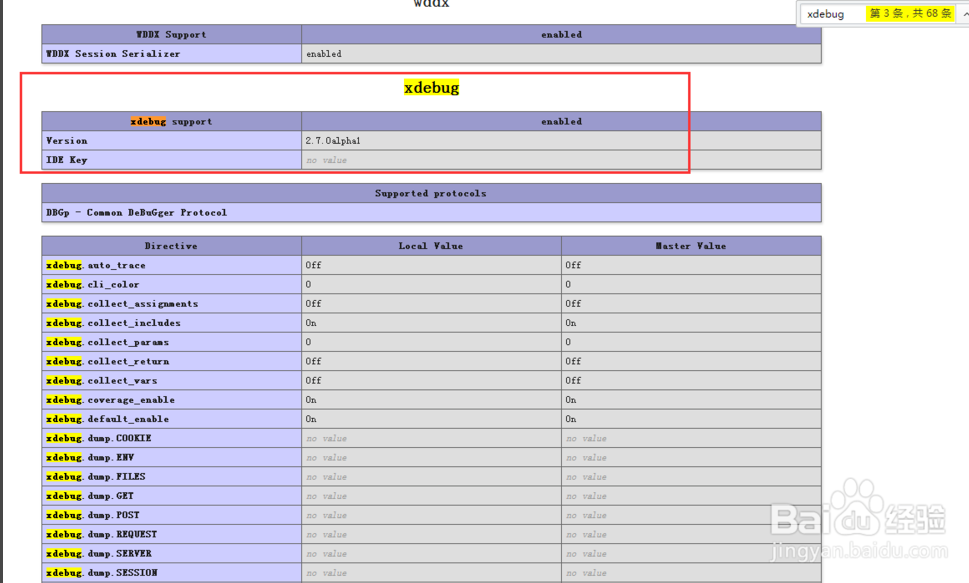
5. 在phpinfo里搜索xdebug,出现xdebug的版本信息说明安装成功了