在上一篇中提到了怎么创建私有maven库,这篇主要结合android studio的使用,直接进入正题,看以下步骤
1.创建android项目
创建Project,然后加一个library的module,此处省略一万字了
2.配置gradle
在项目的gradle.properties里面配置基本信息
GROUP=对应maven的groupId值,如果名字中包含SNAPSHOT字符,项目将会发布到snapshots仓库,没有则发布到releases仓库
VERSION_NAME=对应maven的version值
POM_ARTIFACT_ID=对应maven的artifactId值
SNAPSHOT_REPOSITORY_URL=前面配置的snapshots仓库地址
RELEASE_REPOSITORY_URL=前面配置的releases仓库地址
NEXUS_USERNAME=登录nexus oss的用户名
NEXUS_PASSWORD=登录nexus oss的密码
在module的build.gradle末尾加入下面代码
apply plugin: 'maven'
def isReleaseBuild() {
    return VERSION_NAME.contains("SNAPSHOT") == false
}
def getRepositoryUsername() {
    return hasProperty('NEXUS_USERNAME') ? NEXUS_USERNAME : ""
}
def getRepositoryPassword() {
    return hasProperty('NEXUS_PASSWORD') ? NEXUS_PASSWORD : ""
}
afterEvaluate { project ->
    uploadArchives {
        repositories {
            mavenDeployer {
                pom.groupId = GROUP
                pom.artifactId = POM_ARTIFACT_ID
                pom.version = VERSION_NAME
                repository(url: RELEASE_REPOSITORY_URL) {
                    authentication(userName: getRepositoryUsername(), password: getRepositoryPassword())
                }
                snapshotRepository(url: SNAPSHOT_REPOSITORY_URL) {
                    authentication(userName: getRepositoryUsername(), password: getRepositoryPassword())
                }
            }
        }
    }
    task androidJavadocs(type: Javadoc) {
        source = android.sourceSets.main.java.srcDirs
        classpath += project.files(android.getBootClasspath().join(File.pathSeparator))
    }
    task androidJavadocsJar(type: Jar, dependsOn: androidJavadocs) {
        classifier = 'javadoc'
        from androidJavadocs.destinationDir
    }
    task androidSourcesJar(type: Jar) {
        classifier = 'sources'
        from android.sourceSets.main.java.sourceFiles
    }
    artifacts {
        archives androidSourcesJar
        archives androidJavadocsJar
    }
}
3.发布公共库
./gradlew clean build uploadArchives

就一条命令,最后成功就OK了,如果失败根据具体情况找原因。
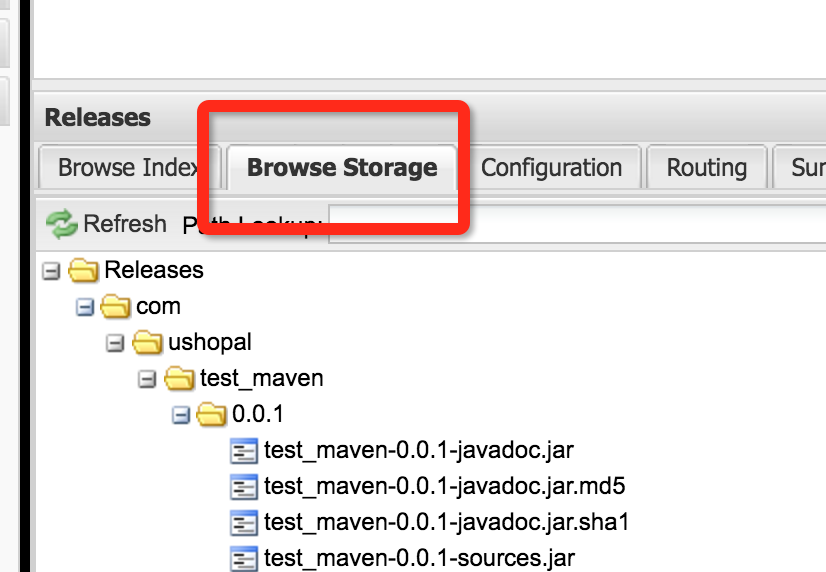
然后到nexus上查看是否上传成功
4.使用
在project中的build.gradle中的allprojects->repositories加入
maven { url "http://192.168.59.103:8081/content/repositories/releases/" }
在module的build.gradle中的dependencies加入
compile 'groupId:artifactId:version'
groupId,artifactId,version换成你自己的

build一切OK。

如有疑问欢迎交流