C++/CLI入门系列 第三篇:C#通过C++/CLI,实现C++的回调函数
萝呆子 2020-06-02 18:02:34 373 收藏 3
分类专栏: C++/CLI
版权
前言:照例啰嗦一下,心急的可略过。做程序员也好些年了,从 iOS 强转 C++ 也有四年了。给后来者一个忠告:如果想要延长自身技术寿命,一定要珍惜时间,好好利用,拼命提升自己技术。
不说了,怎么过都是一生,即便未来失业了,也不代表活不下去。这个时代,不要给自己添加承受不了的重担,选择自己喜欢的,轻装度过这一生。
O了,开始搞起!
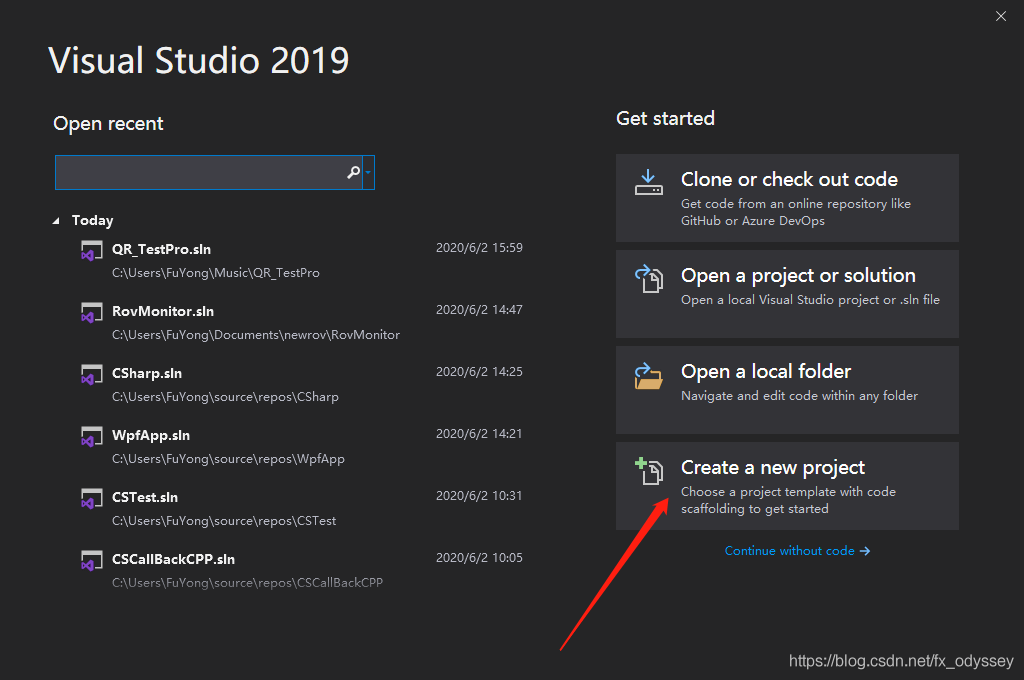
已经2020年了,公司要求用VS2019,所以就用这个版本做演示,大差不差~
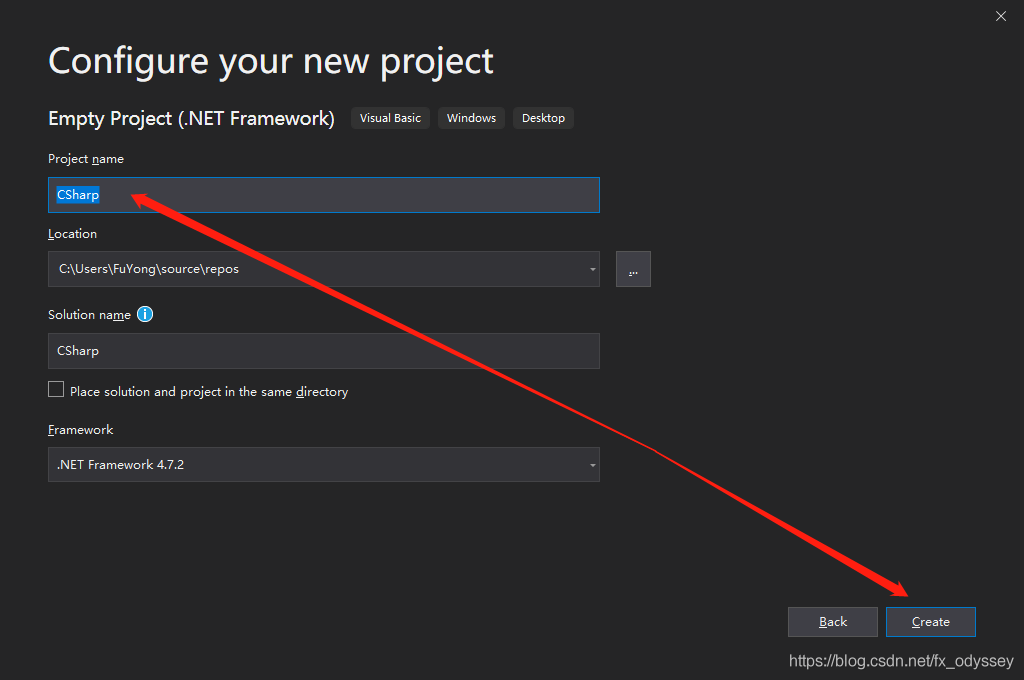
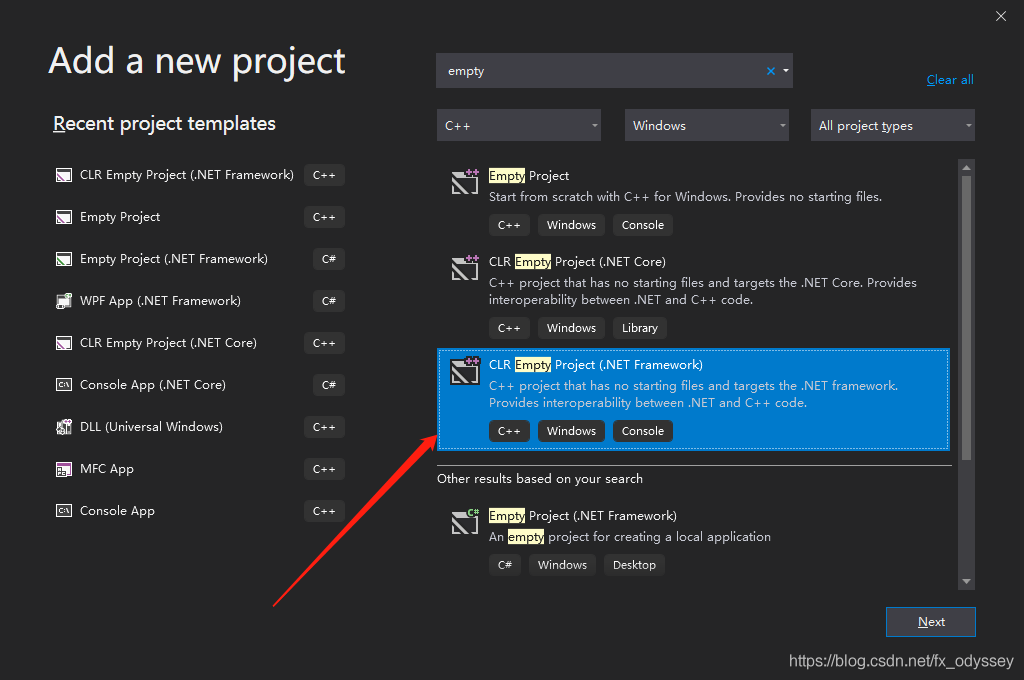
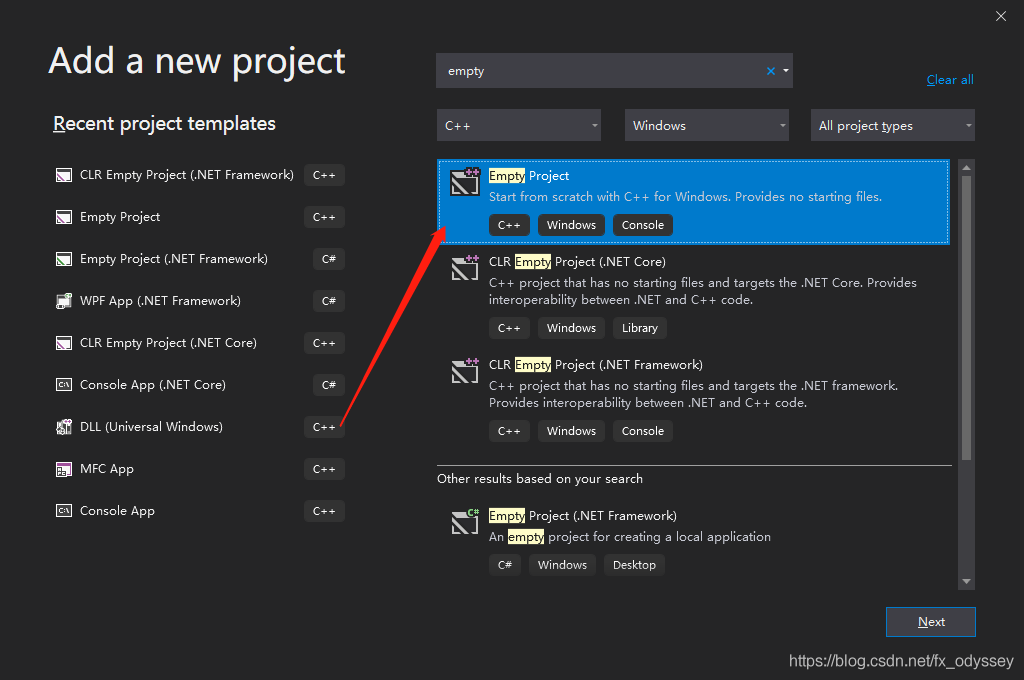
第一步:打开VS2019,依次创建三个空的 C# 工程、CLR 工程和 C++ 工程。步骤如下图所示:
第二步:撸代码,如下所示:
//Cpp.h
#pragma once
using CppCallBack = void (__stdcall*)();
class __declspec(dllexport) MyArith
{
public:
MyArith();
~MyArith();
int GetCppData(unsigned char ch[], int len);
int RegistCall(CppCallBack pFun);
void execute();
private:
CppCallBack cppCall;
};
//Cpp.cpp
#include "Cpp.h"
MyArith::MyArith(){}
MyArith::~MyArith(){}
int MyArith::GetCppData(unsigned char ch[], int len)
{
unsigned char* p = ch;
for (int i = 0; i < len; i++)
{
*(p++) = i % 26 + 65;
}
return 0;
}
int MyArith::RegistCall(CppCallBack pFun)
{
if (pFun != nullptr)
{
cppCall = pFun;
return 0;
}
else
{
return -1;
}
}
void MyArith::execute()
{
cppCall();
}
//Cli.h
#pragma once
using namespace System;
using namespace System::Runtime::InteropServices;
using namespace System::Collections::Generic;
using namespace System::Collections;
using namespace std;
#pragma managed
namespace CliDll {
public delegate void CliCallBack();
public ref class Arith
{
public:
Arith();
~Arith();
int GetCliData(array<unsigned char>^ ch, int len);
int RegistCall(CliCallBack^ pFun);
void execute();
};
}
//Cli.cpp
#include "Cli.h"
#include "Cpp/Cpp.h"
MyArith *myArith;
CliDll::Arith::Arith()
{
myArith = new MyArith();
}
CliDll::Arith::~Arith()
{
myArith->~MyArith();
}
int CliDll::Arith::GetCliData(array<unsigned char>^ ch, int len)
{
unsigned char* src = new unsigned char[len];
if (src == nullptr)
{
return -1;
}
int mark = myArith->GetCppData(src, len);
if (mark)
{
return -2;
}
unsigned char* clisrc = src;
pin_ptr<unsigned char> cssrc = &ch[0];
for (int i = 0; i < len; i++)
{
*(cssrc++) = *(clisrc++);
}
delete[] src;
return 0;
}
int CliDll::Arith::RegistCall(CliCallBack^ pFun)
{
CppCallBack cliCall = (CppCallBack)Marshal::GetFunctionPointerForDelegate(pFun).ToPointer();
myArith->RegistCall(cliCall);
return 0;
}
void CliDll::Arith::execute()
{
myArith->execute();
}
//MyCS.cs
using System;
using System.Collections.Generic;
using System.Linq;
using System.Text;
using System.Threading.Tasks;
using CliDll;
namespace CSharp
{
public partial class MyCS
{
static Arith arith = new Arith();
public static void MyCallBack()
{
byte[] data = new byte[26];
int mark = MyCS.arith.GetCliData(data, 26);
for(int i = 0; i < 26; i++)
{
Console.WriteLine(data[i]);
}
}
static void Main(string[] args)
{
CliCallBack cliCall = new CliCallBack(MyCallBack);
MyCS.arith.RegistCall(cliCall);
MyCS.arith.execute();
Console.ReadLine();
}
}
}
第三步:配置,参考此系列 第二篇:封装C++ dll库,提供接口给C#调用
如果和我一样懒,去 Git 仓库 上 clone 吧,建议最好还是敲一遍。我不会告诉你在仓库代码上添加了注释的(手动狗头)。。。
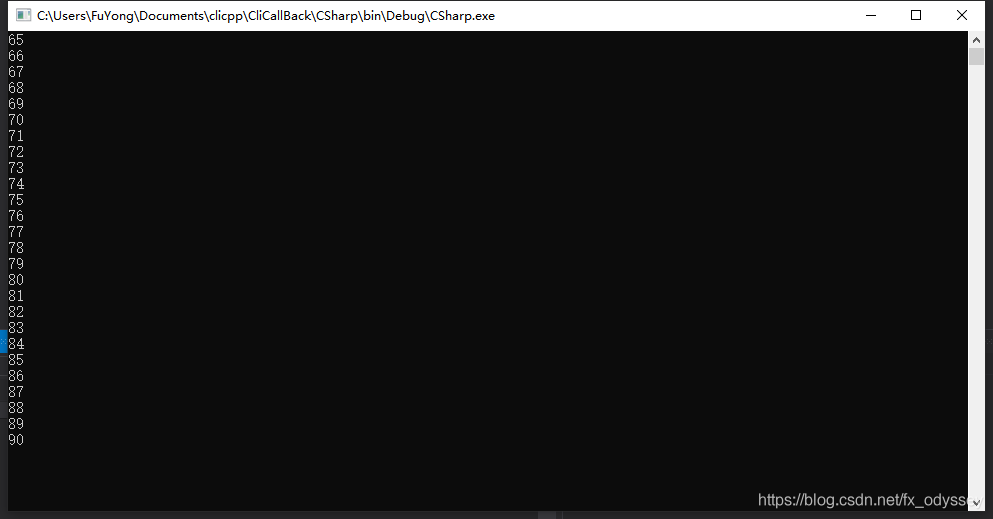
演示结果如下: