一、整合Druid数据源
1、在上一节基础上加上druid依赖
        <!--引入druid数据源-->
        <dependency>
            <groupId>com.alibaba</groupId>
            <artifactId>druid</artifactId>
            <version>1.1.10</version>
        </dependency>
2、修改application.yum文件,如果使用的是application.properties文件则修改这个文件
spring:
  datasource:
    username: root
    password: 123
    #高版本用的驱动是com.mysql.cj.jdbc.Driver
    driver-class-name: com.mysql.jdbc.Driver
    #最好加上serverTimezone=GMT这个参数;作用自行百度了解
    url: jdbc:mysql://localhost:3306/springbootjdbc?serverTimezone=GMT
    #指定数据源,不用默认的数据源
    type: com.alibaba.druid.pool.DruidDataSource

#    #配上这个才能通过程序建表
#    initialization-mode: always
#    #指定sql文件
#    schema:
#      - classpath:department.sql
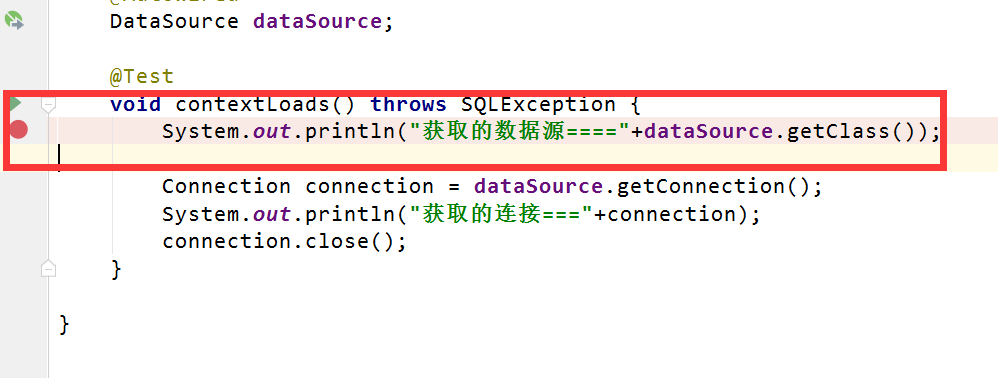
3、测试获取的数据源类型:
@SpringBootTest
class SpringBoot06DataJdbcApplicationTests {

    @Autowired
    DataSource dataSource;

    @Test
    void contextLoads() throws SQLException {
        System.out.println("获取的数据源===="+dataSource.getClass());

        Connection connection = dataSource.getConnection();
        System.out.println("获取的连接==="+connection);
        connection.close();
    }

}

可以看到已经切换为druid的数据源了
4、配置druid数据源的其它参数
spring:
  datasource:
    username: root
    password: 123
    #高版本用的驱动是com.mysql.cj.jdbc.Driver
    driver-class-name: com.mysql.jdbc.Driver
    #最好加上serverTimezone=GMT这个参数;作用自行百度了解
    url: jdbc:mysql://localhost:3306/springbootjdbc?serverTimezone=GMT
    #指定数据源,不用默认的数据源
    type: com.alibaba.druid.pool.DruidDataSource

    #数据源其他配置
    initialSize: 5
    minIdle: 5
    maxActive: 20
    maxWait: 60000
    timeBetweenEvictionRunsMillis: 60000
    minEvictableIdleTimeMillis: 300000
    validationQuery: SELECT 1 FROM DUAL
    testWhileIdle: true
    testOnBorrow: false
    testOnReturn: false
    poolPreparedStatements: true
    #配置监控统计拦截的filters,去掉后监控界面sql无法统计,'wall'用于防火墙
    filters: stat,wall,druid
    maxPoolPreparedStatementPerConnectionSize: 20
    useGlobalDataSourceStat: true
    connectionProperties: druid.stat.mergeSql=true;druid.stat.slowSqlMillis=500
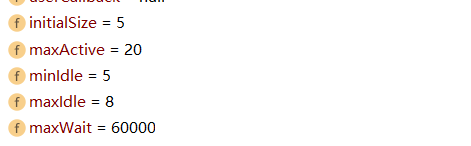
但此时这样配置没有效果;可以通过debug调试查看效果
在这一句上打断点进行调试
结果:

可以看到我们的配置确实没有起效果
此时我们要将数据源加入到容器,配置才起效果
@Configuration
public class DruidConfig {

    @ConfigurationProperties(prefix = "spring.datasource")
    @Bean
    public DataSource druid(){
       return new DruidDataSource();
    }
}
再通过debug调试:
可以看到这时候数据源的配置说明成功了
二、配置数据源监控
@Configuration
public class DruidConfig {

    @ConfigurationProperties(prefix = "spring.datasource")
    @Bean
    public DataSource druid(){
       return new DruidDataSource();
    }

    //配置Durid数据源监控
    //1、配置一个管理后台的Servlet
    @Bean
    public ServletRegistrationBean statViewServlet(){
        ServletRegistrationBean bean = new ServletRegistrationBean(new StatViewServlet(), "/druid/*");
        Map<String,String> initParameters = new HashMap<>();

        initParameters.put("loginUsername","root");
        initParameters.put("loginPassword","123");
        //允许访问,默认所有都可访问
        initParameters.put("allow","");//默认就是允许所有访问
        //不让访问
        initParameters.put("deny","192.168.15.21");
        //设置初始化参数
        bean.setInitParameters(initParameters);
        return bean;
    }

    //2、配置一个监控的Filter
    @Bean
    public FilterRegistrationBean webStatFilter(){
        FilterRegistrationBean bean = new FilterRegistrationBean();
        bean.setFilter(new WebStatFilter());
        Map<String,String> initParameters = new HashMap<>();
        //排除拦截的请求
        initParameters.put("exclusions","*.js,*css,/druid/*");
        //设置初始化参数
        bean.setInitParameters(initParameters);
        //拦截的请求
        bean.setUrlPatterns(Arrays.asList("/*"));
        return bean;
    }
}
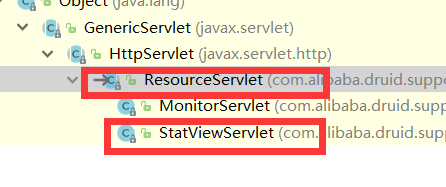
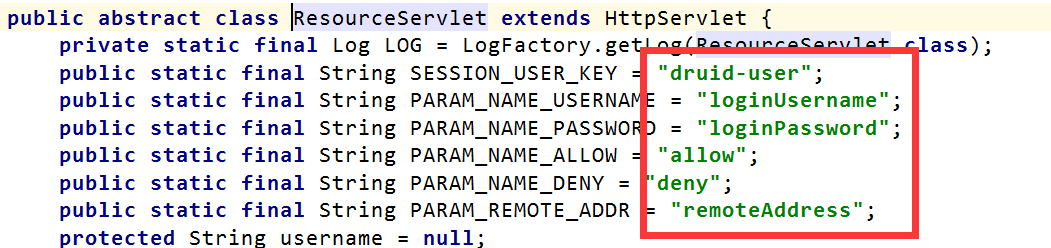
通过StatViewServlet的父类ResourceServlet源码可查看有哪些参数可以设置
通过WebStatFilter源码可查看有哪些参数可以设置

使用上述设置的账号密码进行登录:

登录成功之后:

执行一个查询数据库的操作:

查看监控:
