1、创建项目


2、在application.yml中配置数据源和JPA的相关配置
spring:
  datasource:
    url: jdbc:mysql://localhost:3306/springbootjpa?serverTimezone=GMT
    username: root
    password: 123
    driver-class-name: com.mysql.cj.jdbc.Driver
  jpa:
    hibernate:
      ddl-auto: update    #更新或者创建表
    show-sql: true        #控制台显示sql
3、编写好实体类并配置好表的映射关系
import javax.persistence.*;

/**
 * 使用JPA注解配置映射关系
 */

@Entity         //告诉JPA这是一个实体类(和数据表映射的类)
@Table(name = "tbl_user")       //指定和哪个数据表对应;如果省略name属性,表名默认就是首字母小写的类名
public class User {

    @Id     //指定这是主键
    @GeneratedValue(strategy = GenerationType.IDENTITY)     //自增策略
    private Integer id;

    @Column(name = "last_name",length = 50)     //指定这是表中的一个列
    private String lastName;

    @Column                     //name属性省略默认就是属性名
    private String email;

    public Integer getId() {
        return id;
    }
........
}
4、编写Dao接口来操作实体类对应的数据表(Repository)

CrudRepository有基本增删改查的功能;PagingAndSortingRepository则有分页和排序功能;
由图中的继承关系,我们编写的repository只需要实现JpaRepository就既可以有增删改查,也有分页和排序功能
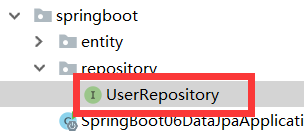
package com.atguigu.springboot.repository;

import com.atguigu.springboot.entity.User;
import org.springframework.data.jpa.repository.JpaRepository;

//继承JpaRepository来完成对数据库的操作
public interface UserRepository extends JpaRepository<User,Integer> {


}
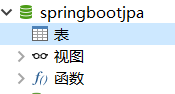
5、这时我们先启动项目,让jpa根据配置自动帮我们建表
启动项目前还没有表:
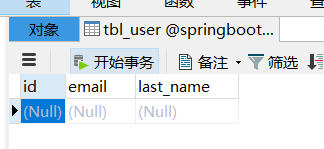
启动项目之后表自动创建成功:

6、创建controller调用UserRepository(这里只是为了演示Repository的功能,所以没有创建service层)

注意springboot2.x中的Repository的findOne方法和springboot1.x不一样,百度了解即可
@RestController
public class UserController {

    @Autowired
    UserRepository userRepository;

    @GetMapping("/user/{id}")
    public Optional<User> getUser(@PathVariable("id") Integer id){
        User u = new User();
        u.setId(id);
        Example<User> example = Example.of(u);
        Optional<User> one = userRepository.findOne(example);
        return one;
    }

    @GetMapping("/user")
    public User insertUser(User user){
        User u = userRepository.save(user);
        return u;
    }
}
插入测试:

查询测试:
