概述
Ocelot是一个用.NET Core实现的开源API网关技术。IdentityServer4是一个基于OpenID Connect和OAuth2.0的针对ASP.NET Core的框架,以中间件的形式存在。OAuth是一种授权机制。系统产生一个短期的token,用来代替密码,供第三方应用使用。
下面来看下如何实现Ocelot基于IdentityServer4统一认证。
主要代码实现
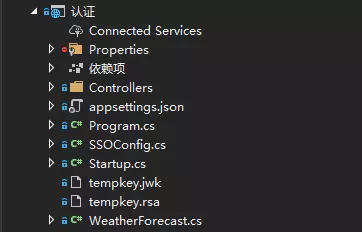
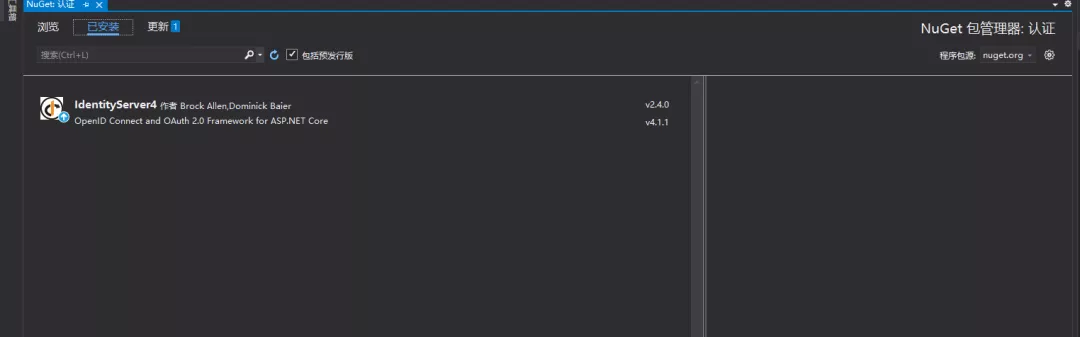
1、新建认证项目,nuget安装id4
2、appsettings.json 配置
{
  "Logging": {
    "LogLevel": {
      "Default": "Warning"
    }
  },
  "SSOConfig": {
    "ApiResources": [
      {
        "Name": "testapi",
        "DisplayName": "testapiname"
      }
    ],
    "Clients": [
      {
        "ClientId": "a",
        "ClientSecrets": [ "aa" ],
        "AllowedGrantTypes": "ClientCredentials",
        "AllowedScopes": [ "testapi" ]
      }
    ]
  },
  "AllowedHosts": "*"
}
 public static IEnumerable<ApiResource> GetApiResources(IConfigurationSection section)
        {
            List<ApiResource> resource = new List<ApiResource>();
            if (section != null)
            {
                List<ApiConfig> configs = new List<ApiConfig>();
                section.Bind("ApiResources", configs);
                foreach (var config in configs)
                {
                    resource.Add(new ApiResource(config.Name, config.DisplayName));
                }
            }
            return resource.ToArray();
        }

        /// <summary>
        /// 定义受信任的客户端 Client
        /// </summary>
        /// <returns></returns>
        public static IEnumerable<Client> GetClients(IConfigurationSection section)
        {
            List<Client> clients = new List<Client>();
            if (section != null)
            {
                List<ClientConfig> configs = new List<ClientConfig>();
                section.Bind("Clients", configs);
                foreach (var config in configs)
                {
                    Client client = new Client();
                    client.ClientId = config.ClientId;
                    List<Secret> clientSecrets = new List<Secret>();
                    foreach (var secret in config.ClientSecrets)
                    {
                        clientSecrets.Add(new Secret(secret.Sha256()));
                    }
                    client.ClientSecrets = clientSecrets.ToArray();
                    GrantTypes grantTypes = new GrantTypes();
                    var allowedGrantTypes = grantTypes.GetType().GetProperty(config.AllowedGrantTypes);
                    client.AllowedGrantTypes = allowedGrantTypes == null ?
 GrantTypes.ClientCredentials : (ICollection<string>)allowedGrantTypes.GetValue(grantTypes, null);
                    client.AllowedScopes = config.AllowedScopes.ToArray();
                    clients.Add(client);
                }
            }
            return clients.ToArray();
        }
3、Startup 配置
 public void ConfigureServices(IServiceCollection services)
        {
            var section = Configuration.GetSection("SSOConfig");
            services.AddIdentityServer()
         .AddDeveloperSigningCredential()
         .AddInMemoryApiResources(SSOConfig.GetApiResources(section))
         .AddInMemoryClients(SSOConfig.GetClients(section));
            services.AddControllers().SetCompatibilityVersion(CompatibilityVersion.Latest);
        }

        // This method gets called by the runtime. Use this method to configure the HTTP request pipeline.
        public void Configure(IApplicationBuilder app, IWebHostEnvironment env)
        {
            if (env.IsDevelopment())
            {
                app.UseDeveloperExceptionPage();
            }

            app.UseRouting();

            //  app.UseAuthorization();
            app.UseIdentityServer();

            app.UseEndpoints(endpoints =>
            {
                endpoints.MapControllers();
            });
        }
4、网关项目配置

 <ItemGroup>
    <PackageReference Include="IdentityServer4.AccessTokenValidation" Version="3.0.1" />
    <PackageReference Include="Ocelot" Version="14.0.3" />
  </ItemGroup>
 {
      "DownstreamPathTemplate": "/connect/token",
      "DownstreamScheme": "http",
      "DownstreamHostAndPorts": [
        {
          "Host": "localhost",
          "Port": 5002
        }
      ],
      "UpstreamPathTemplate": "/token",
      "UpstreamHttpMethod": [ "Post" ],
      "Priority": 2
    },


   var identityBuilder = services.AddAuthentication();
            IdentityServerConfig identityServerConfig = new IdentityServerConfig();
            Configuration.Bind("IdentityServerConfig", identityServerConfig);
            if (identityServerConfig != null && identityServerConfig.Resources != null)
            {
                foreach (var resource in identityServerConfig.Resources)
                {
                    identityBuilder.AddIdentityServerAuthentication(resource.Key, options =>
                    {
                        options.Authority = $"http://{identityServerConfig.IP}:{identityServerConfig.Port}";
                        options.RequireHttpsMetadata = false;
                        options.ApiName = resource.Name;
                        options.SupportedTokens = SupportedTokens.Both;
                    });
                }
            }

            //  services.AddControllers();
            services.AddOcelot(Configuration);
测试
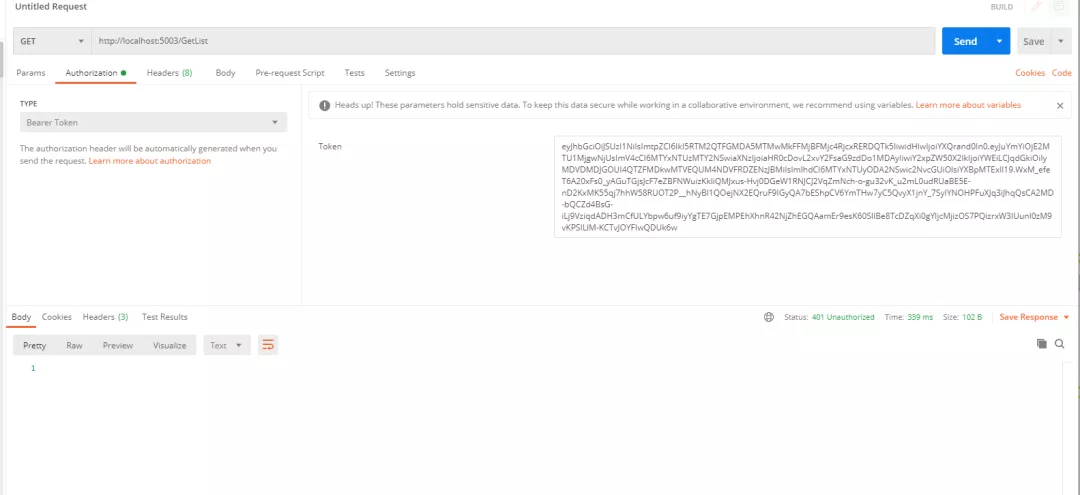
1、没有添加token访问,返回401

2、获取访问的token

3、带上token访问接口