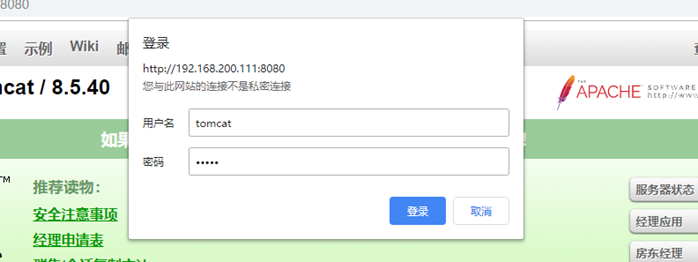
访问控制:

在访问tomcat服务器状态时,出现403错误。

解决方法:
[root@localhost ~]# vim /usr/local/tomcat8/conf/tomcat-users.xml
44 <role rolename="manager-gui"/>
45 <role rolename="admin-gui"/>
46 <user username="tomcat" password="12345" roles="manager-gui,admin-gui"/>
[root@localhost ~]# vim /usr/local/tomcat8/webapps/manager/META-INF/context.xml
18 <Context antiResourceLocking="false" privileged="true" >
19 <!-- <Valve className="org.apache.catalina.valves.RemoteAddrValve"
20 allow="127.d+.d+.d+|::1|0:0:0:0:0:0:0:1" /> -->
[root@localhost ~]# /usr/local/tomcat8/bin/shutdown.sh
[root@localhost ~]# /usr/local/tomcat8/bin/startup.sh


站点部署:
使用开发工具将程序打包成war包,上传到tomcat的webapps目录下,站点主动解压部署。
[root@localhost ~]# mv jpress-web-newest.war /usr/local/tomcat8/webapps/
[root@localhost ~]# ls /usr/local/tomcat8/webapps/
docs host-manager jpress-web-newest.war memtest
examples jpress-web-newest manager ROOT
访问http://192.168.200.111:8080/jpress-web-newest/install即可

[root@localhost ~]# yum -y install mariadb mariadb-server
[root@localhost ~]# systemctl start mariadb
[root@localhost ~]# mysql
MariaDB [(none)]> create database jpress;
MariaDB [(none)]> grant all on jpress.* to admin@'localhost' identified by '12345';
MariaDB [(none)]> flush privileges;
MariaDB [(none)]> exit
在jpress完全安装完之后,
再重新启动tomcat即可。